Summer Burlap and Starfish Wreath
This post and its photos may contain affiliate links. As an Amazon associate I earn from qualifying purchases. If you make a purchase through these links, I may receive a small commission at no extra cost to you.
I put my 4th of July wreath away over the weekend and realized that I hadn’t shared my Summer Burlap and Starfish Wreath yet.
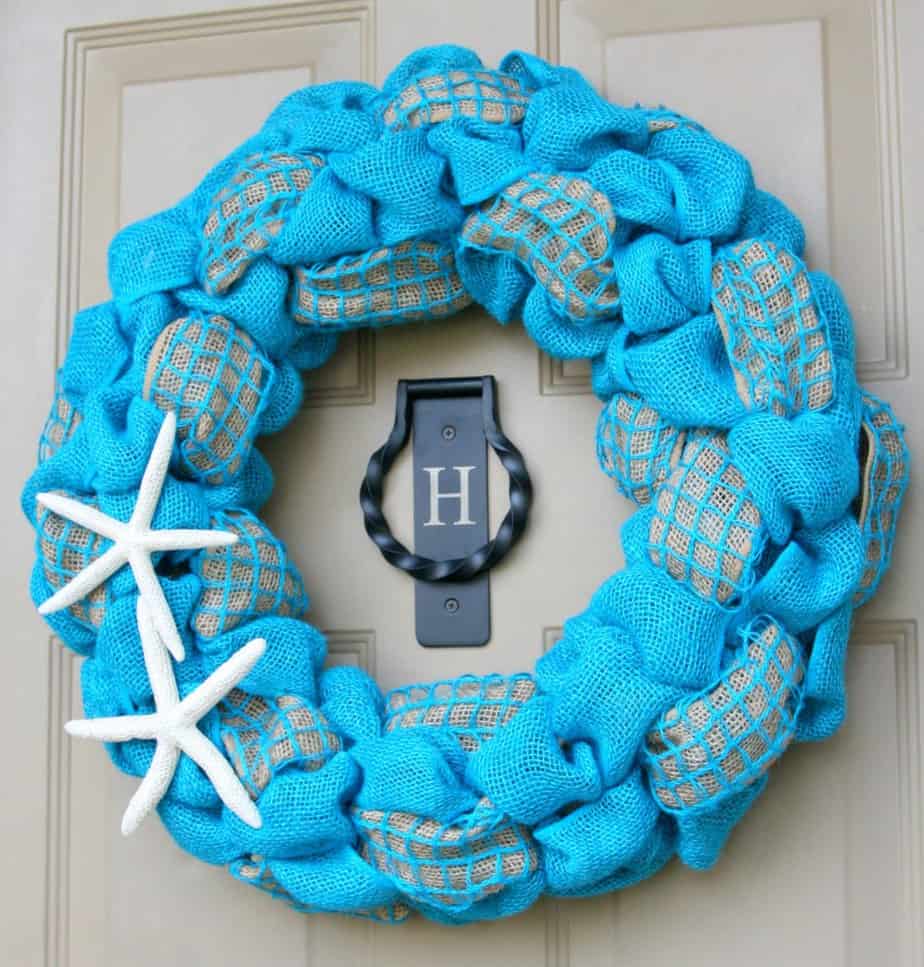
I think I say this every time I make a new wreath but this might be my favorite one yet. I love the color and I love the starfish. I’ve been wanting to make a burlap bubble wreath for awhile now and my front door gets so hot in the summer time that I needed something that didn’t require using a glue gun.
Want to make one too? I promise it’s easy.
Materials needed:
- straw wreath
- blue burlap ribbon (2 rolls)
- tan burlap ribbon (2 rolls)
- blue net burlap ribbon (1 roll)
- floral greening pins
- 2 starfish
- glitter mod podge
- paint brush
- super glue or glue gun with glue sticks
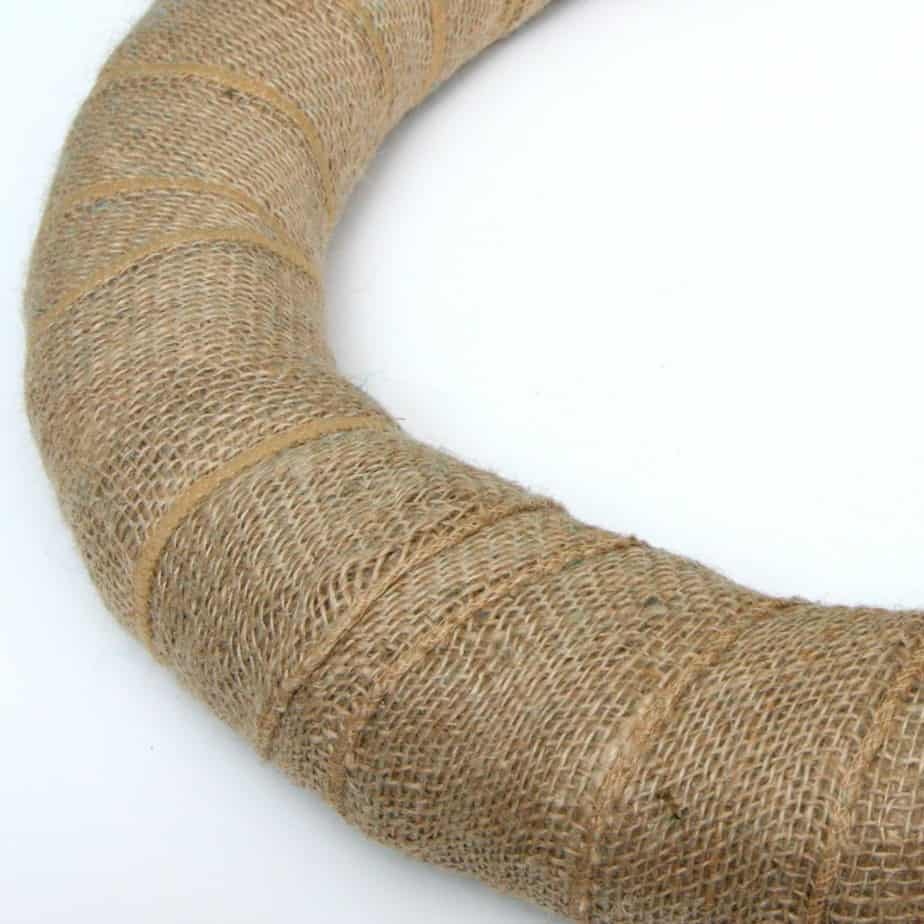
Step 1: Wrap tan burlap around entire wreath and secure ends with greening pins.
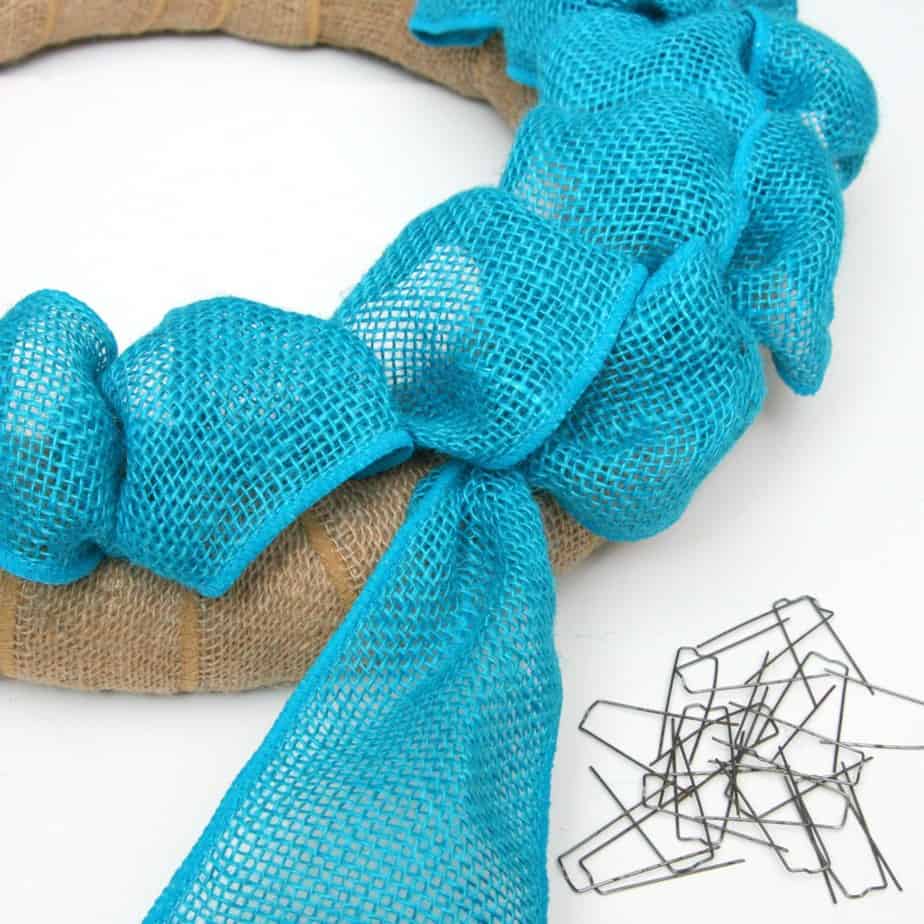
Step 2: Start adding the blue burlap ribbon by securing one end with a greening pin. Then, every 2-3 inches secure a section of the burlap ribbon to the wreath with a greening pin creating a bubble. Continue around the entire wreath. I did this in 4 layers so the entire front of the wreath was covered.
Step 3: Next, layer the net burlap over the tan burlap. Cut sections of 4 inches and secure in random places around the wreath.
Step 4: Paint starfish with glitter mod podge. When that dries, glue starfish to wreath.
Step 5: Hang and admire your gorgeous new summer wreath.
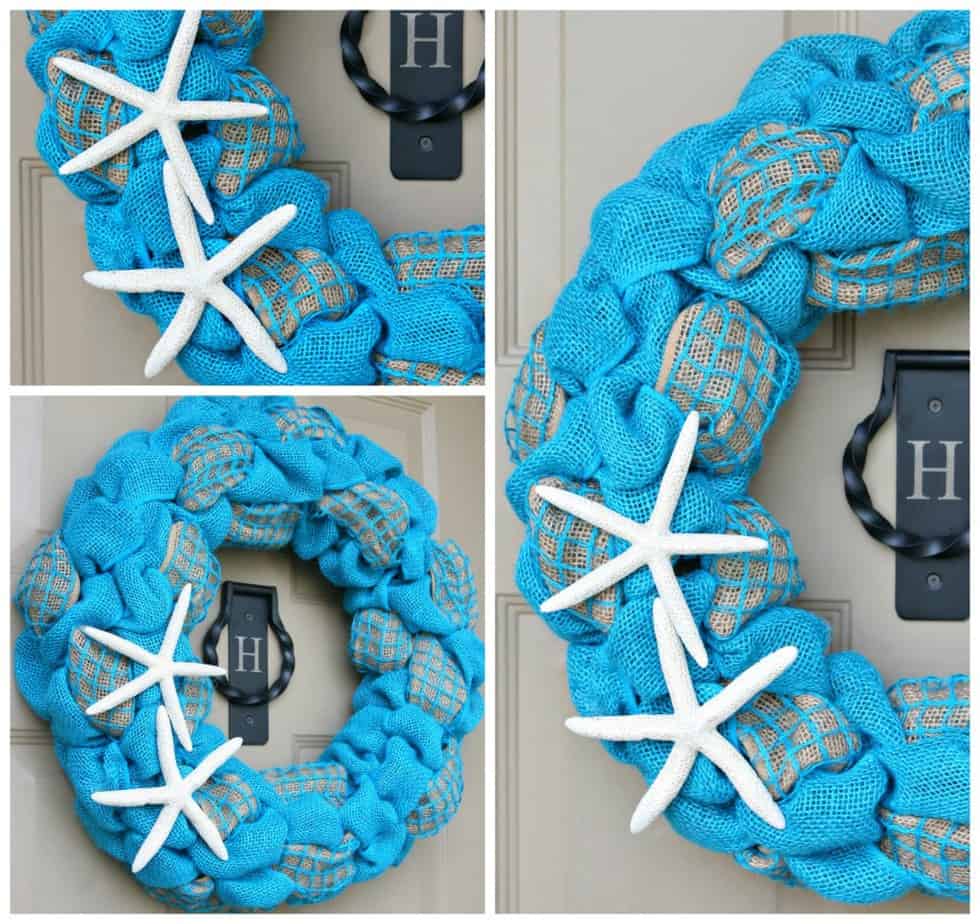
I can’t stop staring at it on my door.
So, what do you think? A gorgeous burlap and starfish wreath in 4 easy steps. Not too bad! It’s a perfect summer project to work on and all your friends will want one. I just helped my neighbor make a green one for her front door that turned out great.