Personalized Beach Coasters Made with Infusible Ink
This post and its photos may contain affiliate links. As an Amazon associate I earn from qualifying purchases. If you make a purchase through these links, I may receive a small commission at no extra cost to you.
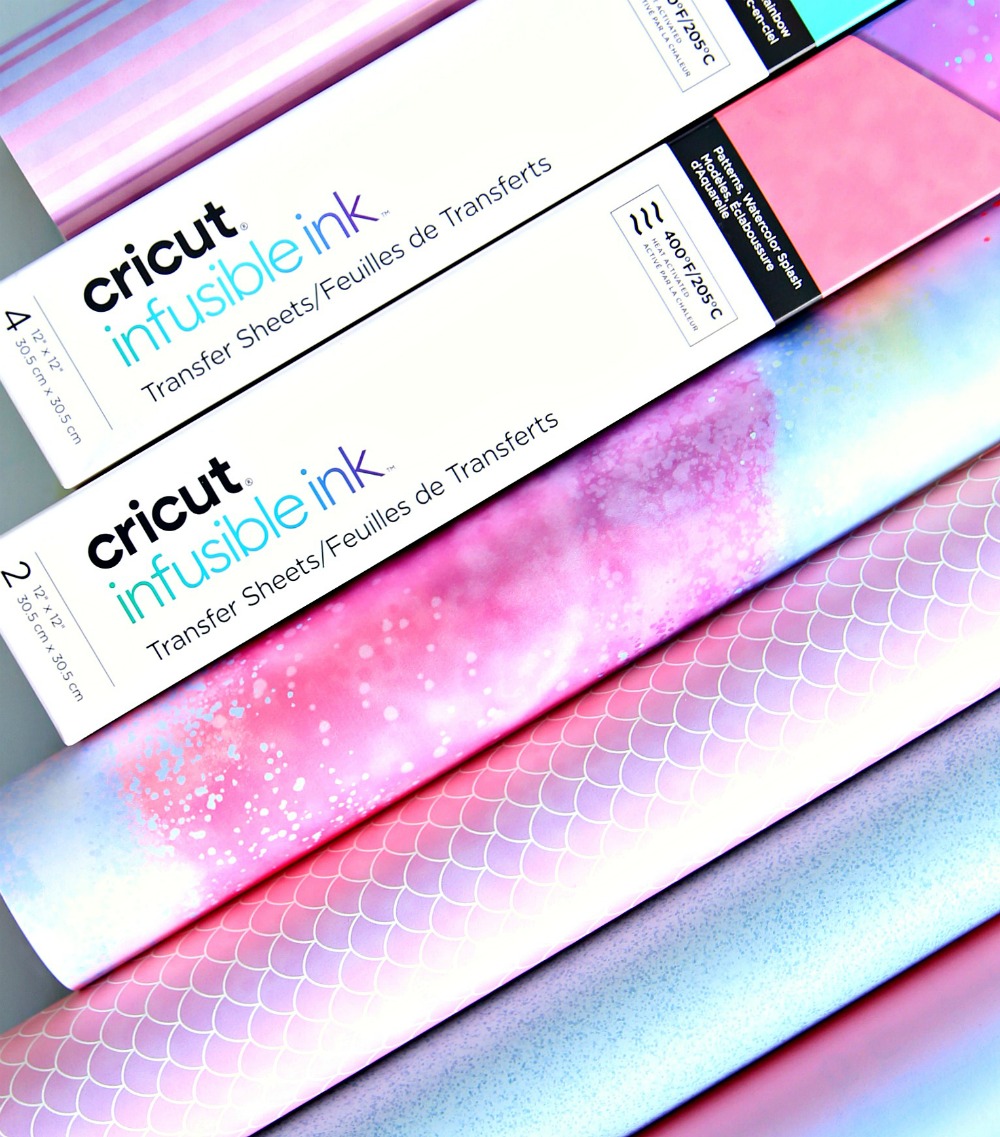
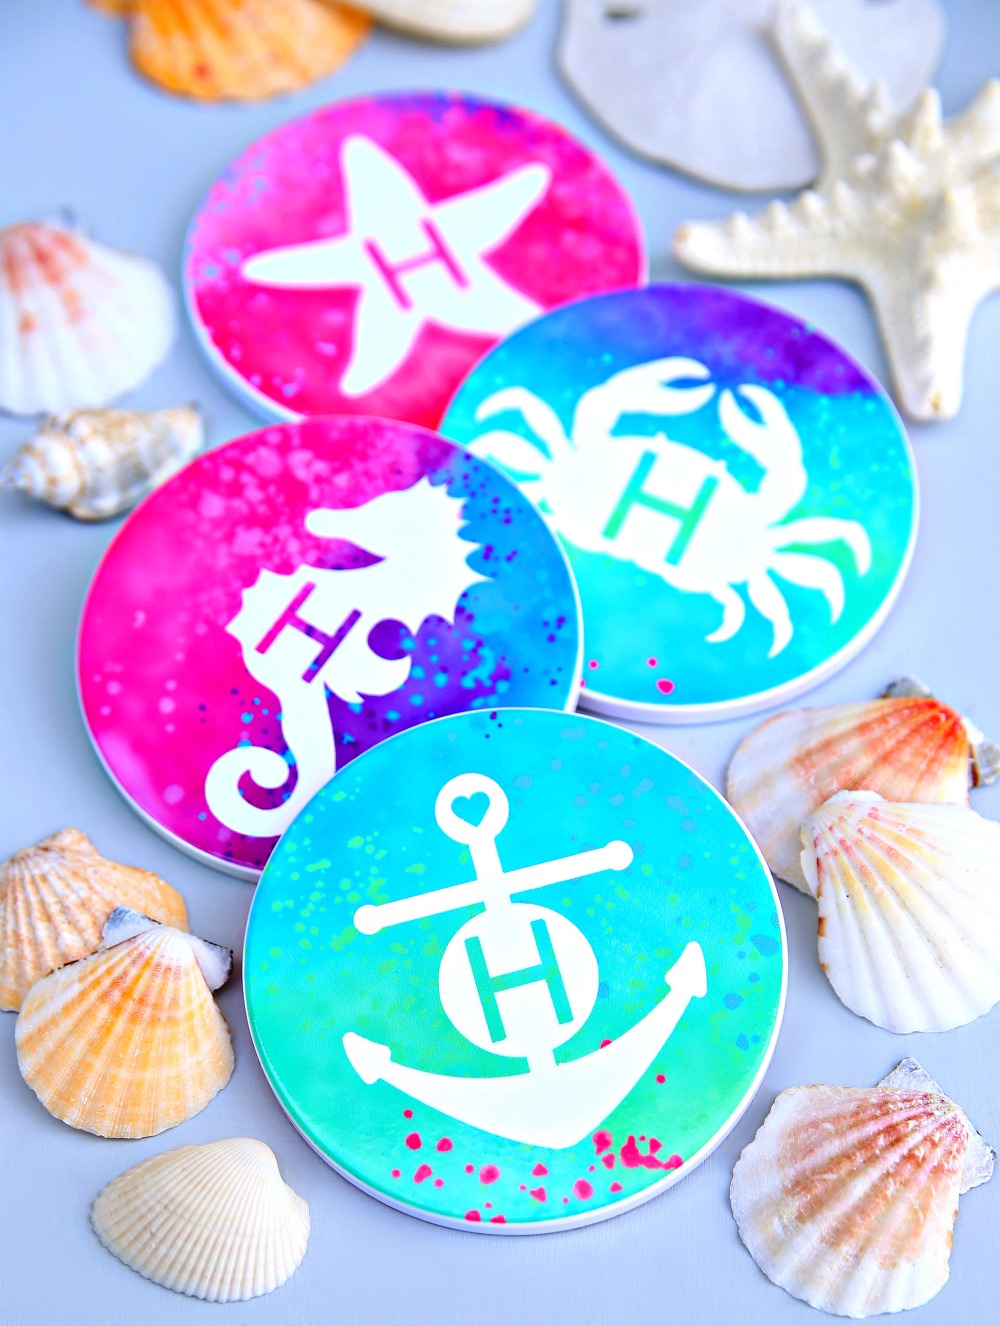
These gorgeous Personalized Beach Coasters are easy to make thanks to the new Infusible Ink and the perfect summer craft project. Find these free beach designs in the Cricut Design Space and have fun making your own personalized Beach Coasters.

Personalized Beach Coasters using Infusible Ink
This fun personalized Cricut project combines three of my favorite things and I’m in love with my new personalized beach coasters. First of all, I’m a sucker for anything that I can personalize. Second, I LOVE all things watercolor and I’m now obsessed with the new Cricut Infusible Ink that I found at my local Michael’s.
As soon as I saw that the Infusible Ink was available in a watercolor pattern, I knew I had to make something with it. I decided to make these bright and colorful beach coasters since we live at the beach. Plus, it’s summer so we’ve been living at the beach these past few weeks. And, of course, I had to figure out a way to personalize them.
Want to make these cute beach coasters? Here’s what you’ll need:
- Cricut Explore Air 2 or Cricut Maker
- Cricut EasyPress – I used the original EasyPress
- Cricut Round Coaster Blanks
- Infusible Ink Transfer Sheets – I uses Watercolor
- Cricut StandardGrip Cutting Mat
- Scissors
- White Cardstock
- Butcher Paper – Included with Infusible Ink
- Lint-Free Cloth
- Beach Designs
First, we need to cut out our designs
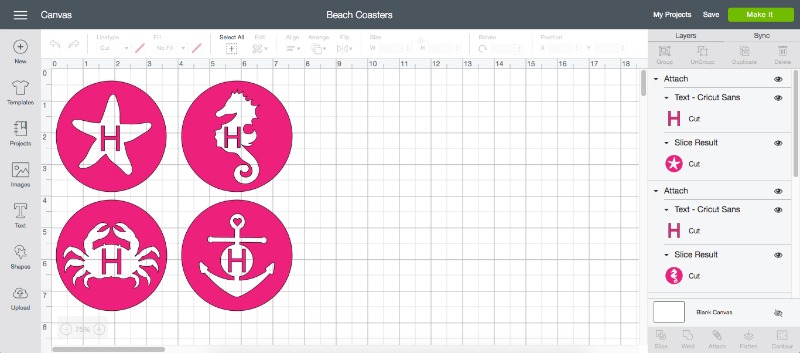
Step 1: Open this project in the Cricut Design Space.
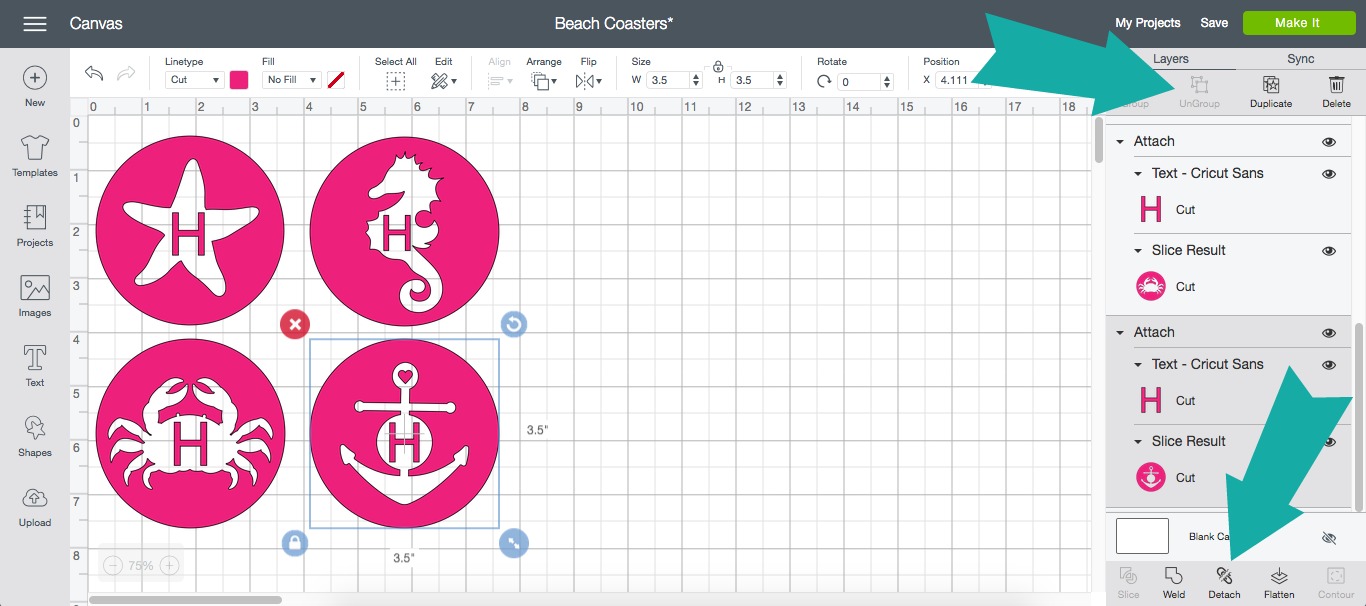
Step 2: Detach and customize each image with the letter of your choice. Then, make sure you reattach each one. You can also delete each letter if you don’t want to personalize the coasters.
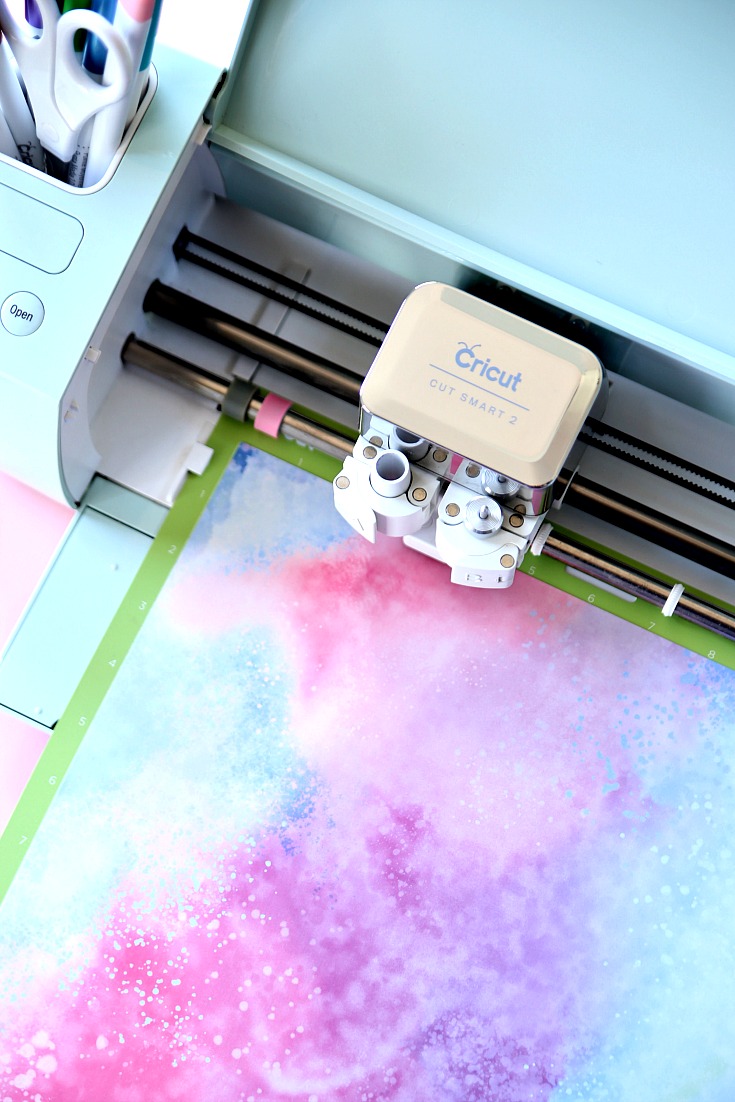
Step 3: Load the Infusible Ink sheet onto cutting mat, image side up and load mat into machine.
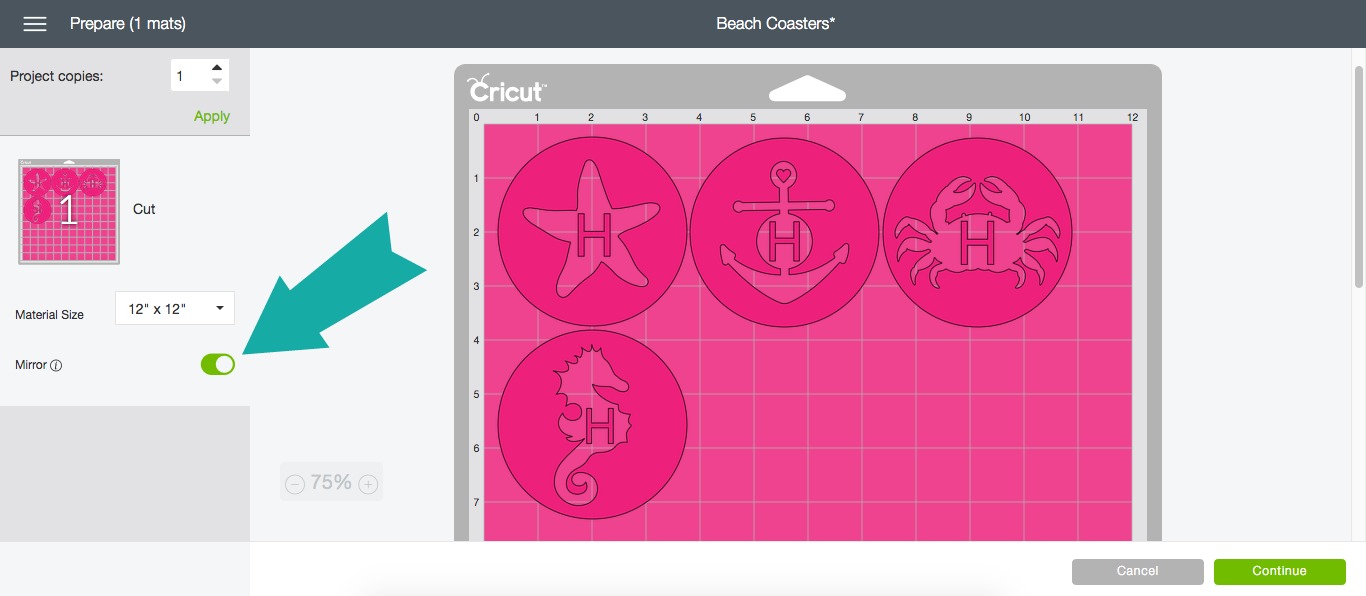
Step 4: Click MAKE IT, MIRROR IMAGE, and then click CONTINUE. Browse all materials and select INFUSIBLE INK TRANSFER SHEET and now you’re ready to let you Cricut work it’s magic.
Step 5: Once your machine has cut out all the designs, it’s time to apply them to the ceramic coasters. Cut and weed around the image. Make sure to leave enough of the sticky backing to keep image in place. You can also use the new Heat Resistant Tape that is available.
Now we’re ready to apply Infusible Ink to Ceramic Coasters
Step 1: Heat up your EasyPress.
- If you have the original EasyPress, set the temperature to 360 degrees and the timer for 300 seconds.
- If you have the EasyPress 2, set the temperature to 400 degrees and the timer for 240 seconds.
Step 2: Place a piece of cardstock on the EasyPress Mat, then place the design that you cut out – design side facing up. Wipe the shiny side of the ceramic coaster with lint-free cloth and flip over. Place the coaster over the design and then cover with a sheet of butcher paper.
Step 3: Place EasyPress over butcher paper and start the time. DO NOT MOVE the EasyPress.
Step 4: Remove EasyPress carefully and let cool before flipping coaster back over. This is the hardest step because I couldn’t wait to see how they turned out.
Step 5: Once cool, carefully turn over and admire your gorgeous new coaster.
Tips for Using Infusible Ink
- Load Infusible Ink sheets image side up.
- Make sure to mirror your image before cutting image.
- Always place a piece of cardstock between EasyPress mat and the blank you are using.
- Also, make sure to place a sheet of butcher paper between EasyPress and the project you are working on.
- If you are using a larger EasyPress, you can work on more than one coaster at a time.
- Wipe coasters with lint-free cloth and use a lint roller on t-shirts before applying Infusible Ink to remove any small fibers from surface.
- Apply pressure when heating but make sure not to move the sheets while applying heat.
- Remove butcher paper, tape, and design carefully because they will be very hot. Don’t touch coasters right away because they are hot too.
- Clean coasters with water and glass cleaner.
- Still have questions about applying Infusible Ink to coasters? Check out this helpful guide.
So, what are you waiting for? It’s time to fire up your Cricut and have some fun this summer making Personalized Beach Coasters. I’m pretty sure all your friends need a set. And, you are going to love the new Infusible Ink. I have so many fun projects that I can’t wait to share.
Looking for more fun Cricut projects?
- Turn your Child’s Handwriting into a Vinyl Decal
- Acrylic Poured Canvas Art with Vinyl Cut Images
- Easy Stitched String Art for Kids
- Cricut Crafts to Make with Kids

![]()
![]()
![]()
![]()
![]()
![]()
Hello, the coasters say the project is not viable in design space
wondering if I can use this technique to apply design on wool coasters
The designs will not open in Design Space.