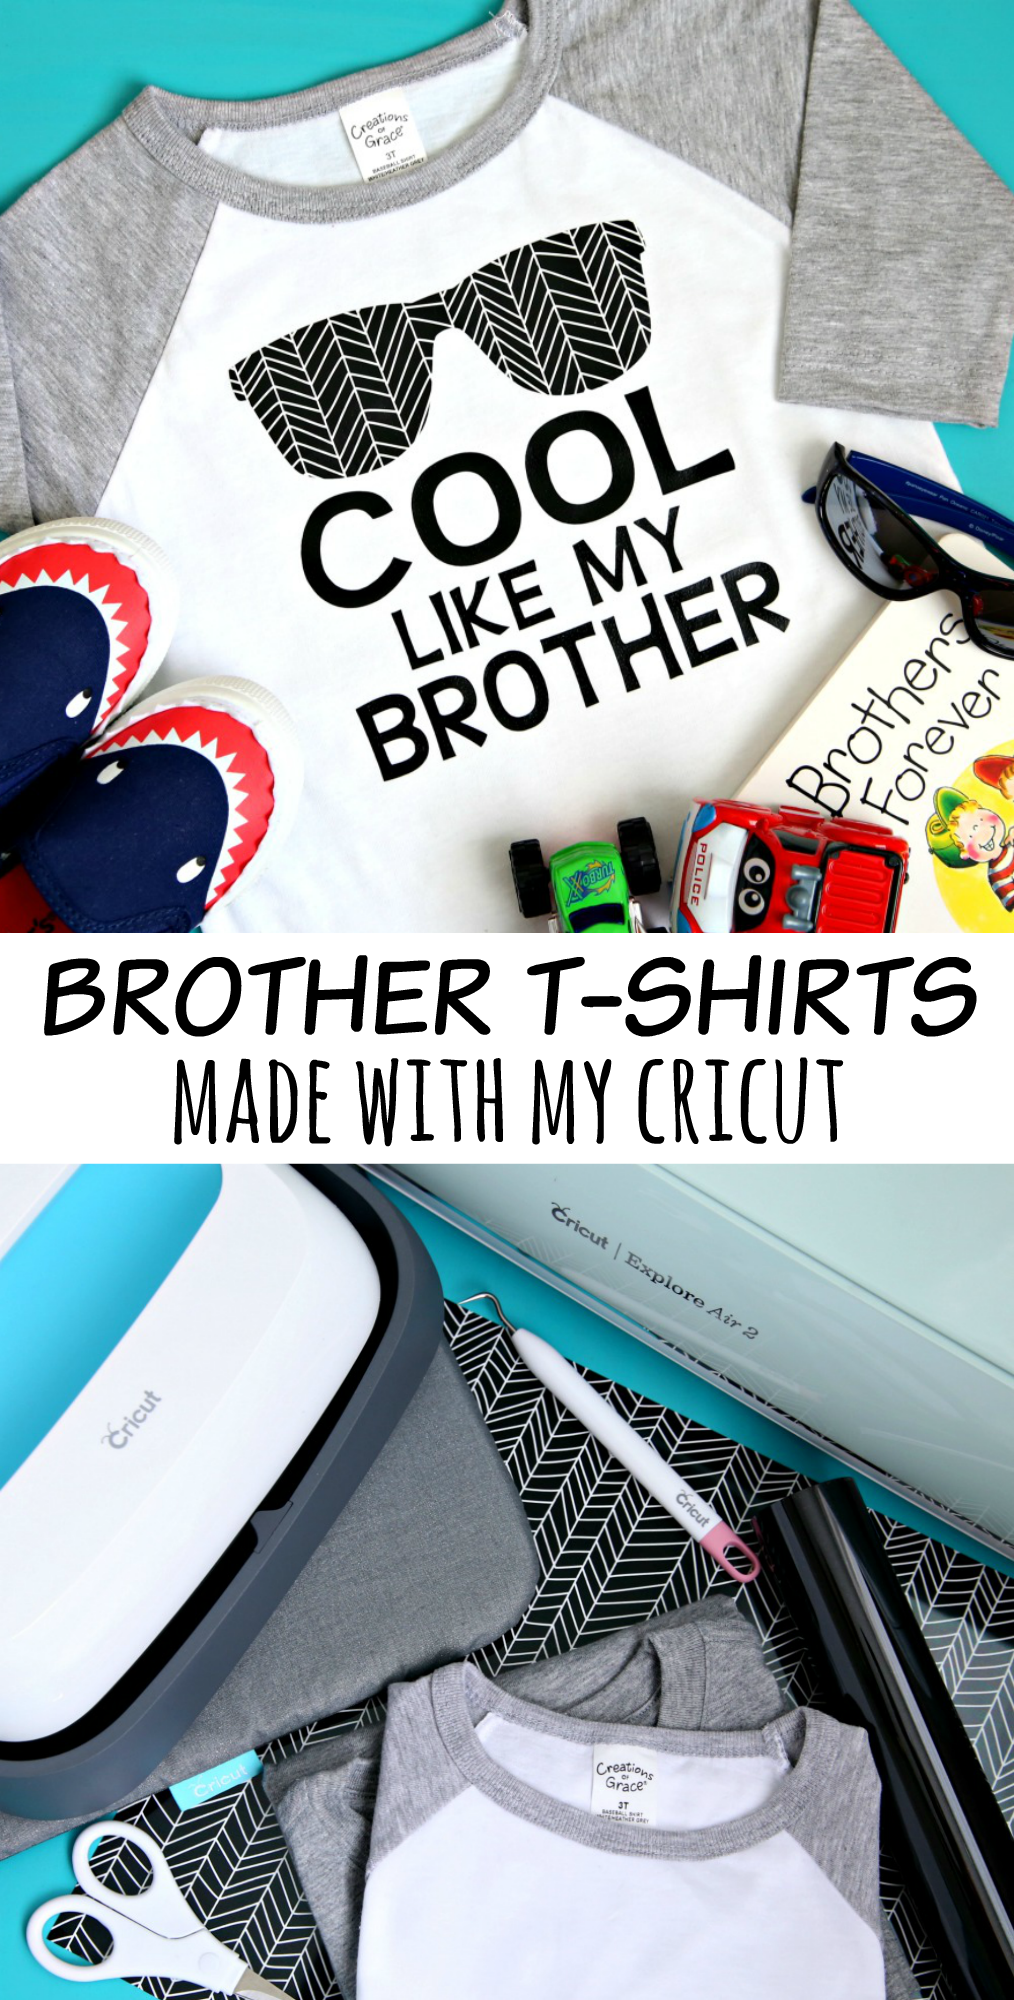
Matching Brother T-Shirts Made with my Cricut
This post and its photos may contain affiliate links. As an Amazon associate I earn from qualifying purchases. If you make a purchase through these links, I may receive a small commission at no extra cost to you.
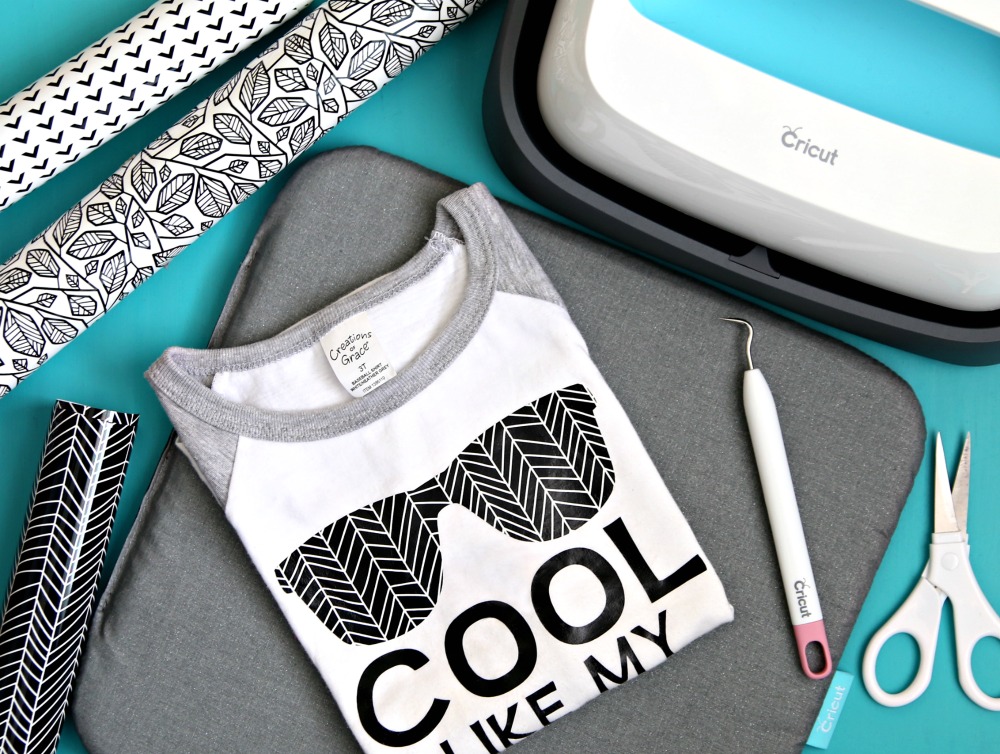
Use your handy dandy Cricut® and the new Patterned Iron On™ to make these adorable matching brother t-shirts!
It’s no secret that I love my Cricut Explore Air 2 but I also love that Cricut continues to release new products that just make it better and better.
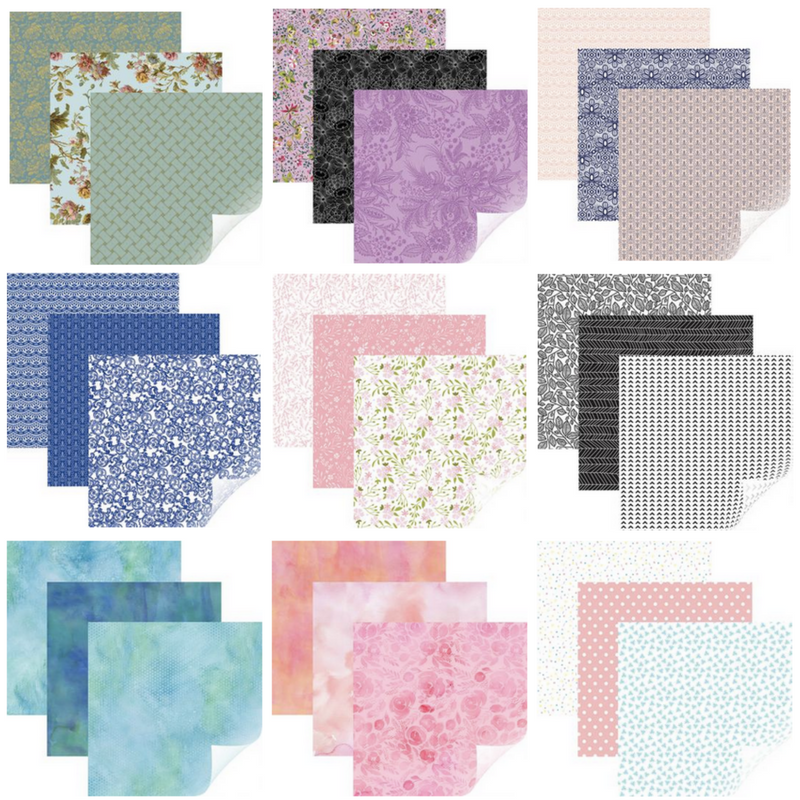
Cricut® has released new Patterned Iron On™ that you are going to love. They currently have 9 sampler packs available so there is definitely something for everyone! The packs come with three 12 x 17 sheets making it easy to decorate t-shirts, hoodies, baby onesies, throw pillows, tote bags and more! I love that they come in sampler packs so I can mix and match the patterns within different projects.
Not only have they released new Patterned Iron On™ but they also have a fabulous tool that makes applying it easier. Have you seen the Cricut EasyPress™ and the EasyPress™ Mat yet? I used it for the first time with this project and it’s a game changer my friends!
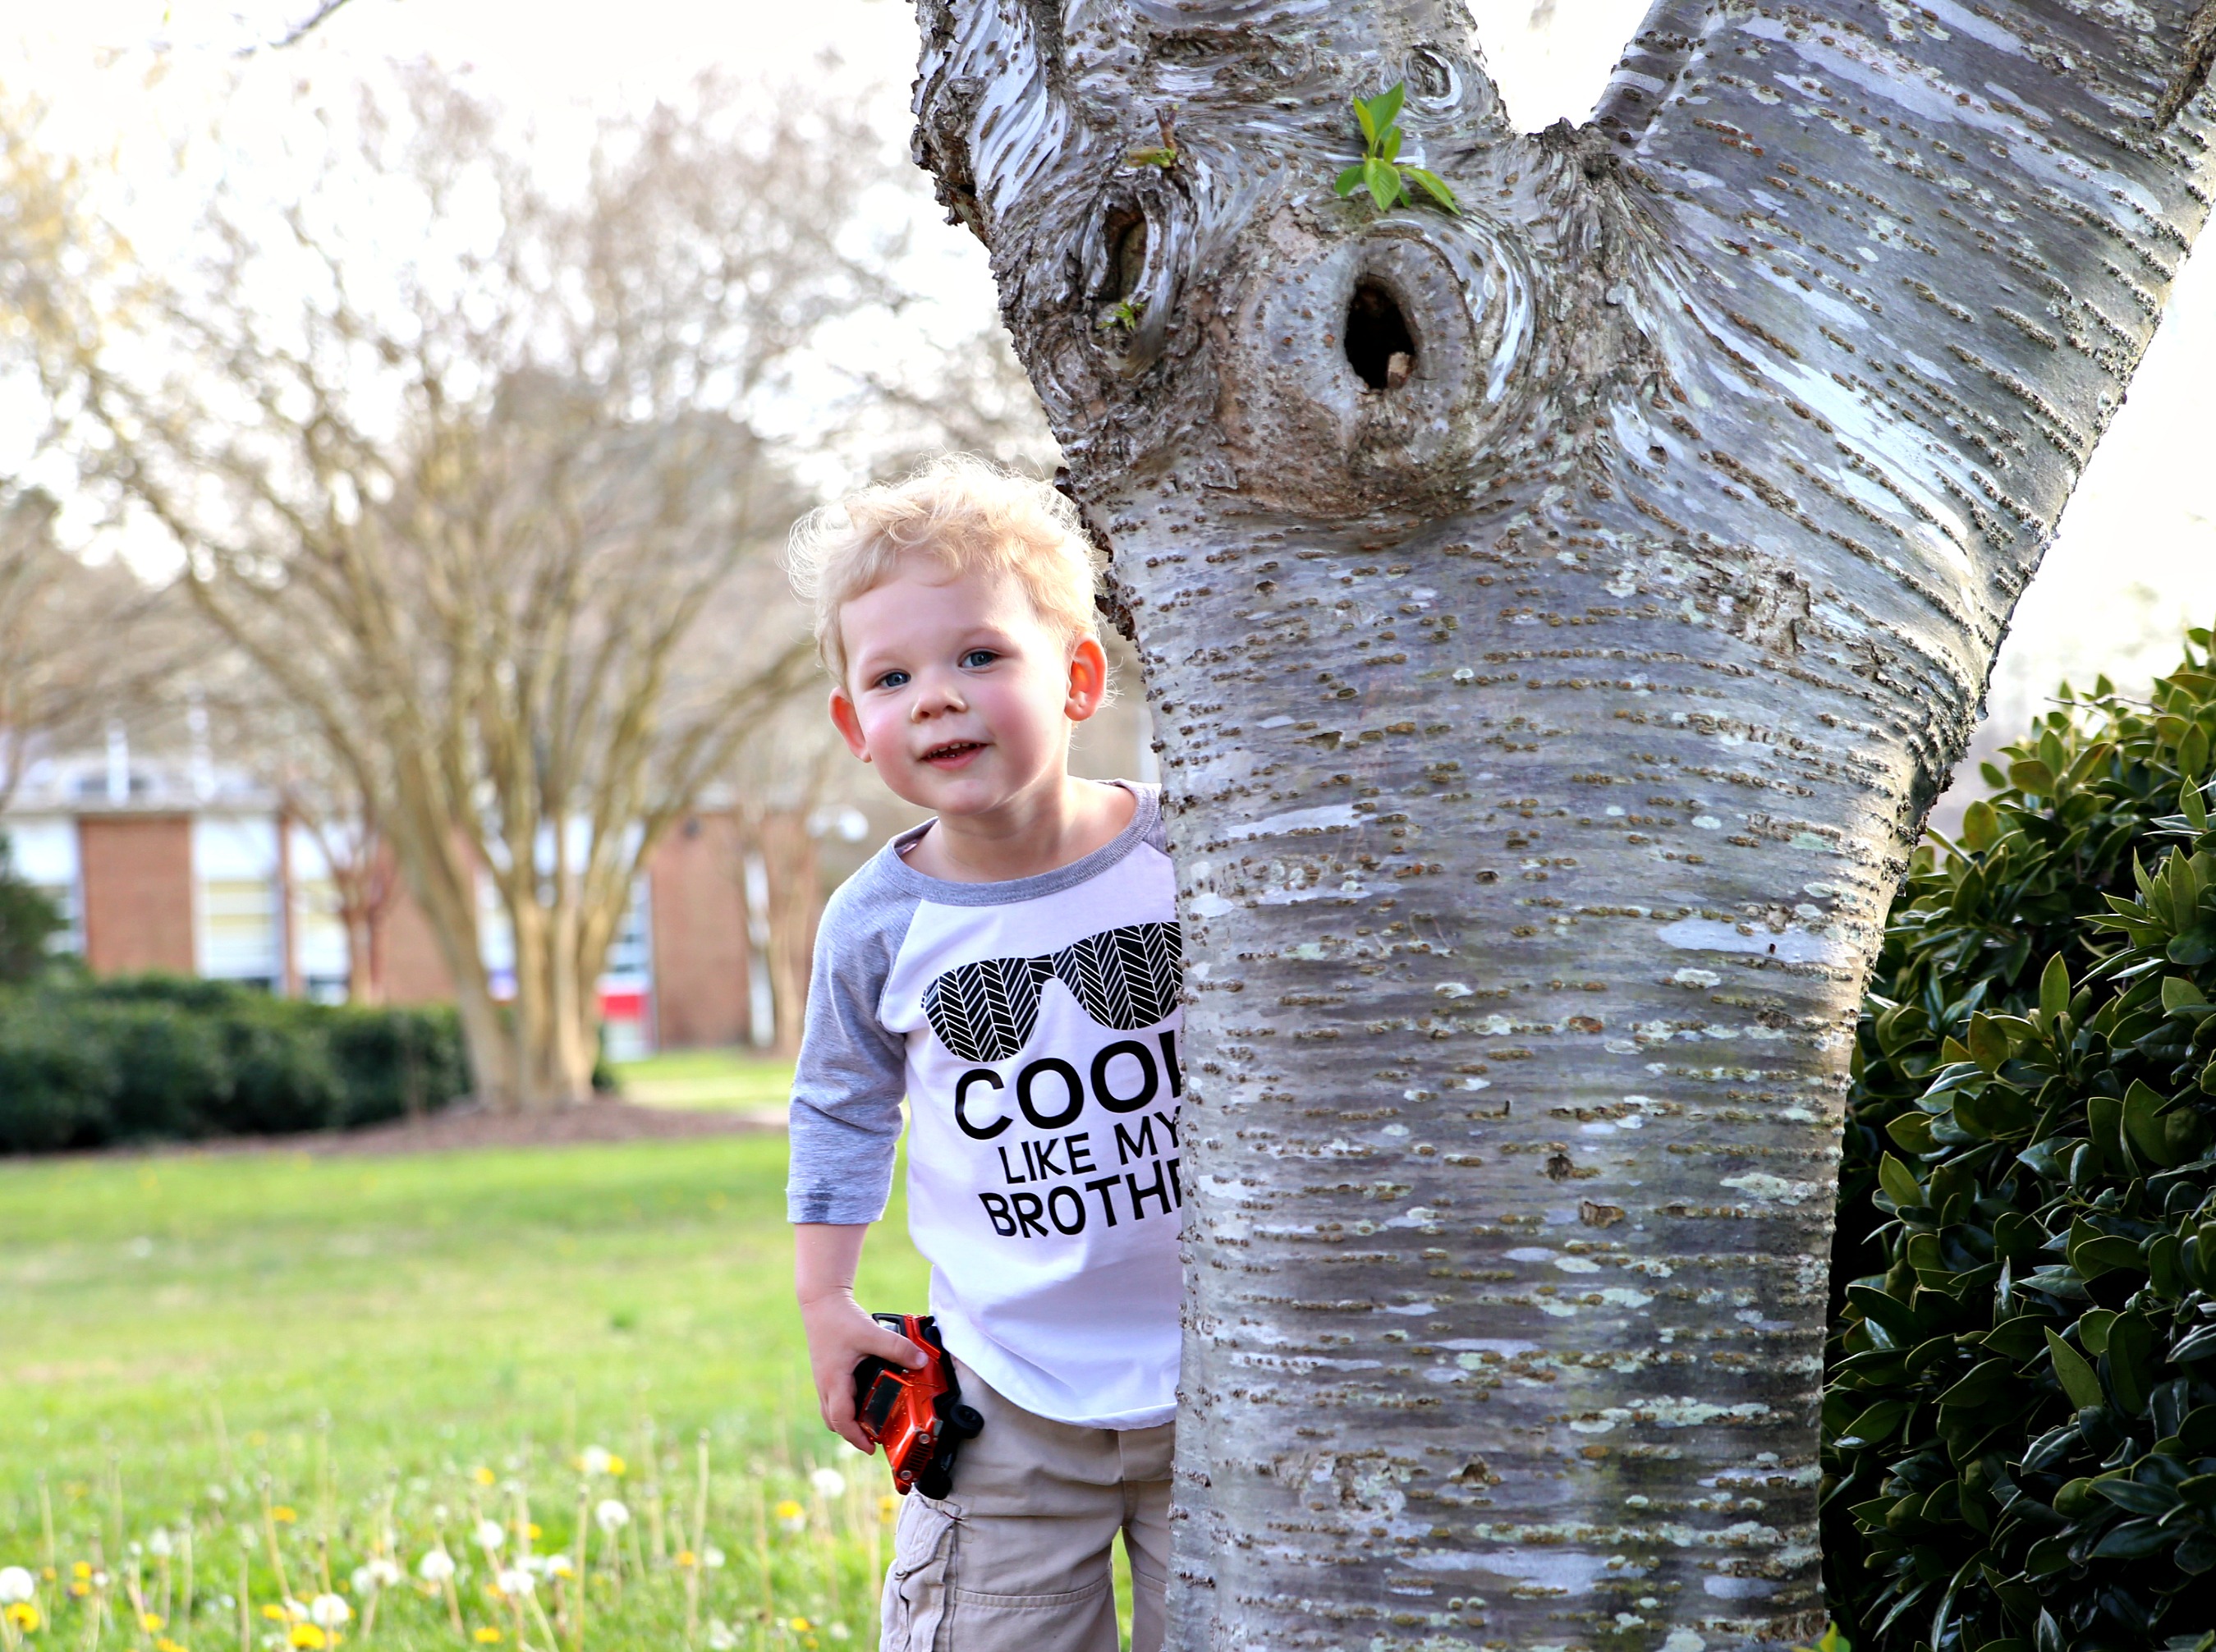
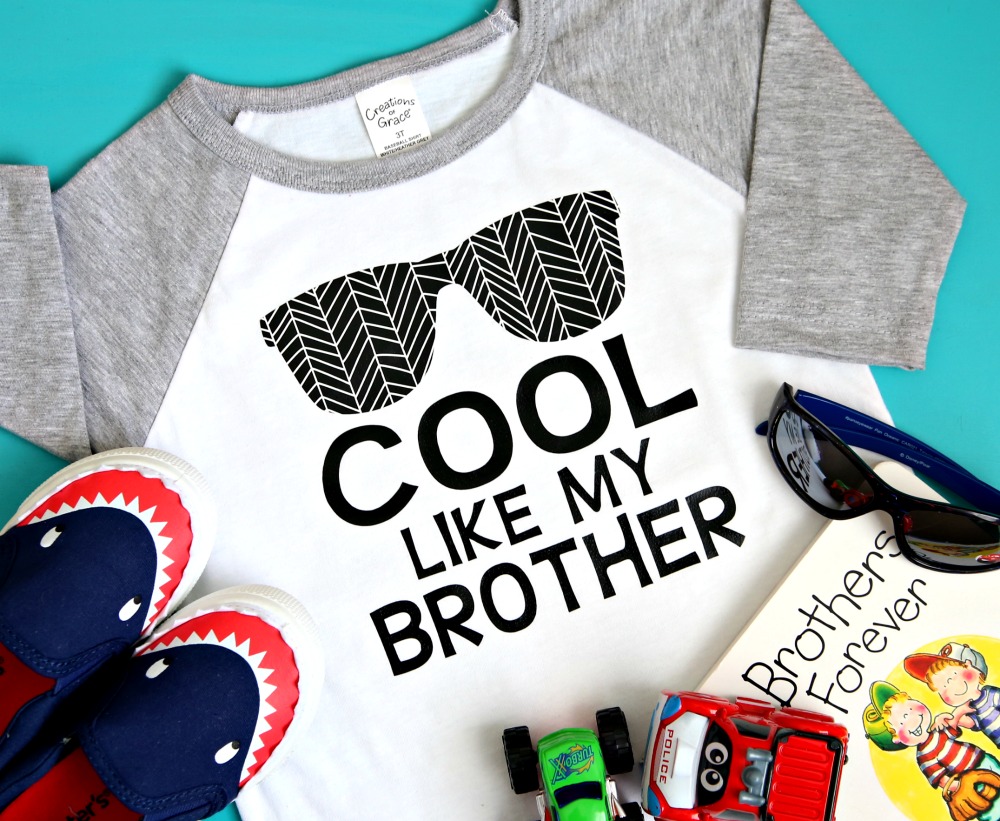
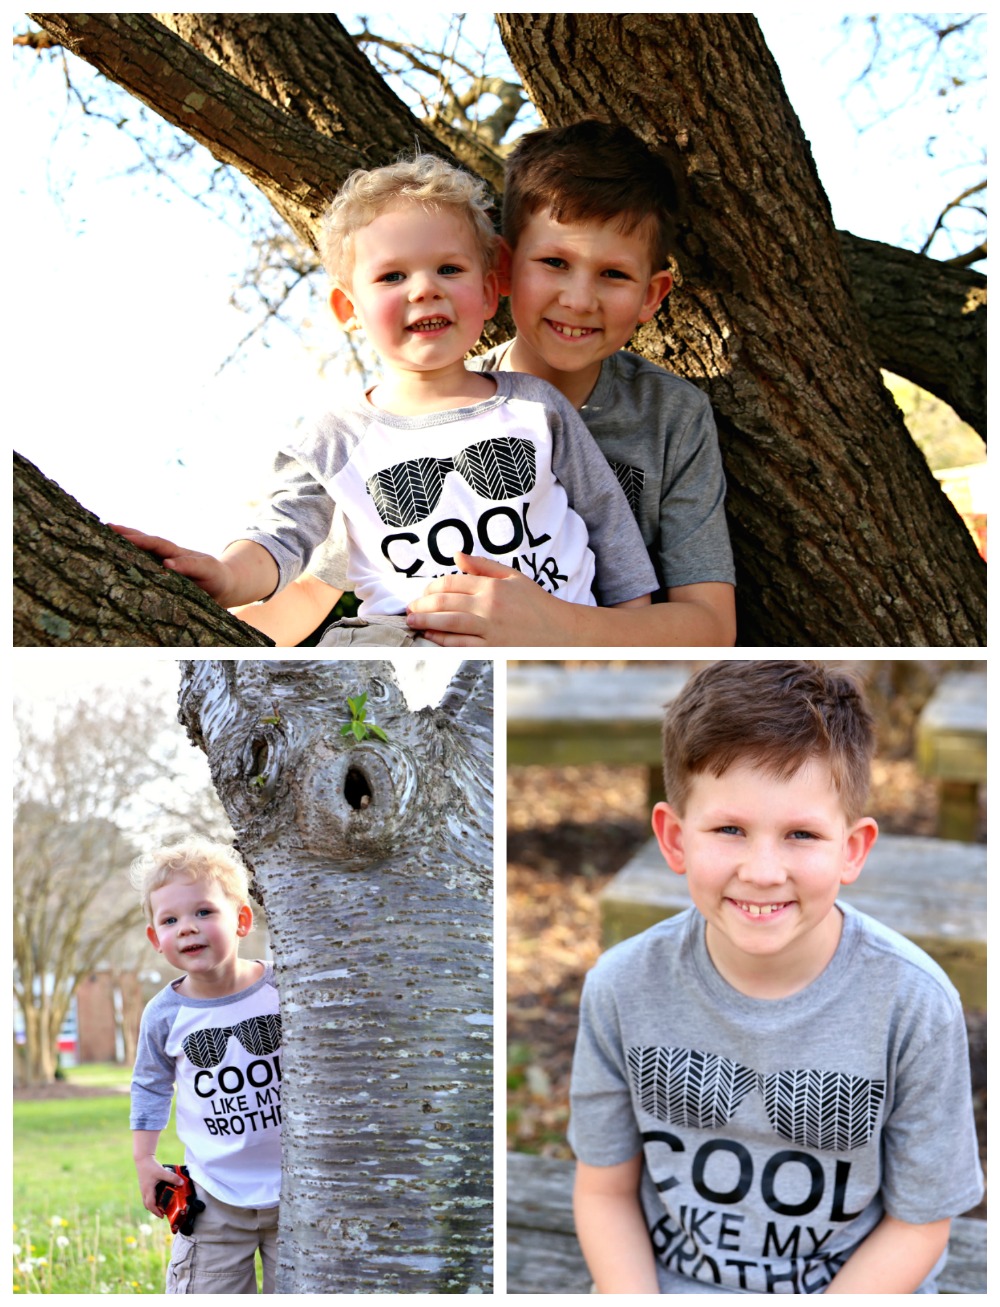
So let’s talk about these awesome matching t-shirts I made for my boys. As soon as I saw the Cricut® Nature Walk Patterned Iron On™ Sampler, I knew I had to use it to make something for my boys. And, thanks to the Cricut Design Space, I was able to design these cool t-shirts – because brothers always need matching shirts.
Aren’t they adorable? Feel free to edit it in the design space if you want it to say sister, aunt, uncle, etc. This shirt can be made for everyone.
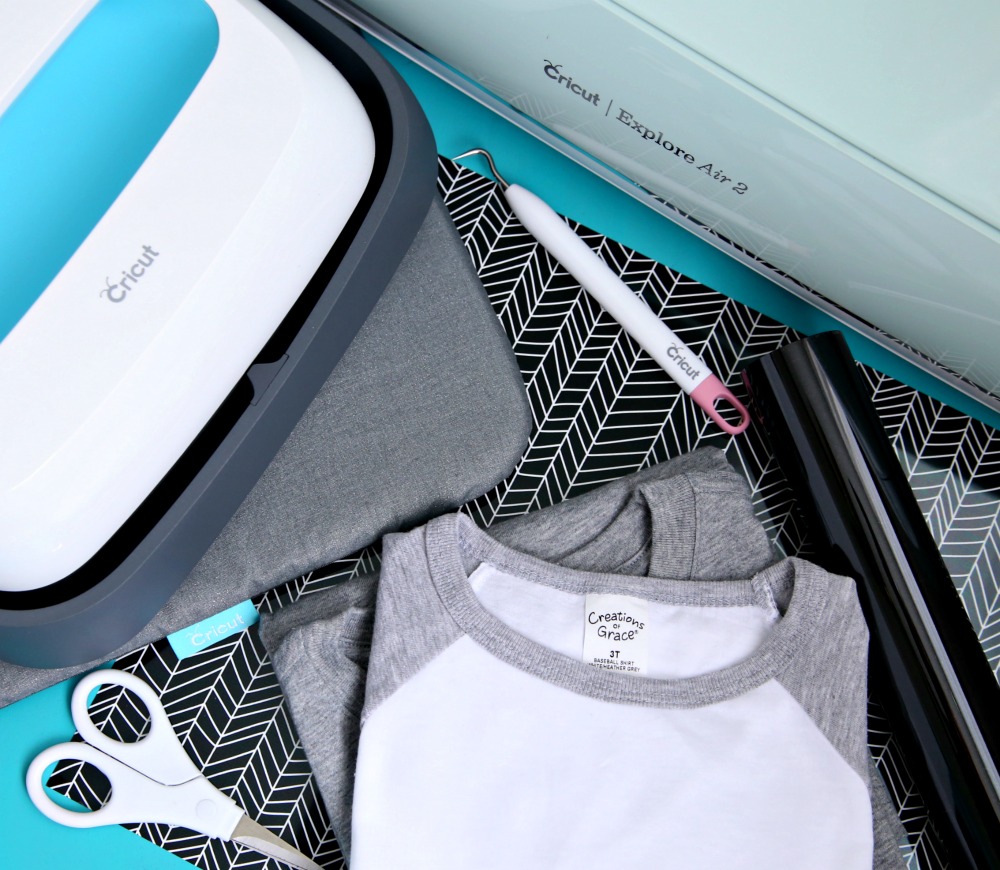
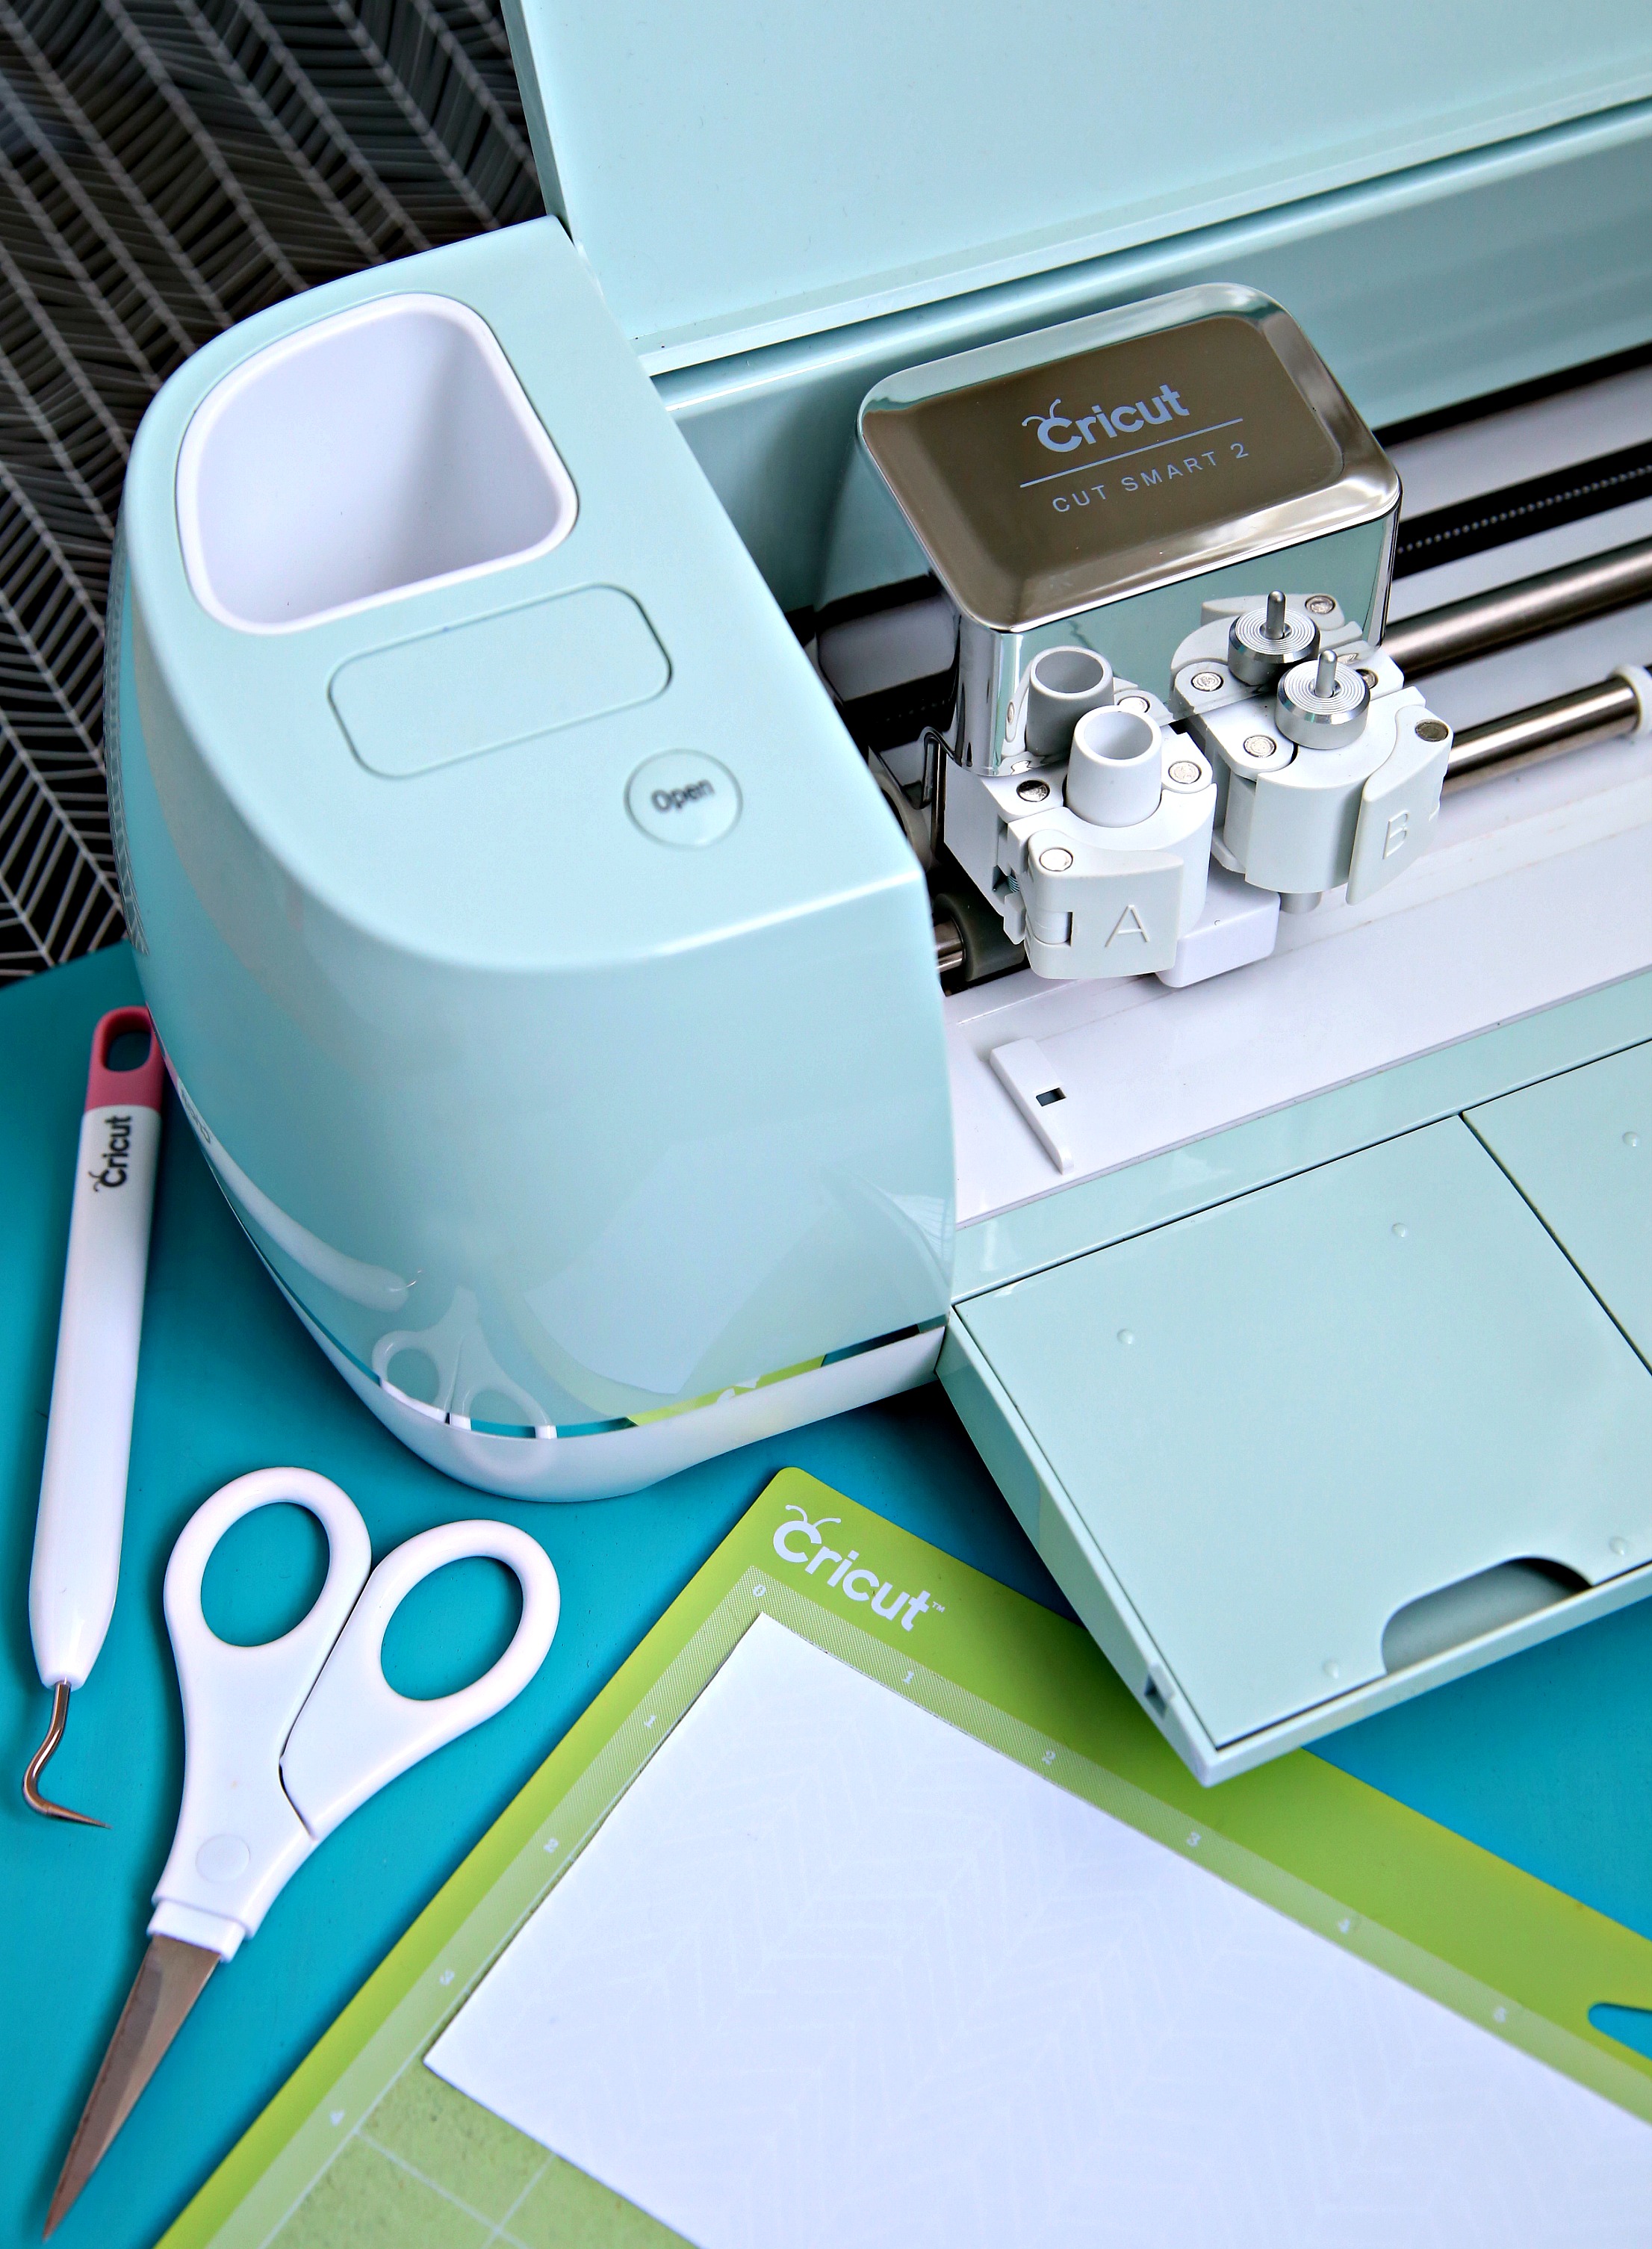
Here’s what you’ll need:
- Cricut Explore Air 2
- Black Iron On
- Cricut® Nature Walk Basics Patterned Iron-On Sampler
- Cricut® Cutting Mat
- Cricut® Weeding Tools
- Scissors
- Cricut EasyPress™
- Cricut EasyPress™ Mat
- Plain T-shirt
- Cool Like My Brother Design
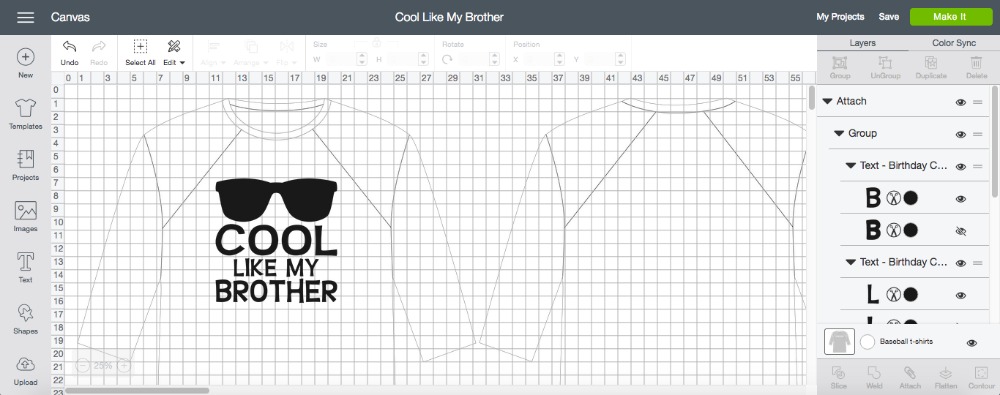
Start by opening this project in the Cricut Design Space. Then, click MAKE IT.
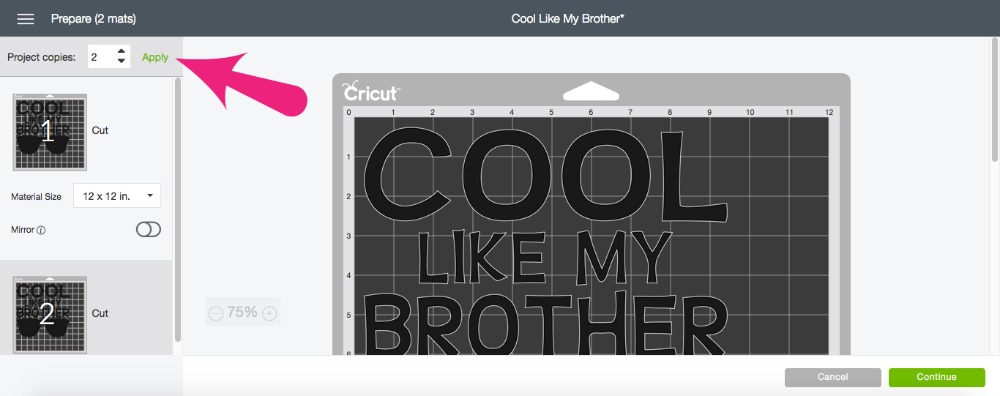
Now for the most important steps. First, select two mats because we’re using two different Iron On products.
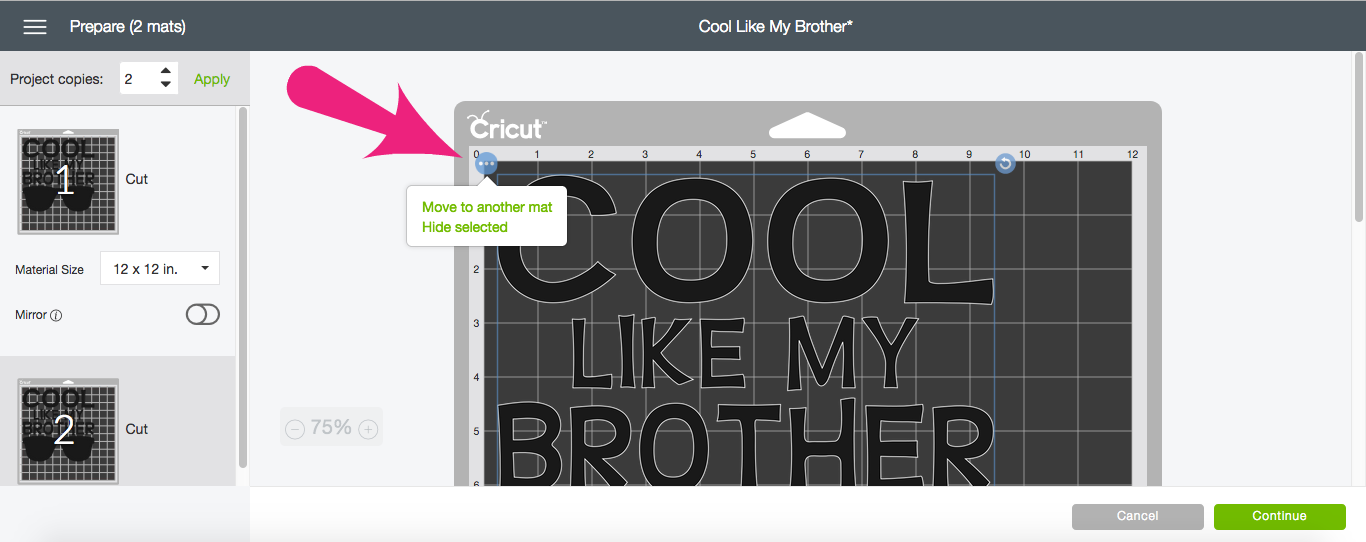
Then we need to hide the two different images that we’re cutting on the two mats. The words “Cool Like My Brother” are attached so they will be cut out together on one mat. The sunglasses are separate so we can use the cool new Patterned Iron On™ on the other mat.
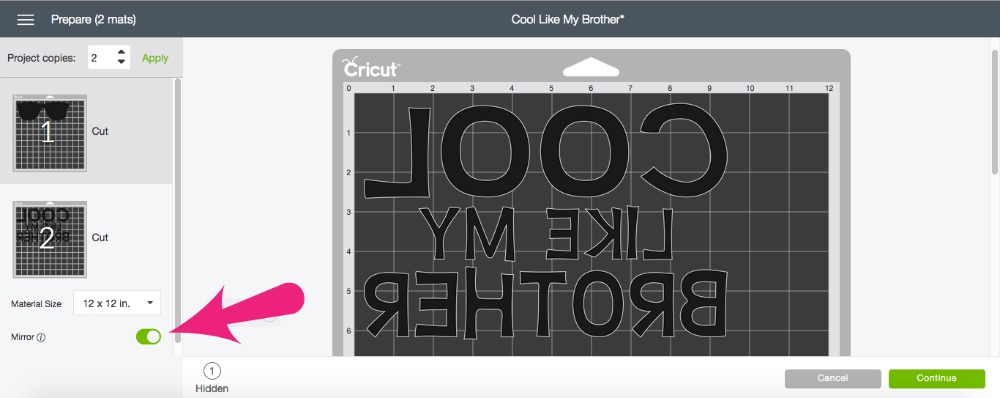
Make sure to select MIRROR.
Load your vinyl onto the cutting mat. Since we’re using Iron On, we need to place it upside down on the cutting mat. The shiny side should be down and the matte side is facing you.
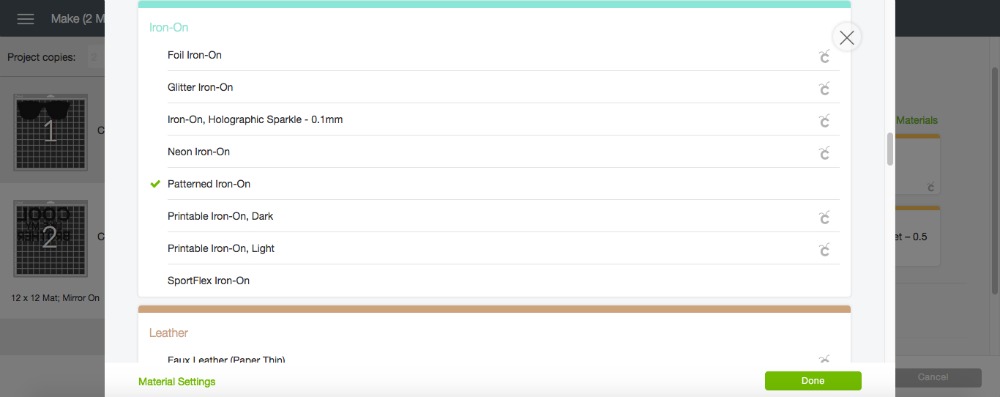
Since we’re working with a new iron on product, we need to select the right material setting. Turn the dial on your Cricut to CUSTOM. Browse All Materials and select Patterned Iron On.
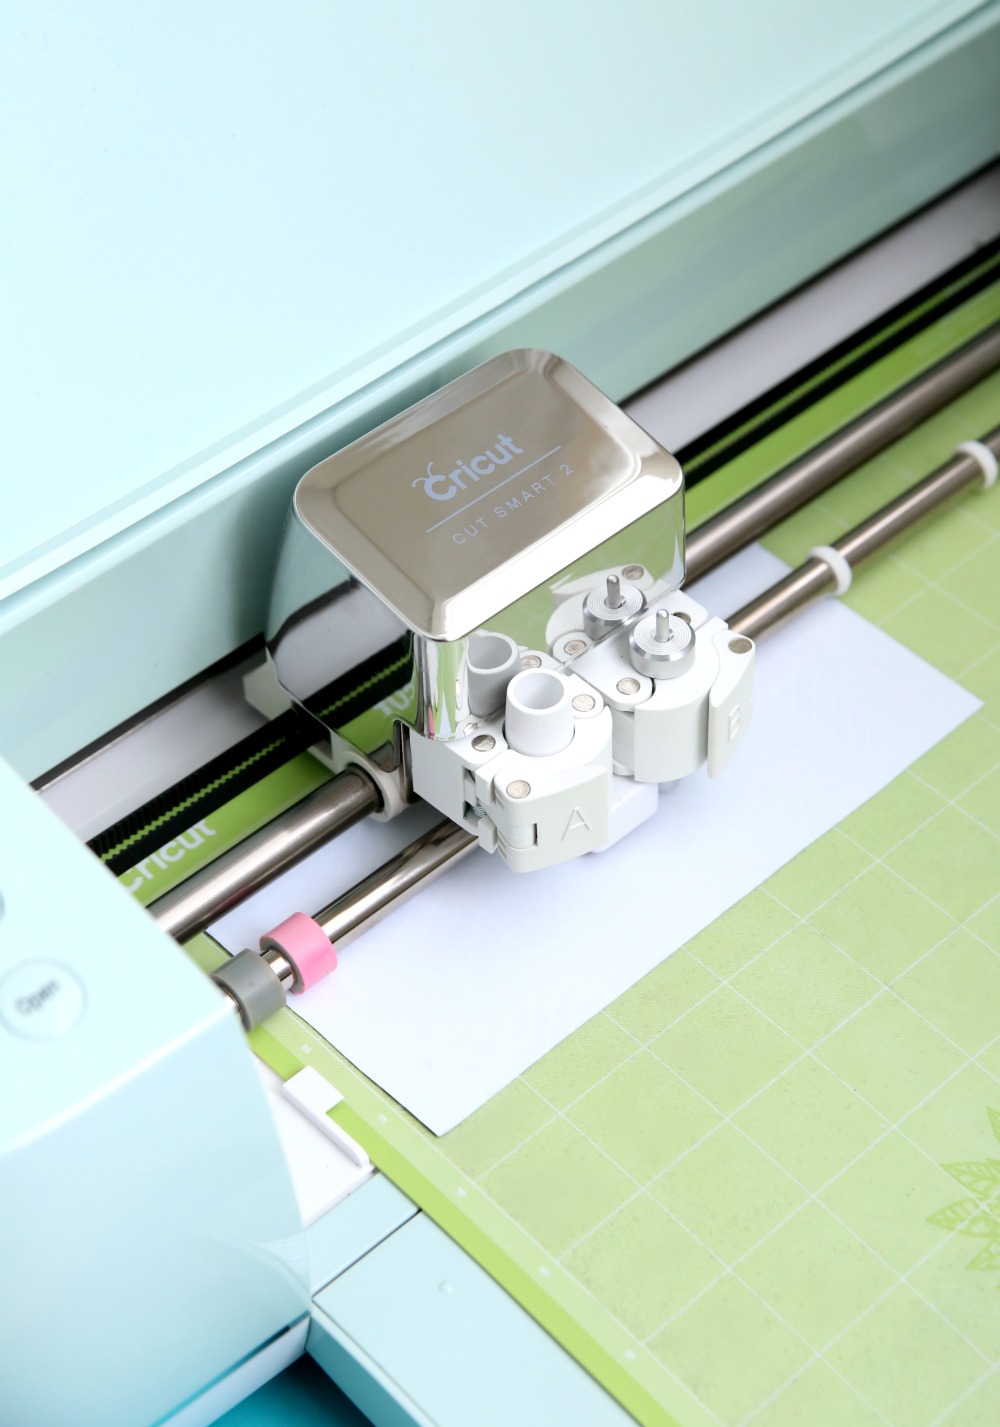
Now, it’s time to let our Cricut work it’s magic.
Remove vinyl from cutting mat and weed out the extra vinyl.
Now, it’s time to use our fabulous EasyPress™ and EasyPress™ Mat. This was my favorite part of the project because I was so excited to play with my new toy.
The Cricut EasyPress™ allows you to get professional iron-on results in 60 seconds or less. The evenly heated plate and simple controls make EasyPress™ the foolproof way to get flawless transfers. When I say flawless, I mean the best results I’ve ever gotten when applying Iron On. And, I highly recommend using the Cricut EasyPress Mat with the EasyPress™. It’s innovative construction eliminates moisture and directs heat to the iron-on design and protects your work surface from damaging heat moisture.

To apply the Patterned Iron On, place the EasyPress™ Mat inside the shirt. Set EasyPress to 340 degrees. Preheat the area of the shirt for 5-10 seconds. To be honest, I never did this before and it makes total sense. Such a duh moment for me.
Place your image on your shirt and then set your EasyPress on the image for 50 seconds while pressing firmly. Turn shirt inside out and press again for 15 seconds using firm pressure.
Guess what my friends? No more wondering if the Iron On has stuck to the material. No more peeking a little to see if it’s okay to remove the protective sheet. The EasyPress is set to the perfect temperature so the Iron On is set perfectly every time.
Like I said – this is a game changer.
Turn the shirt right-side out and let cool before removing the protective sheet.
Note: You will need to change the settings on the EasyPress when applying Iron On Lite. Check this chart for all EasyPress settings. See application instructions for using a regular iron here.
Now, it’s time to hold your fabulous creation out and admire your beautiful work. I can’t be the only one who does this?!
Have you checked out all the new Cricut Patterned Iron On™? Your going to love it! And, you definitely need the new EasyPress™ and EasyPress™ Mat. You will love it them too, I can guarantee that. Even my hubby said that all my Cricut gear was really cool:)
Happy crafting my friends. I hope I’ve inspired you to make these cute matching tees and come back soon because I’ll be sharing lots of fun projects using Cricut’s new Patterned Iron On. So many craft ideas, never enough time in my day.
This is a sponsored conversation written by me on behalf of Cricut. The opinions and text are all mine.

![]()
![]()
![]()
![]()
![]()
![]()