How to Print then Cut with your Cricut
This post and its photos may contain affiliate links. As an Amazon associate I earn from qualifying purchases. If you make a purchase through these links, I may receive a small commission at no extra cost to you.
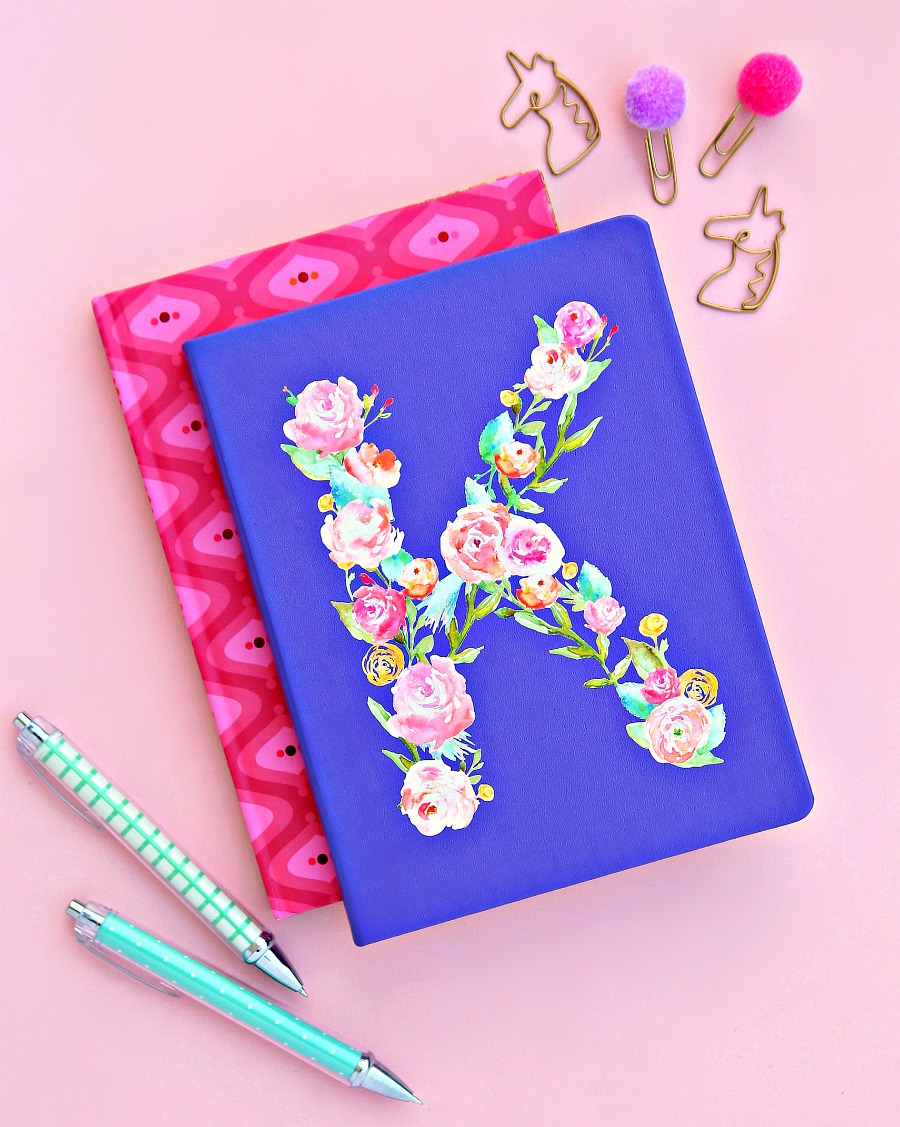
A step by step tutorial on how to print then cut with your Cricut and make a Floral Watercolor Monogram with Printable vinyl.
We all know that the Cricut is a magical machine that is capable of awesome things and today we’re going to be using the Print then Cut Feature.
Have you done any projects with this feature yet? I’ll be honest – I was really hesitant about this because I didn’t have faith in my Cricut and I’m ashamed to admit that. I did not think that it would be able to cut something that was printed by my home printer. I thought for sure that there was no possible way the cuts would line up with what I printed but I was wrong and now I’m once again amazed by my favorite crafting tool.
How to Use Cricut Print Then Cut Feature
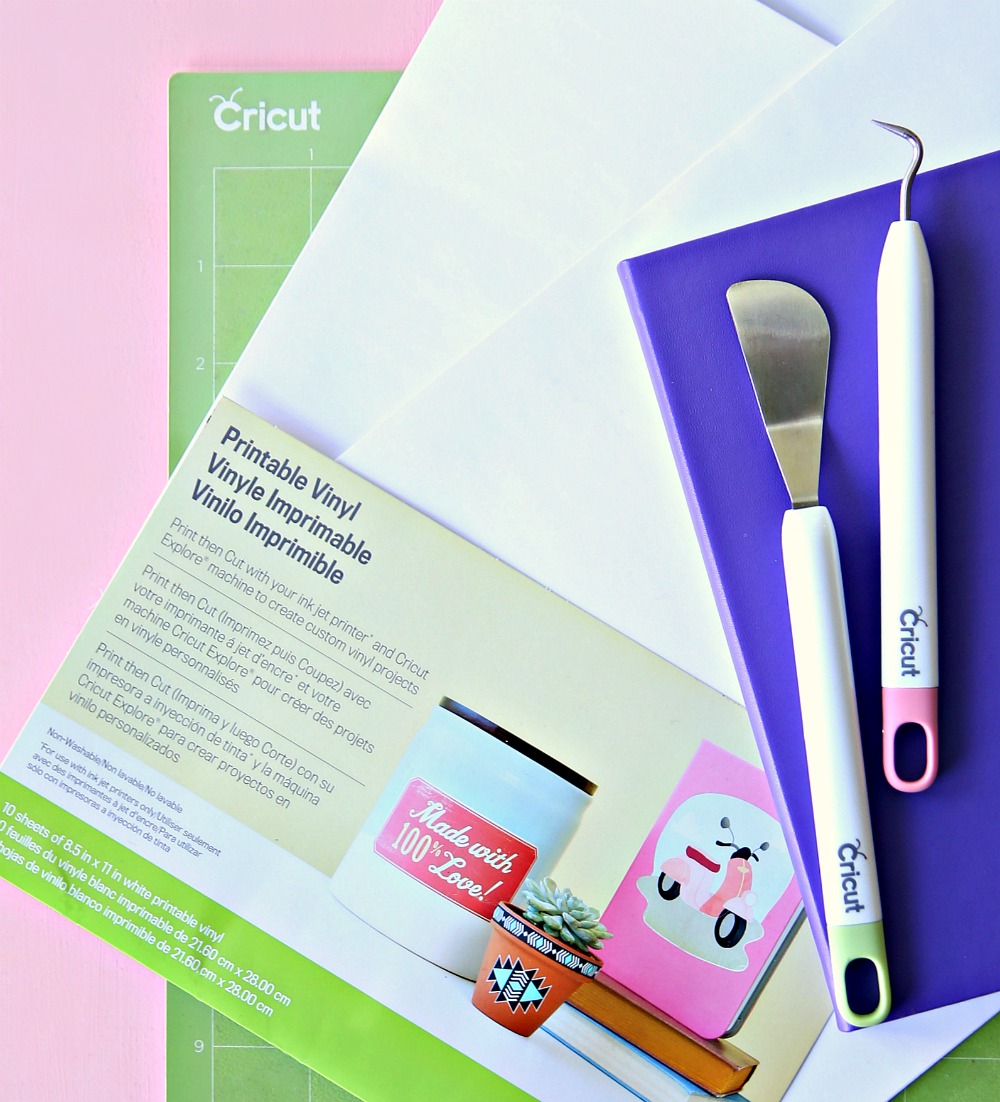
First you will need to gather your supplies:
- Cricut Explore Air 2 or Cricut Maker
- Cutting Mat
- Printable Vinyl, Sticker Paper, or Cardstock
- Home Printer
- Cricut Tools – Weeder and Spatula
How to Use Print then Cut with Uploaded Images
Do you have an intricate design that you want to cut? That’s what I love about this Print then Cut feature. I love watercolor flowers and wanted a pretty watercolor monogram for my new journal so I let my Cricut do all the work for me.
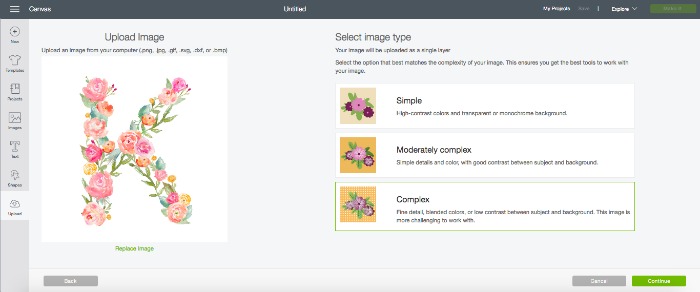
Step 1: Open Design Space and create a new project. Upload your mage by clicking UPLOAD on the bottom left and then clicking UPLOAD IMAGE. I’m using these Floral Watercolor Letters for this project. Aren’t they gorgeous?!
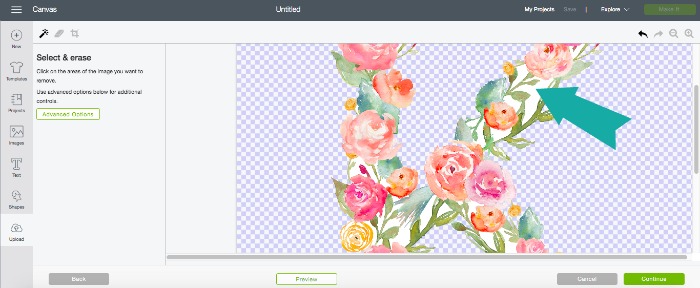
Step 2: Select your image type. This will depend on how detailed your image is. I chose COMPLEX for this project because of how detailed the design is. Then click CONTINUE. Using your mouse, select the areas around the design that you want to erase. This will let your Cricut know where to cut. Click CONTINUE.
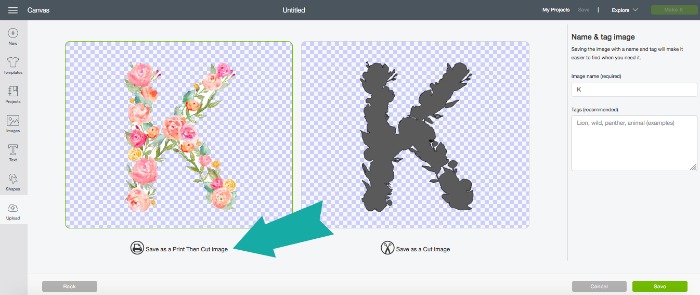
Step 3: Select SAVE AS PRINT THEN CUT IMAGE and click SAVE.
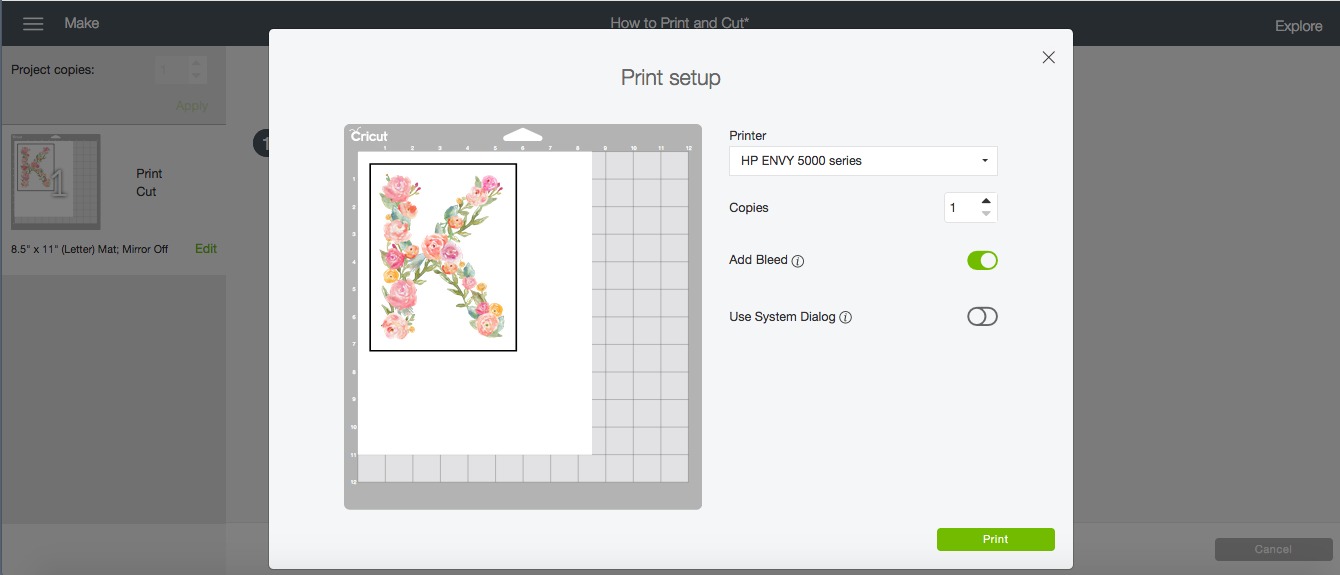
Step 4: Now for the fun part! Insert your image onto your canvas and resize if you need to. Click MAKE IT and then click SEND TO PRINTER. Select your printer and click PRINT.
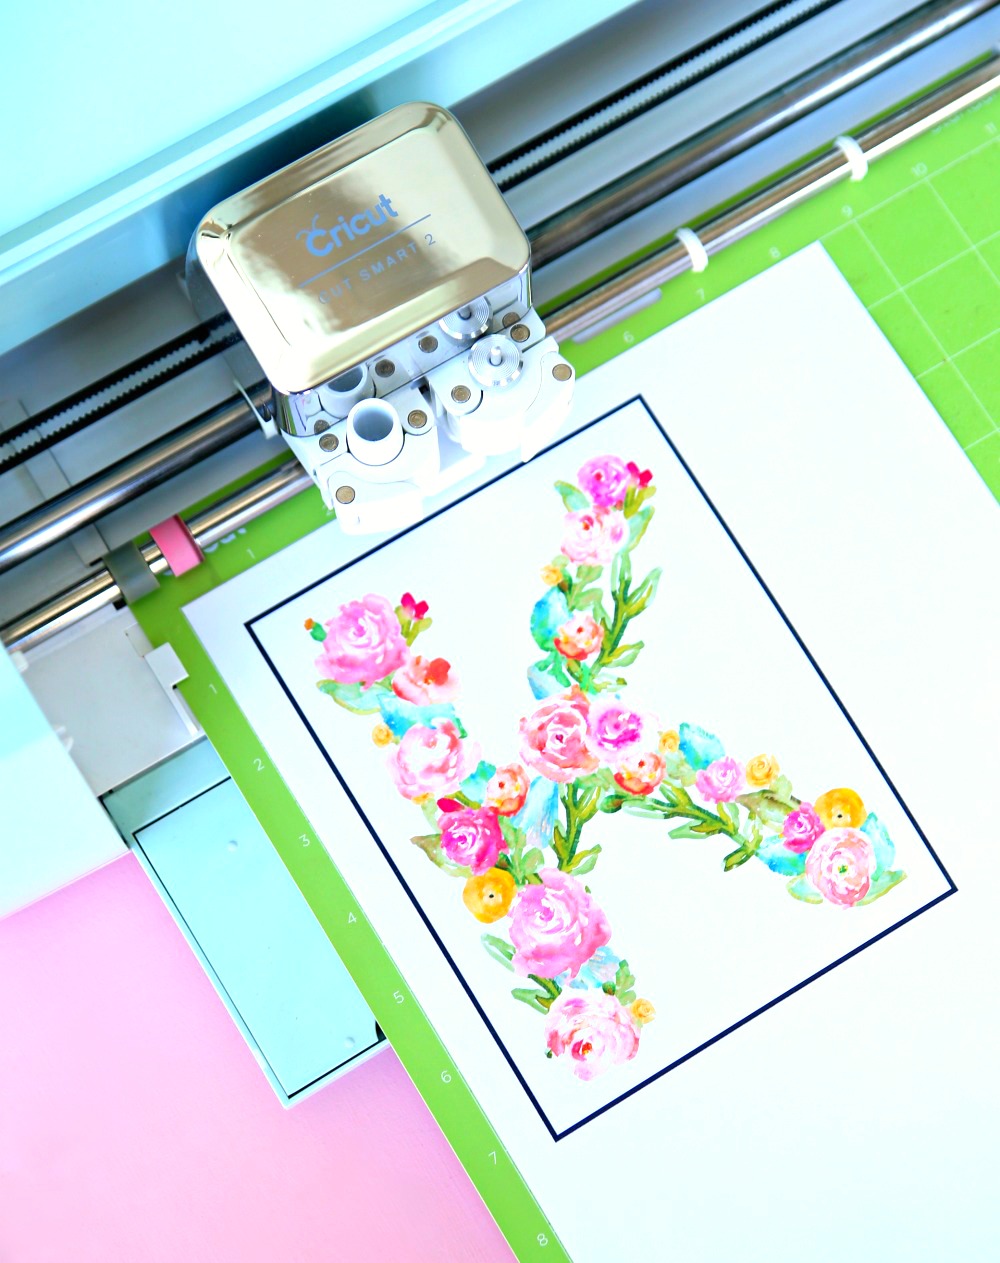
Step 5. Once your design prints, add to your cutting mat and load mat into your Cricut. Select your material and let your Cricut work it’s magic. Your Cricut will use the black box as a guide so it knows exactly where to cut.
And, that’s it. Now you’re ready to remove your design from the cutting mat.

Print and Cut Project Ideas
There are so many fun projects that you can make with Cricut’s Print and Cut feature.I used printable vinyl to make a monogram for my journal and I’m in love with how it turned out. Use this feature to make gift tags, stickers, labels and so much more! The best thing about this feature is that you can cut out your own designs and images which means the possibilities are endless.
What Materials Can be Used with Print then Cut?
The print then cut feature let’s you use any material that you can use with your printer. Here are a few ideas:
- Cardstock
- Printable Adhesive Vinyl
- Printable Iron-on Vinyl
- Sticker Paper
- Label Paper
- Shrinky Dinks
- Vellum
Can I use images from Design Space to print and cut?
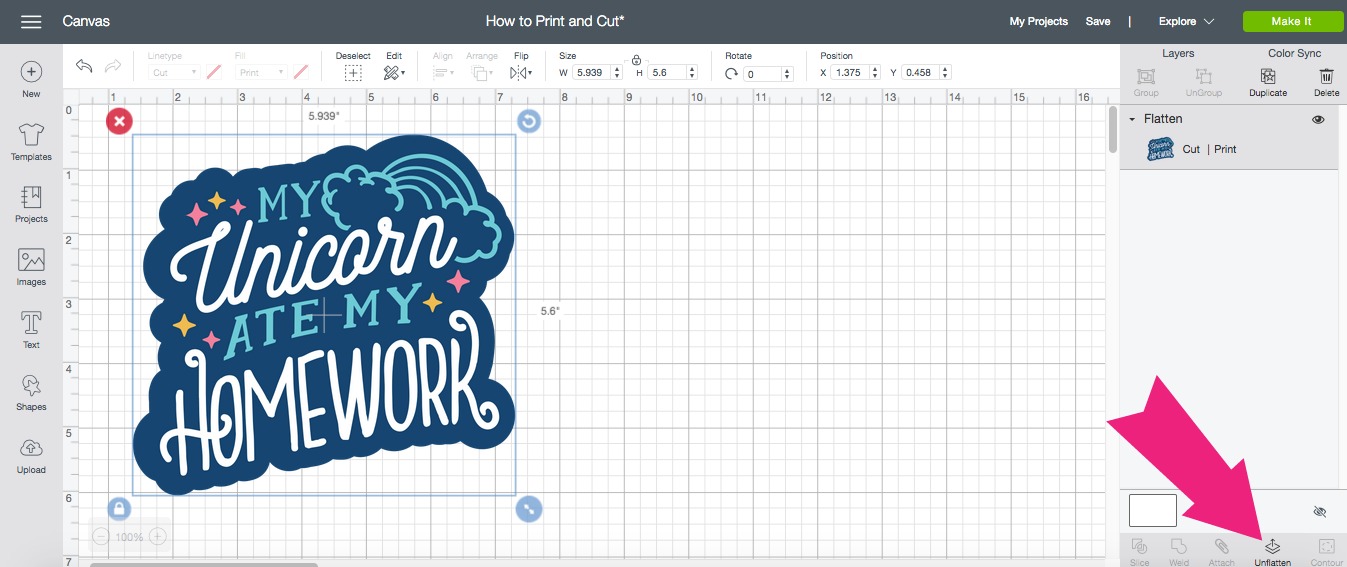
Yes, of course you can! Select your image in Design Space and insert onto your canvas. Click SELECT ALL and then click FLATTEN. That’s it. Now you’re ready to send your design to your printer. How easy was that? I’m pretty sure that I’m going to be printing and cutting a lot of designs over the weekend.
I know it seems like a lot of information but you are going to love printing and cutting all your favorite designs.

The Cricut Summer of Flowers
Looking for more awesome flower themed Cricut projects? I’ve teamed up with some of my favorite blogging friends to bring you a fabulous collection of Cricut flower craft projects.
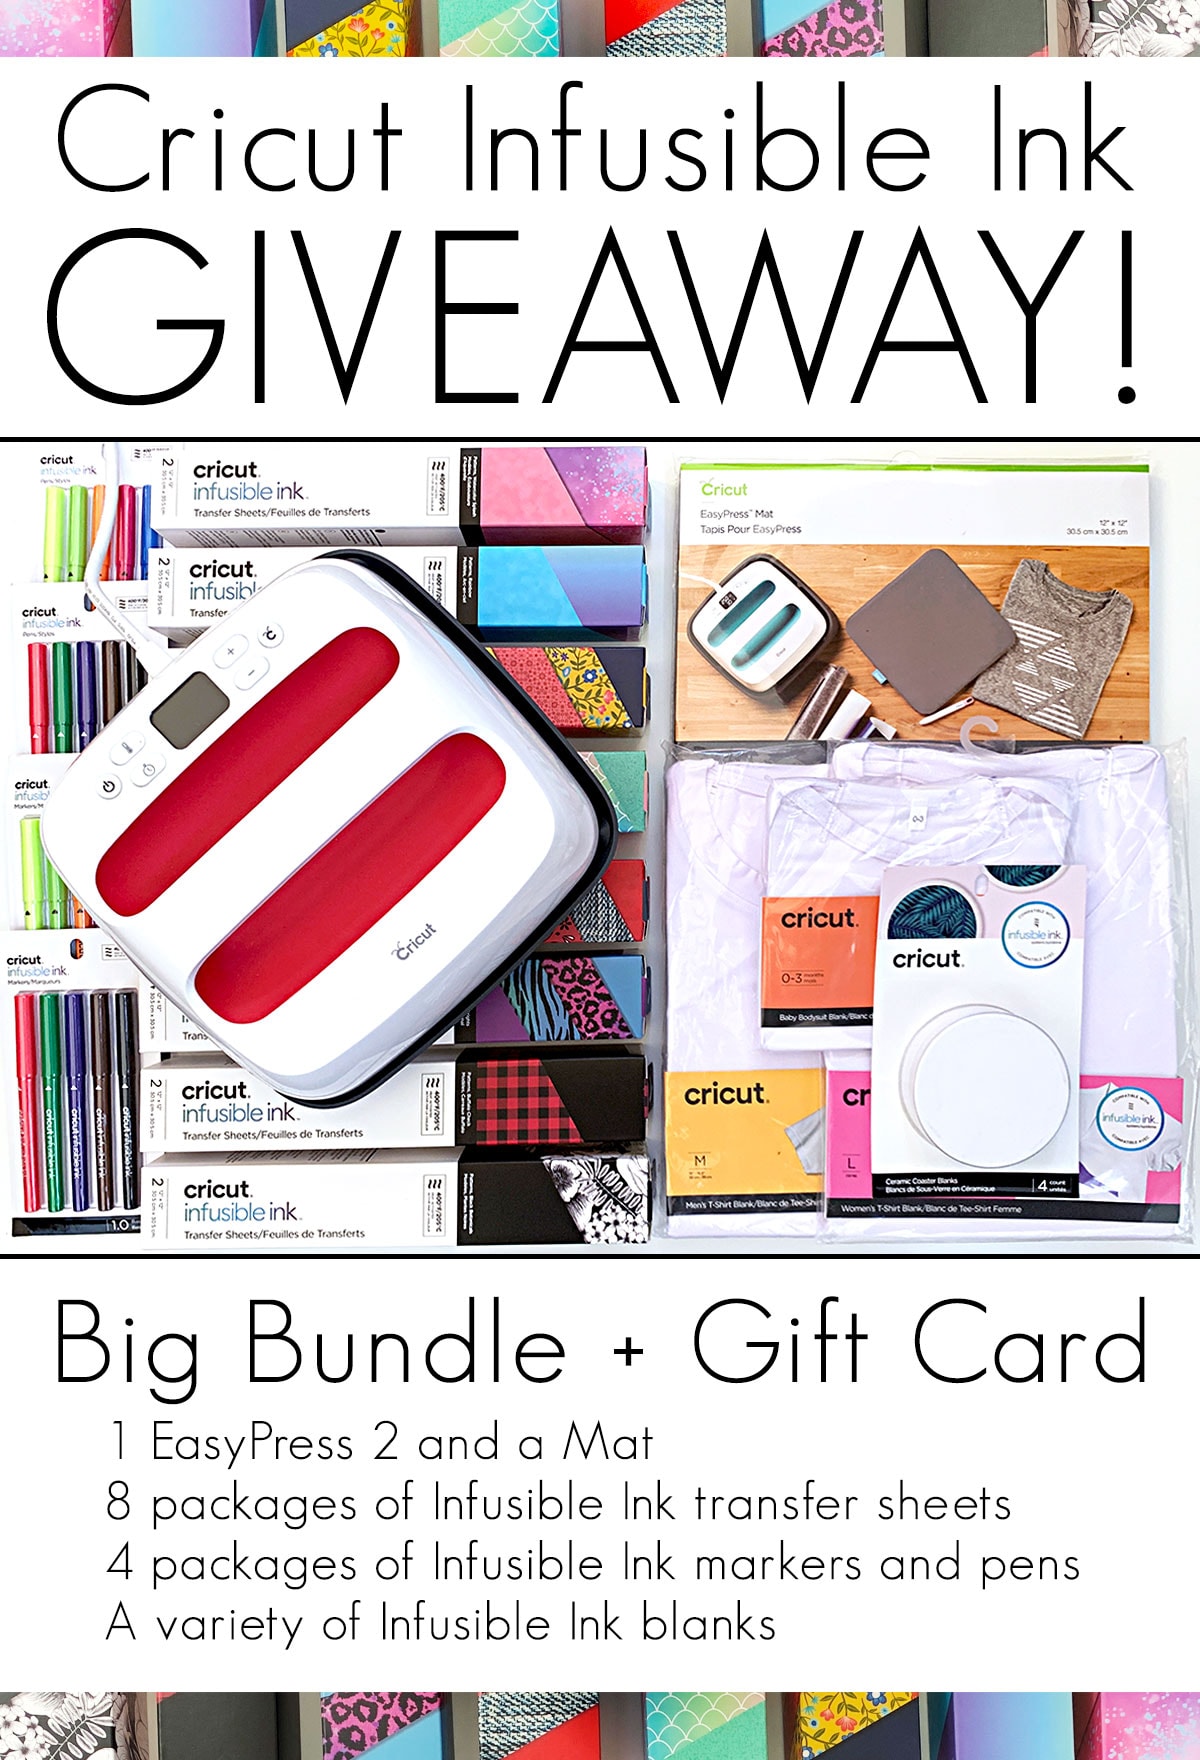
Cricut Infusible Ink Giveaway
Want to win a fabulous Cricut prize package full of everything you need to get started with Cricut’s new Infusible Ink? Use the Rafflecopter below to enter.

![]()
![]()
![]()
![]()
![]()
![]()
This is such a pretty addition to the notebook! Thanks for joining the Summer of Flowers event!
What kind of printer do you use?
How do you get the design to dry? Do you put it the cricut wet?
HI!
Love the watercolor floral font. Do you mind sharing where you got this?
Thanks a bunch!