Easy Stitched String Art for Kids
This post and its photos may contain affiliate links. As an Amazon associate I earn from qualifying purchases. If you make a purchase through these links, I may receive a small commission at no extra cost to you.
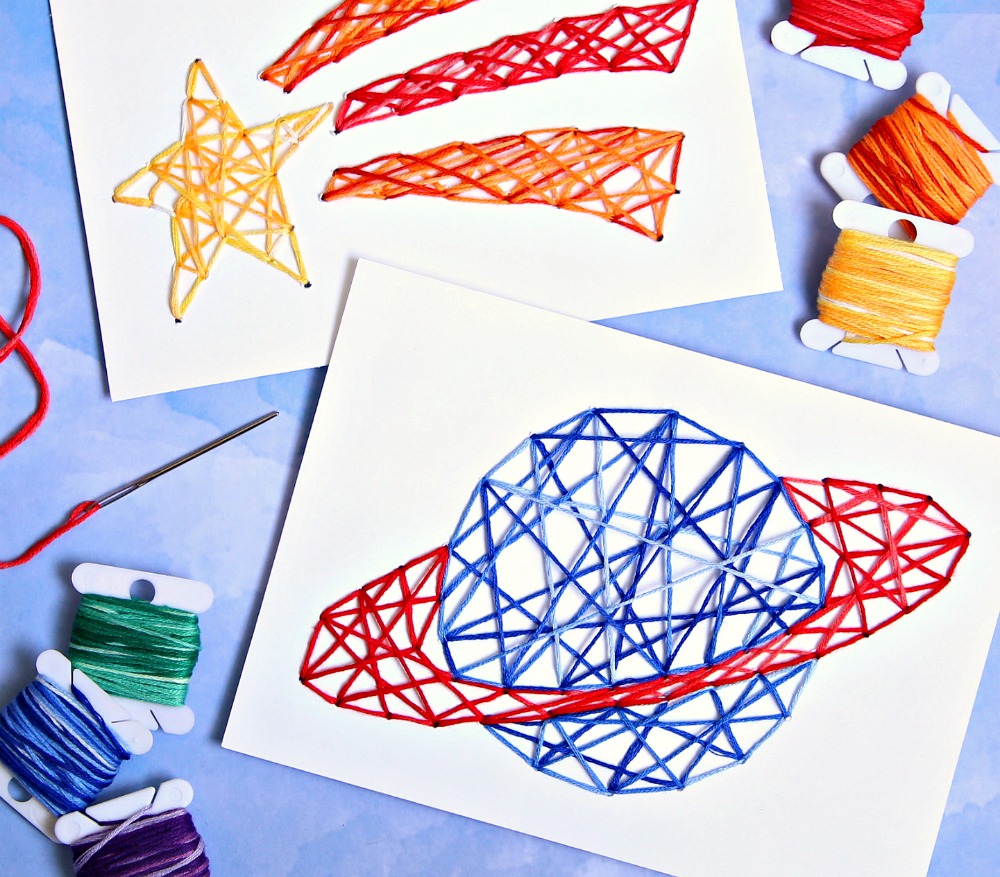
This easy Stitched String Art is the perfect craft for kids – and adults too! So grab some embroidery thread, a fun image, and a few pieces of cardstock because everyone will love this craft project!
It’s been raining here for the past two weeks which means that we’ve been stuck in the house. So, of course, I’ve been coming up with as many art projects as I can to keep us all busy. Thankfully I have my Cricut because I’m not sure we’d survive.
Ok, that might be an exaggeration but it’s definitely been a life savor and I’m so excited to share our latest craft project with you.
Connor wanted to make String Art but I was worried that using a hammer and nails might be a little too much for him so we came up with this awesome stitched string art activity. Instead of using nails, we used a large needle to poke holes around an image and stitched embroidery thread randomly through the holes.
The best thing about this Stitched String Art is that it’s perfect for kids of all ages. Connor is old enough to poke the holes himself but for the younger kids, an adult can quickly do it for them and the possibilities are endless. Connor is obsessed with all things space so he wanted to make a shooting star and planet.
Supplies needed to make Stitched String Art:
- Cardstock
- Embroidery Thread
- Large Needle
- Cricut Explore Air 2
- Cricut Pen
- Cricut Cutting Mat
Directions for Stitched String Art:
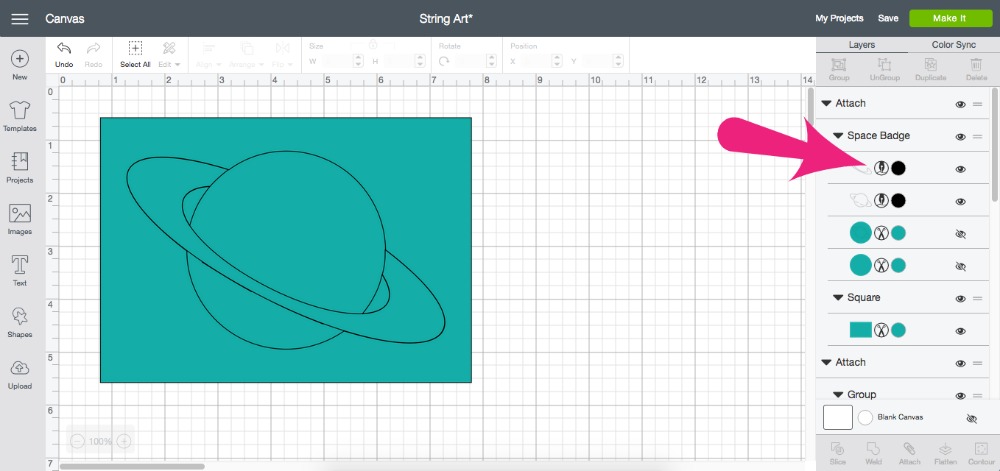
Step 1: Open Cricut Design Space and find an image you like or open our project if you like what we made:) If you do choose your own image, make sure you change the image to write. I also created a rectangle around the image to cut so the image was centered.
Step 2: Load cardstock onto cutting mat, add a Cricut pen to your machine, and let your Cricut work it’s magic.
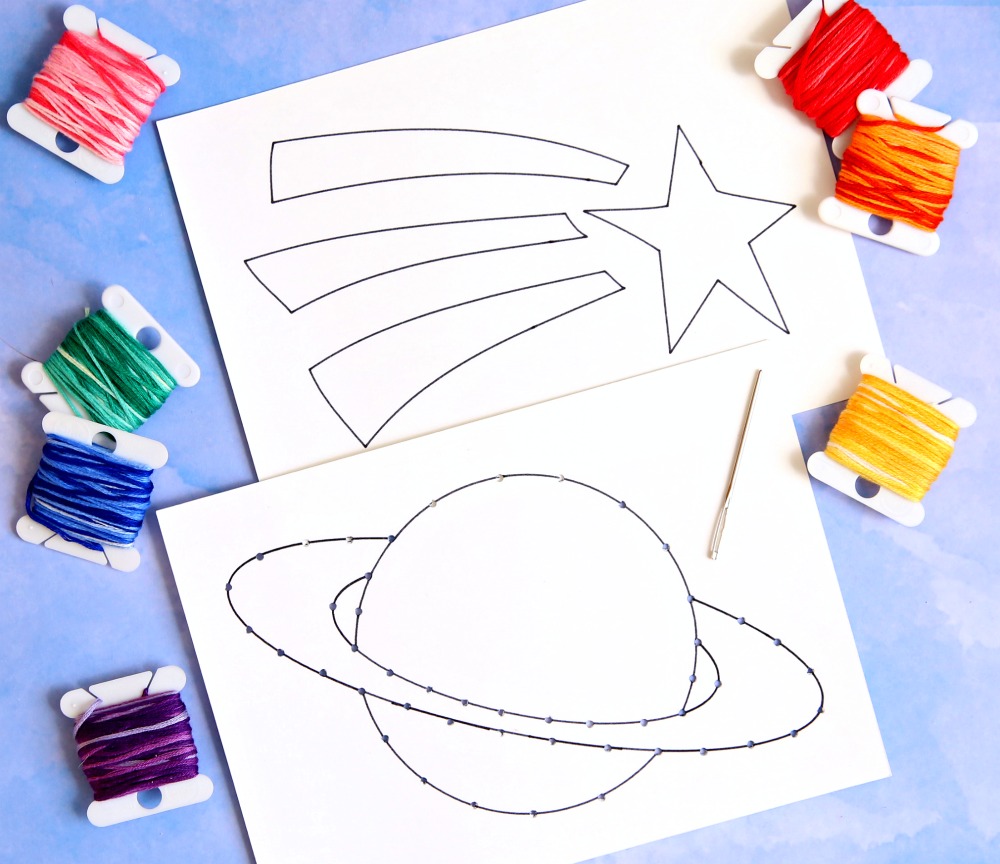
Step 3: Place image on an empty box and poke holes all around the image using the large needle.
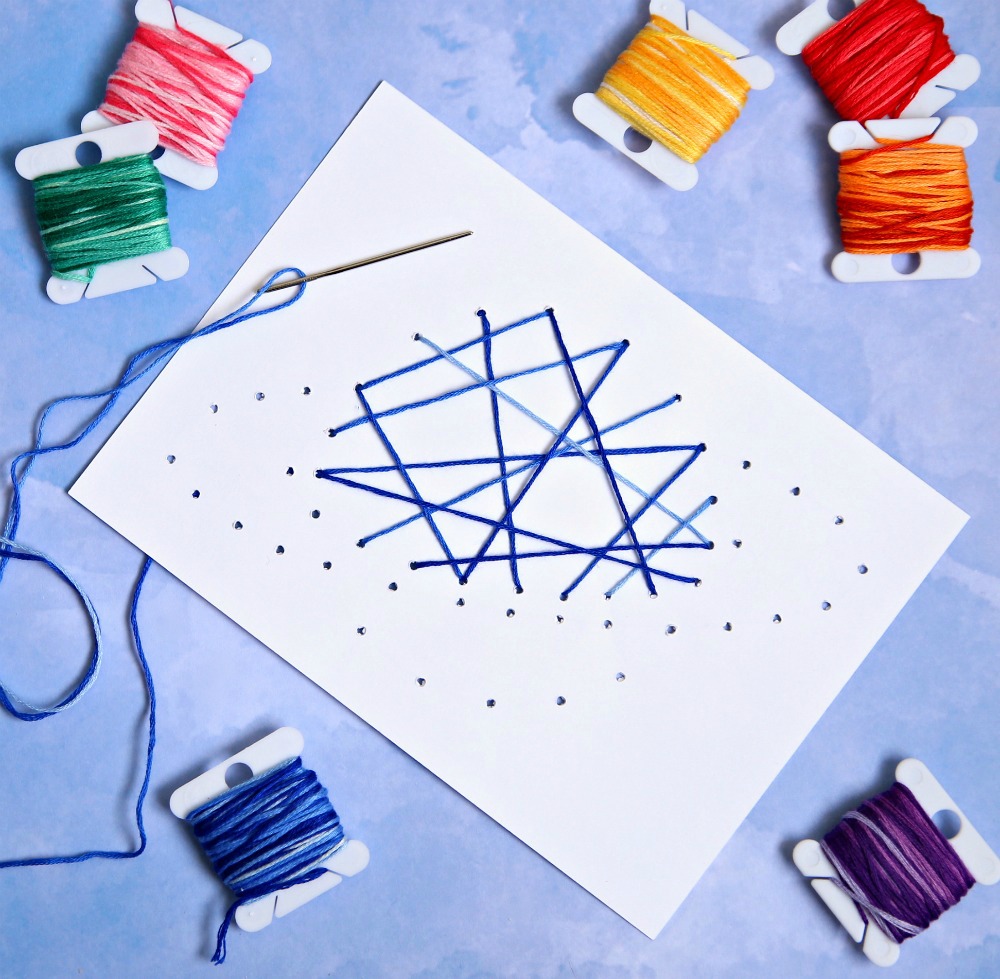
Step 4: Now, it’s time for the fun part. Flip the paper over. Add thread to the large needle and tie a large knot at the end to keep the thread from coming through the poked hole. And, just start stitching thread through the holes across the image. You can’t mess this up. Just keep stitching through the holes until the image is covered. We also went around the entire image with thread. Once you are finished, tie another knot on the back of the paper and admire your gorgeous art work.
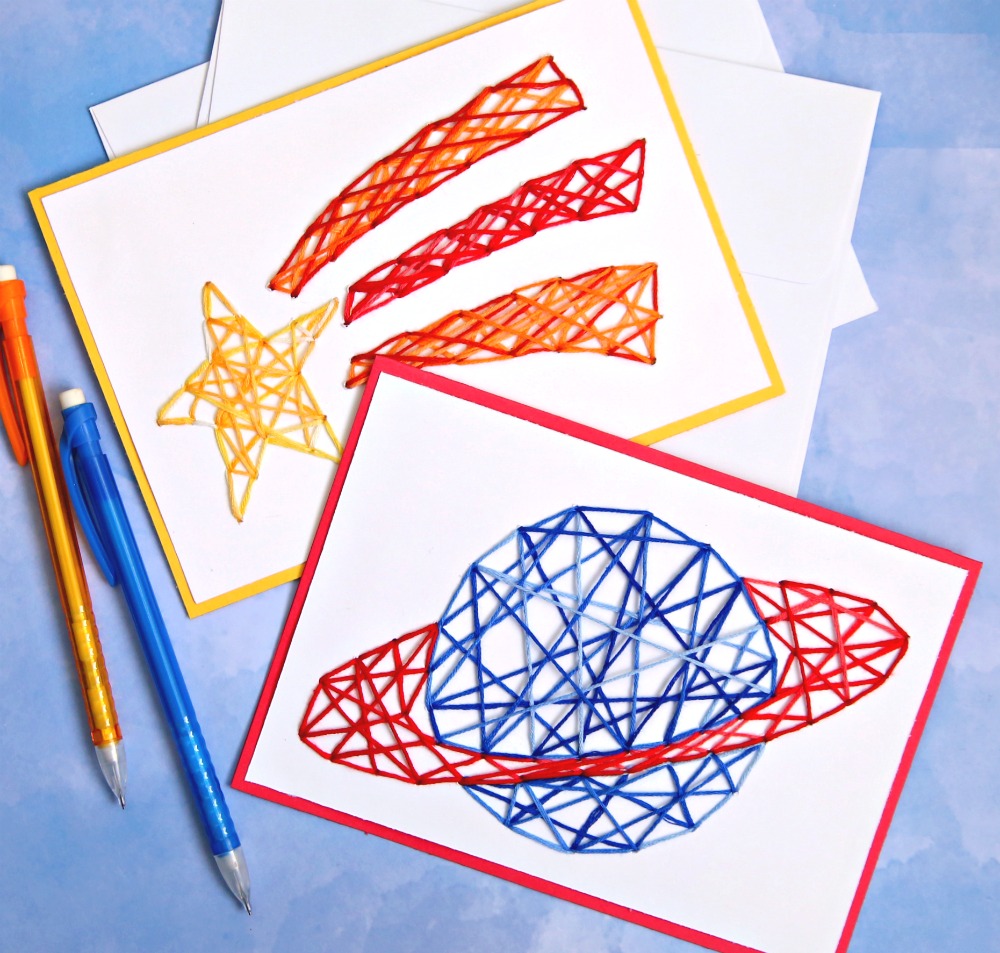
Aren’t they cute?
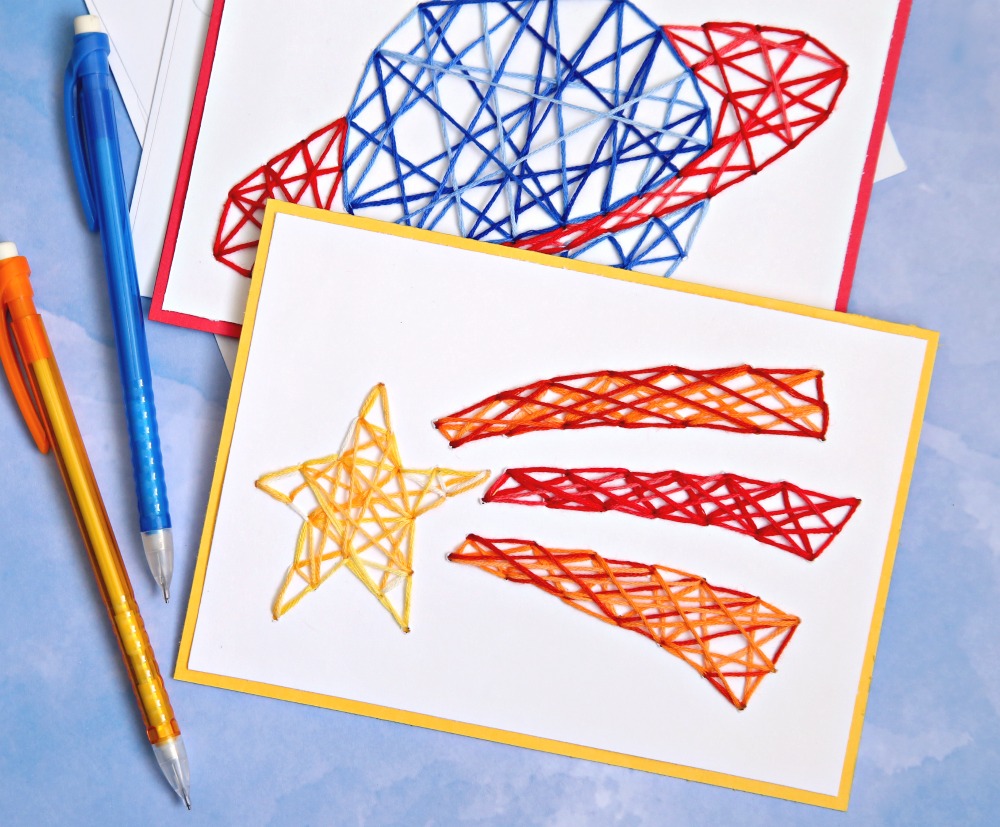
We ended up making them into cards for Connor to send to his cousins. They would be cute in a frame too.
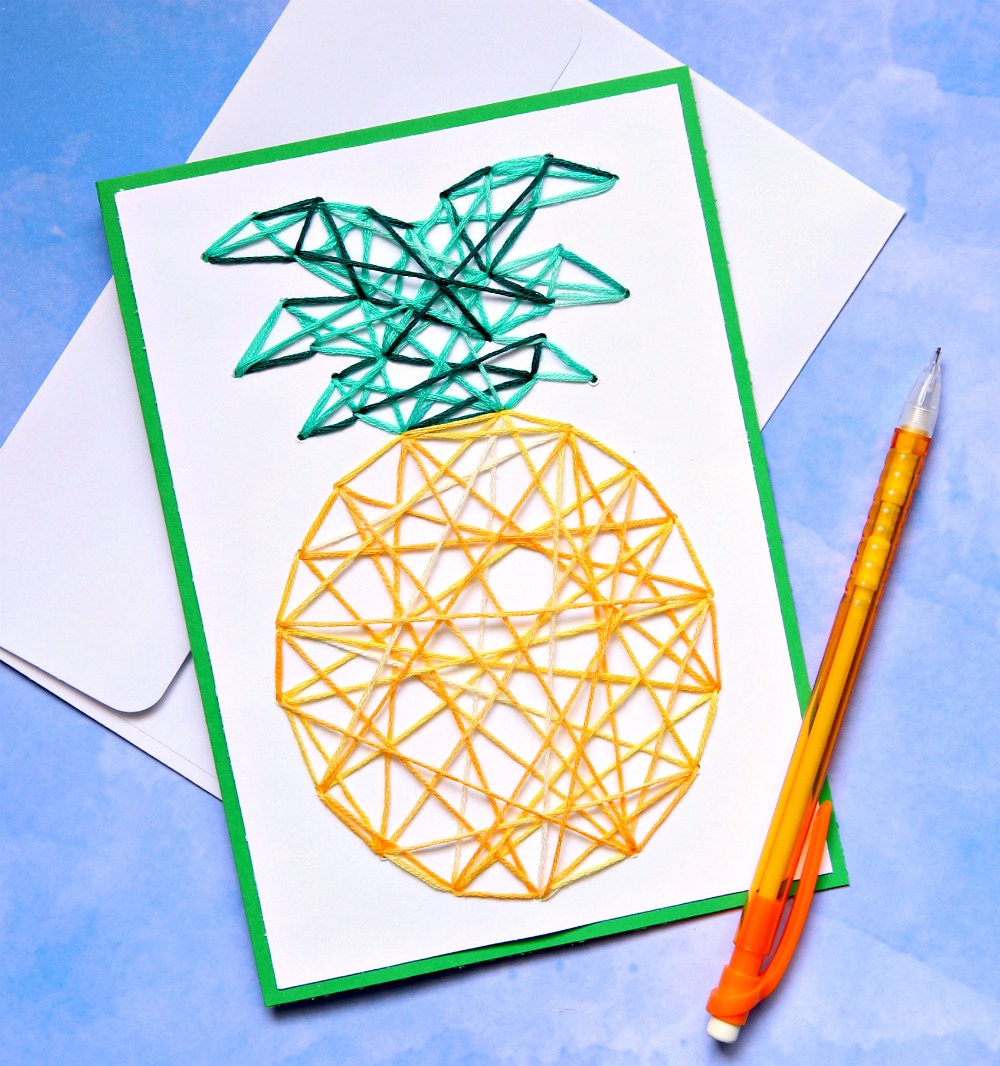
I even got in on the fun and made a pineapple. This is the perfect craft for kids and adults!
Don’t have a Cricut? That’s okay. Just find a simple image online, print it out and poke holes around the outline of the image. You could even draw your own picture.
Happy crafting my friends! I hope I’ve inspired you to try this fun Stitched String Art craft project.
How To Make Stitched String Art with Your Cricut
Instructions
- Open Cricut Design Space and find an image you like or open our project if you like what we made. If you do choose your own image, make sure you change the image to write. I also created a rectangle around the image to cut so the image was centered.
- Load cardstock onto cutting mat, add a Cricut pen to your machine, and let your Cricut work it’s magic.
- Place image on an empty box and poke holes all around the image using the large needle.
- Flip the paper over. Add thread to the large needle and tie a large knot at the end to keep the thread from coming through the poked hole. And, just start stitching thread through the holes across the image. You can’t mess this up. Just keep stitching through the holes until the image is covered. We also went around the entire image with thread.
- Once you are finished, tie another knot on the back of the paper and admire your gorgeous art work.
- Place in a frame or add to a blank card.
Awesome project! Very interesting.
Hi, I tried clicking the link to open your project because I love your design and it wouldn’t work for me 🙁
Could you send me the templates you used?
Thanks
I can’t link to designs could you send them to me please
Très joli projet. Je vais m’en inspirer pour un projet sur du bois avec des clous.
Merci pour le partage.