DIY Ruler Growth Chart with Cricut Joy
This post and its photos may contain affiliate links. As an Amazon associate I earn from qualifying purchases. If you make a purchase through these links, I may receive a small commission at no extra cost to you.
This is a sponsored post written by me on behalf of Cricut. All opinions are 100% mine.
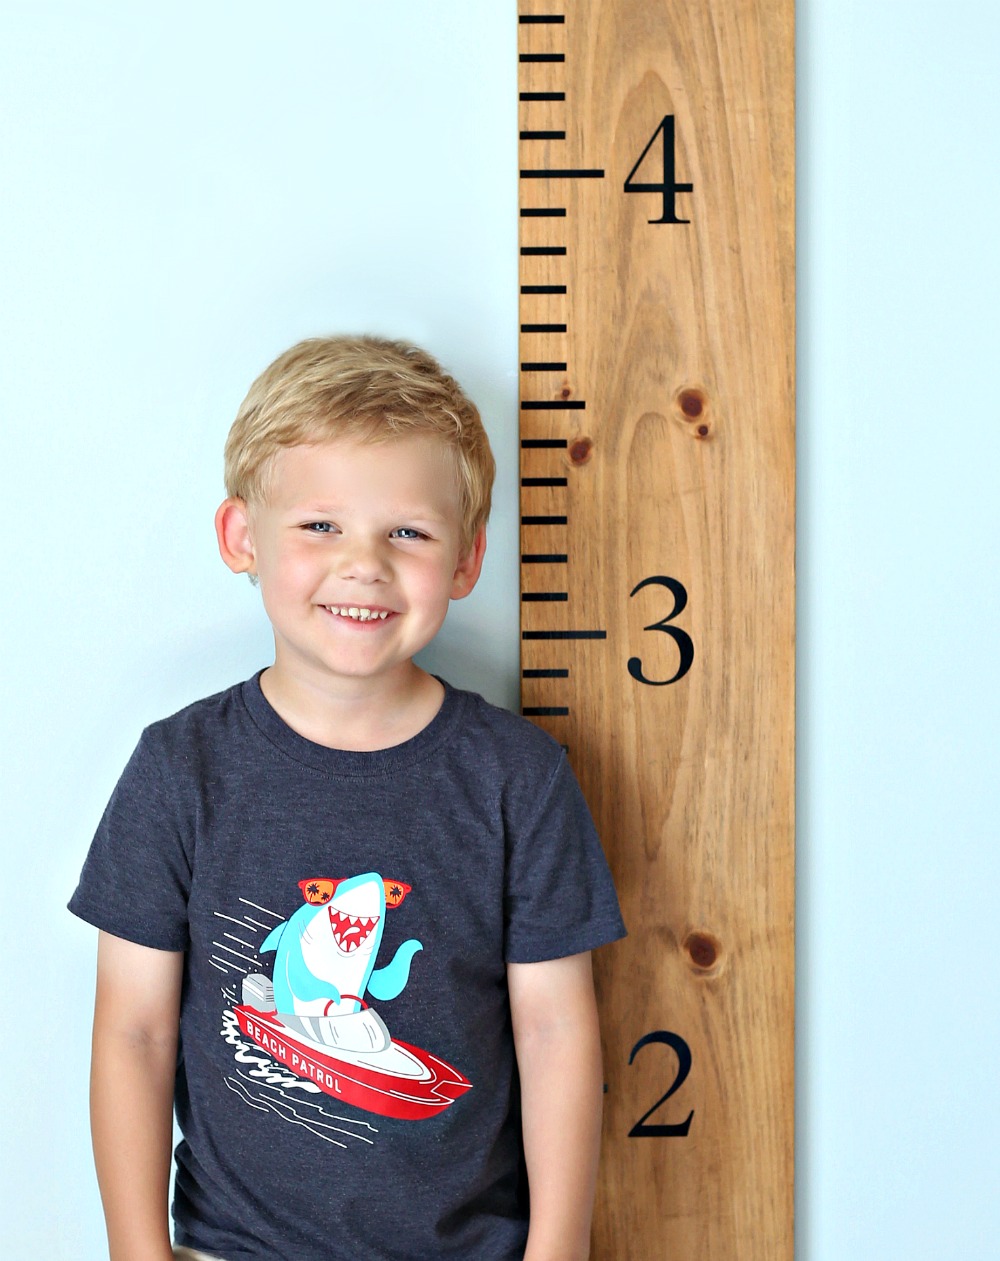
Make a DIY Ruler Growth Chart with your Cricut Joy in less than 15 minutes with this easy tutorial.
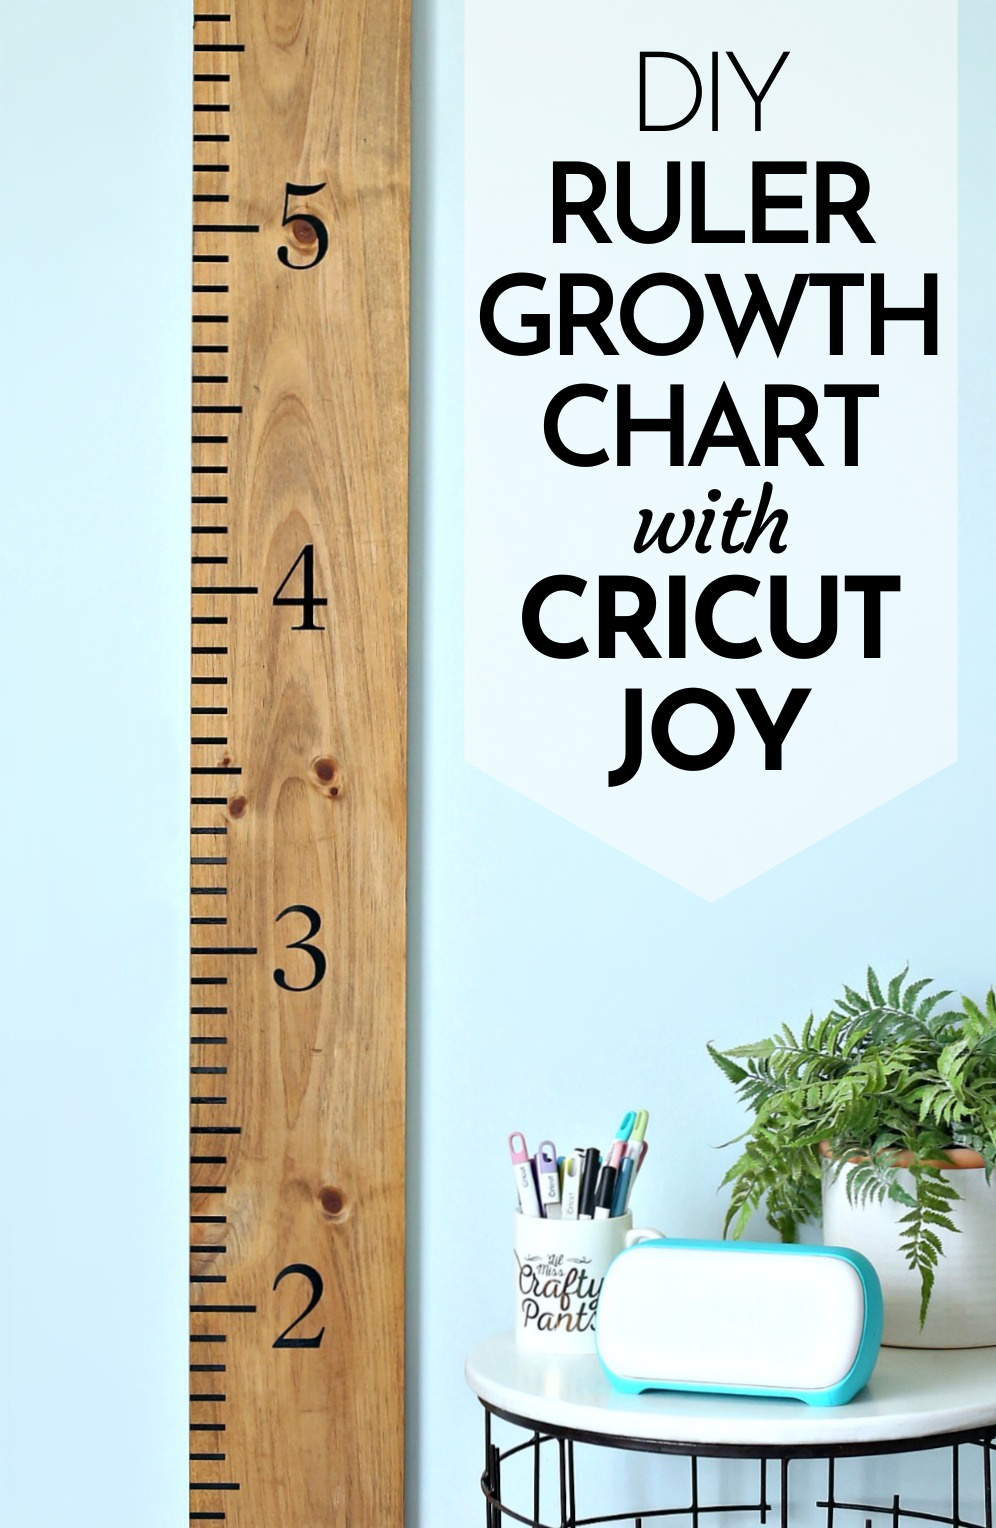
DIY Ruler Growth Chart with Cricut Joy
Want to make a Ruler Growth Chart? Well, guess what? It’s easier than ever thanks to the awesome Cricut Joy! Today I’m going to show you how easy it is to cut long cuts without a mat using your Cricut Joy. One cut, one piece of vinyl and one roll of transfer tape is all I needed for this fun 15 minute Cricut project.
The one thing I love about the Cricut Joy is it’s ability to cut longer cuts. And, that means we can now create longer wood projects including this Ruler Growth Chart. This easy Cricut Joy project only took 15 minutes to make thanks to the fact that I was able to cut one long piece of vinyl with the Cricut Joy instead of having to cut multiple sections.
Cricut Joy Features
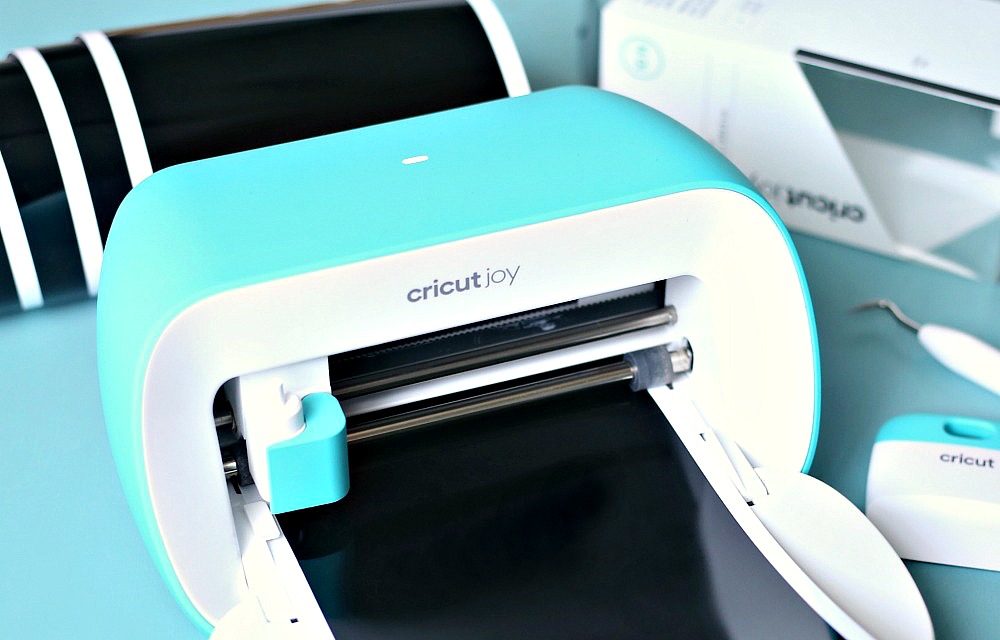
First, let’s talk about why you need a Cricut Joy if you don’t have one. The Cricut Joy is Cricut’s smallest cutting machine ever! It’s perfect for small spaces like countertops, bookshelves, cubbies, and pretty much every space in your home!
It’s also super easy to set up and connects instantly to your desktop or cell phone. Design and make all your projects in Cricut Design Space and then all you have to do is let your Cricut Joy work it’s magic.
The Cricut Joy uses Cricut Smart Materials, which are different from other vinyl and paper. These materials are specifically designed to work without a cutting mat. This means less supplies are needed to make all your favorite Cricut projects.
For more awesome Cricut Joy features, check out my 10 Things I love about the Cricut Joy.
What size images can I cut with the Cricut Joy?
The Cricut Joy can cut an individual design up to 4.5 inches wide and 4 feet long and repeated cuts up to 20 feet long using Cricut Smart Materials. When cutting longer cuts, the Cricut Joy does not require a mat. Simply load the vinyl into the machine and the Joy is able to cut the material.
The Joy does come with two mats that you can use to cut up to 4.25 inches x 6.25 inches or 4.25 inches x 11.75 inches if you’re cutting smaller designs and prefer using mats.
What is Matless Cutting?
One of my favorite Cricut Joy features is the ability to cut without a mat. Matless cutting is exactly what it sounds like – cutting without a Cricut mat. The Cricut Joy allows users to cut materials without using a mat. This also means that the Cricut Joy can cut material longer than the usual 24 inches with the Cricut Maker and Cricut Explore.
Cutting Long Cuts with Cricut Joy
So, now for the fun part! I’m going to show you how to create a Ruler Growth Chart with one single cut that’s 73 inches long. The Cricut Joy makes this an easy 15 minute craft project that any one can do.

Supplies needed to make a DIY Ruler Growth Chart
- 1x6x6 Wood Board (sanded and stained)
- Cricut Joy
- Cricut Joy Permanent Smart Vinyl
- Transfer Tape
- Cricut Weeder and Scraper
How to Make a DIY Ruler Growth Chart
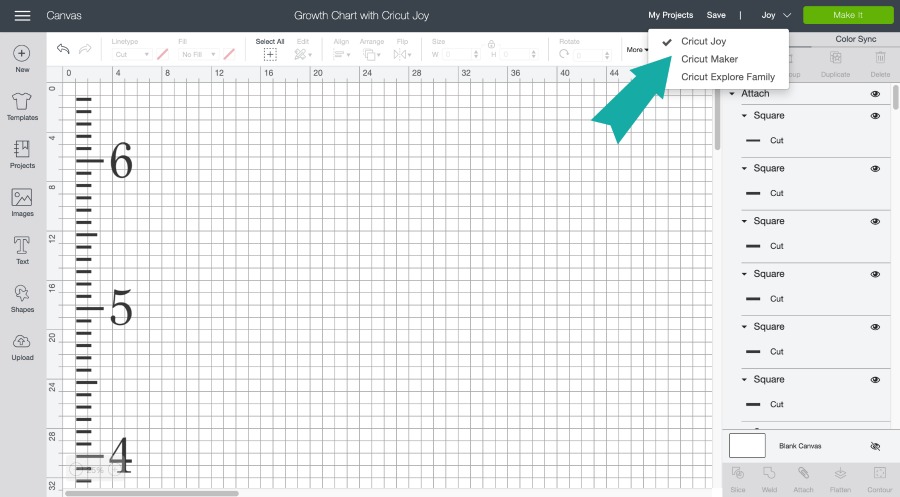
First, you’ll need to open the Ruler Growth Chart Project that I’ve already created for you in Cricut Design Space.
Make sure CRICUT JOY is selected and click MAKE IT.
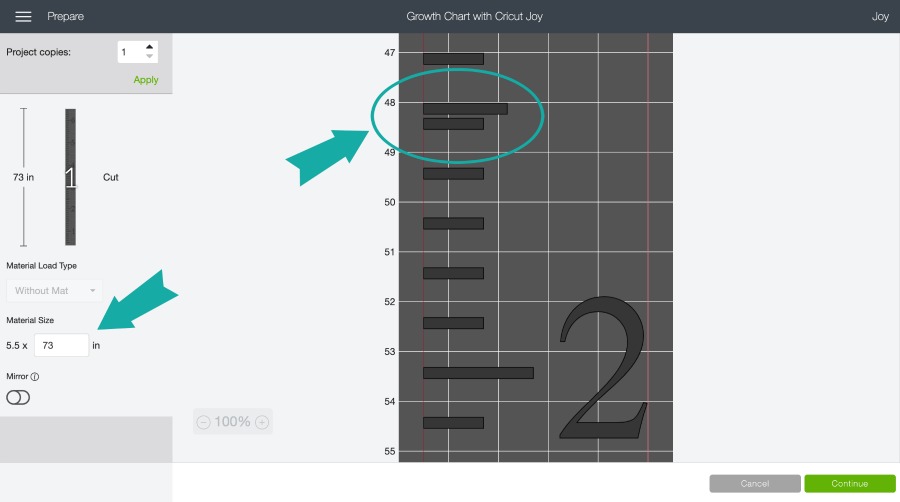
Now, this is the most important step. You will be taken to the Prepare Screen where we need to edit a few things. Change the MATERIAL SIZE to 73 inches to make sure we can cut the entire ruler. Scroll down until you see where the lines are closer together and slide that section down one inch.

Click CONTINUE, select SMART VINYL PERMANENT and load your vinyl right into your Cricut Joy. We don’t need a mat for this project which makes this project even better. Now it’s time to let your Cricut Joy work it’s magic.

Once your cut is done, click UNLOAD and weed around the ruler design to remove the extra vinyl.
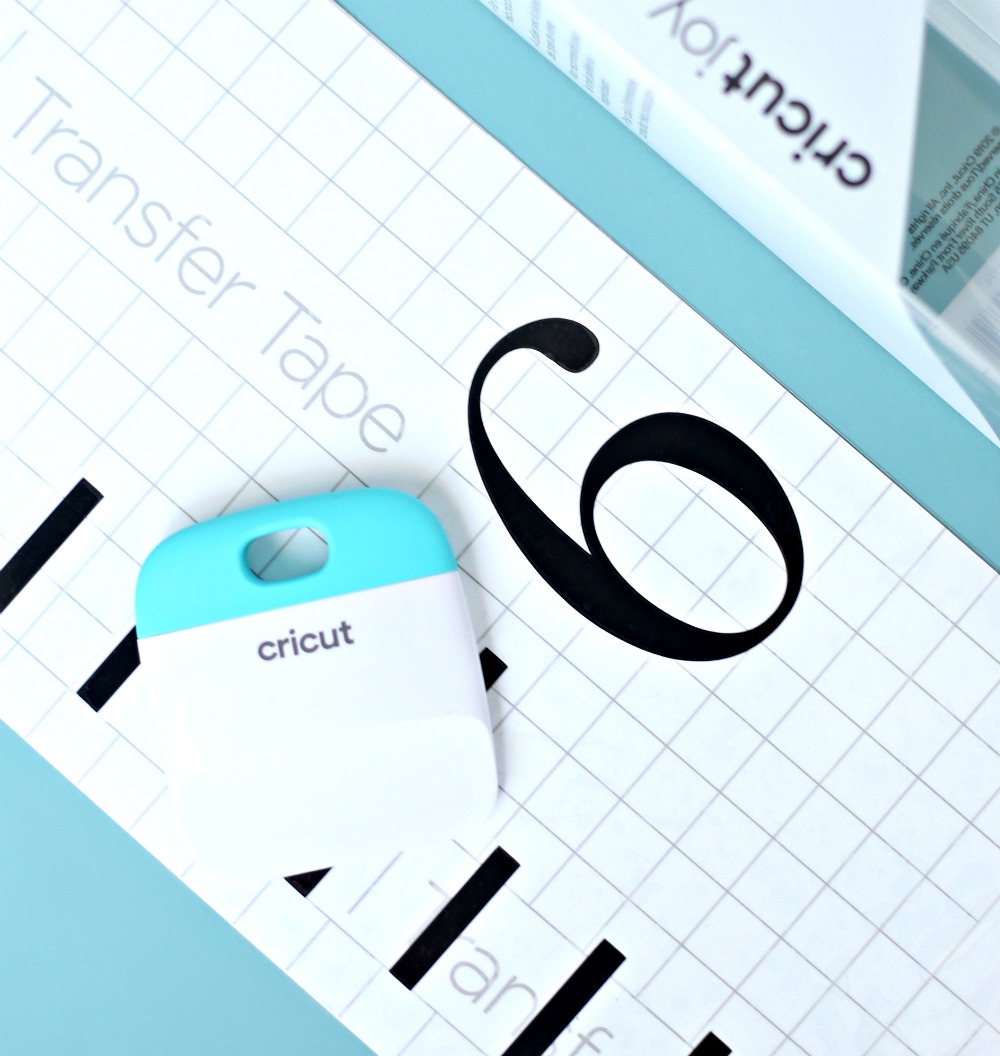
Apply transfer tape over the entire cut. You can do this in one long sheet or you can cut the transfer tape into sections if you feel that is easier. Use the scraper tool to burnish the transfer tape to the image.
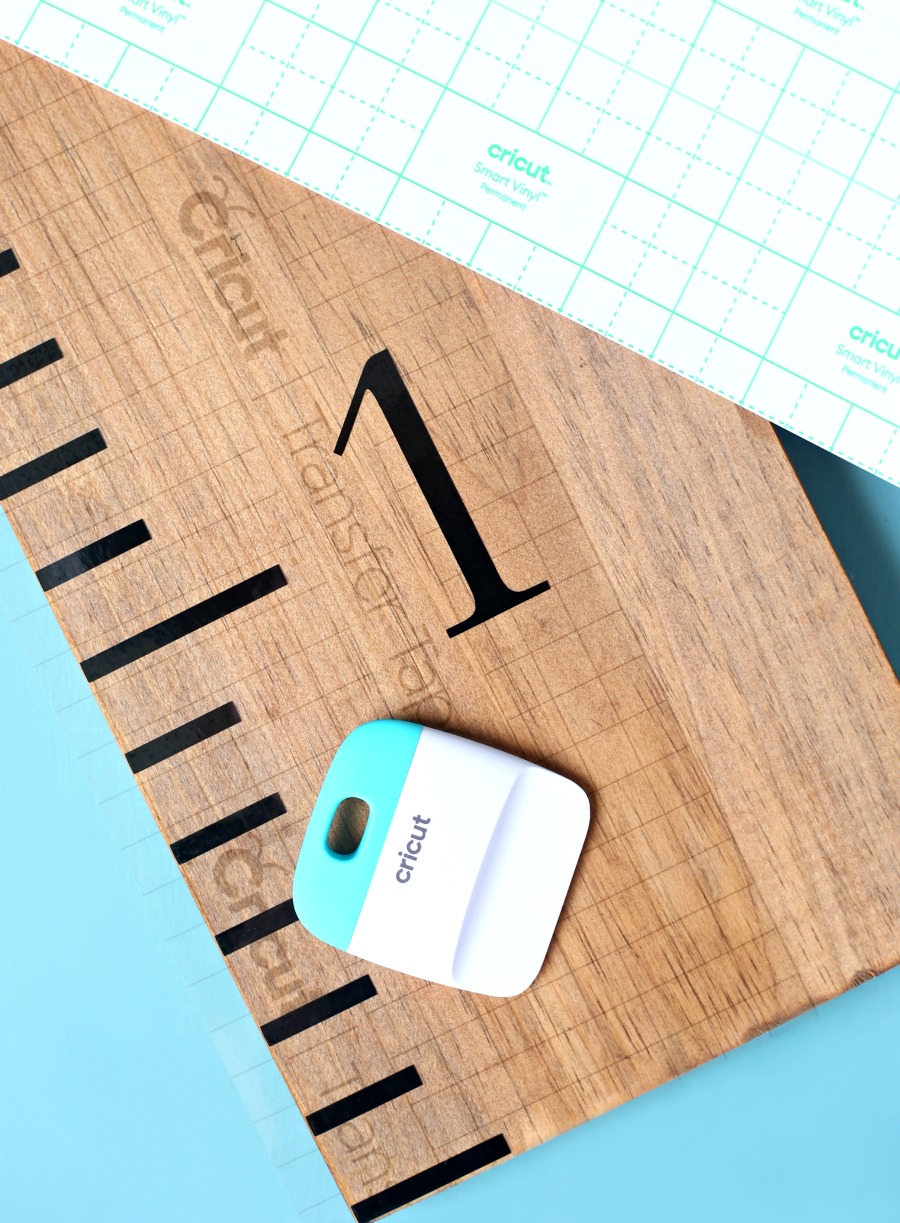
Carefully peel back the transfer tape making sure to also remove the decal from the backing paper. Place decal on wood and use the scraper to burnish the vinyl onto the wood. I started at the bottom of the long cut and the bottom of the wood for this project and placed the ruler decal along the edge of the wood which makes it so easy to line everything up. Carefully peel back the transfer tape leaving the vinyl decal on the wood.
Continue until the entire ruler decal is transferred to the wood and your project is complete.
How easy was that? This fun Cricut project couldn’t be any easier to make thanks to the Cricut Joy! I hope I’ve inspired you to make your own growth chart using your Cricut Joy. If you make one, please tag me on Instagram – @happygoluckyblog – so I can see your fabulous creation.
Visit the Cricut blog for more awesome DIY projects you can make with your Cricut Joy.
I am new to the Cricut world and bought this templet and thought I could use it on the cricut Explorer. Is there anyway I can use it if I don’t have Cricut Joy?
Your ideas and details are amazing! Your explanations of instructions step by step are so clear, anyone would be able to follow them. Thank you for that. I love crafting with my cricut and when I am stuck with what to make next I always come to your blog to decide what to make next. Crafting is my sanity and I appreciate your ideas that continue to keep me sane.