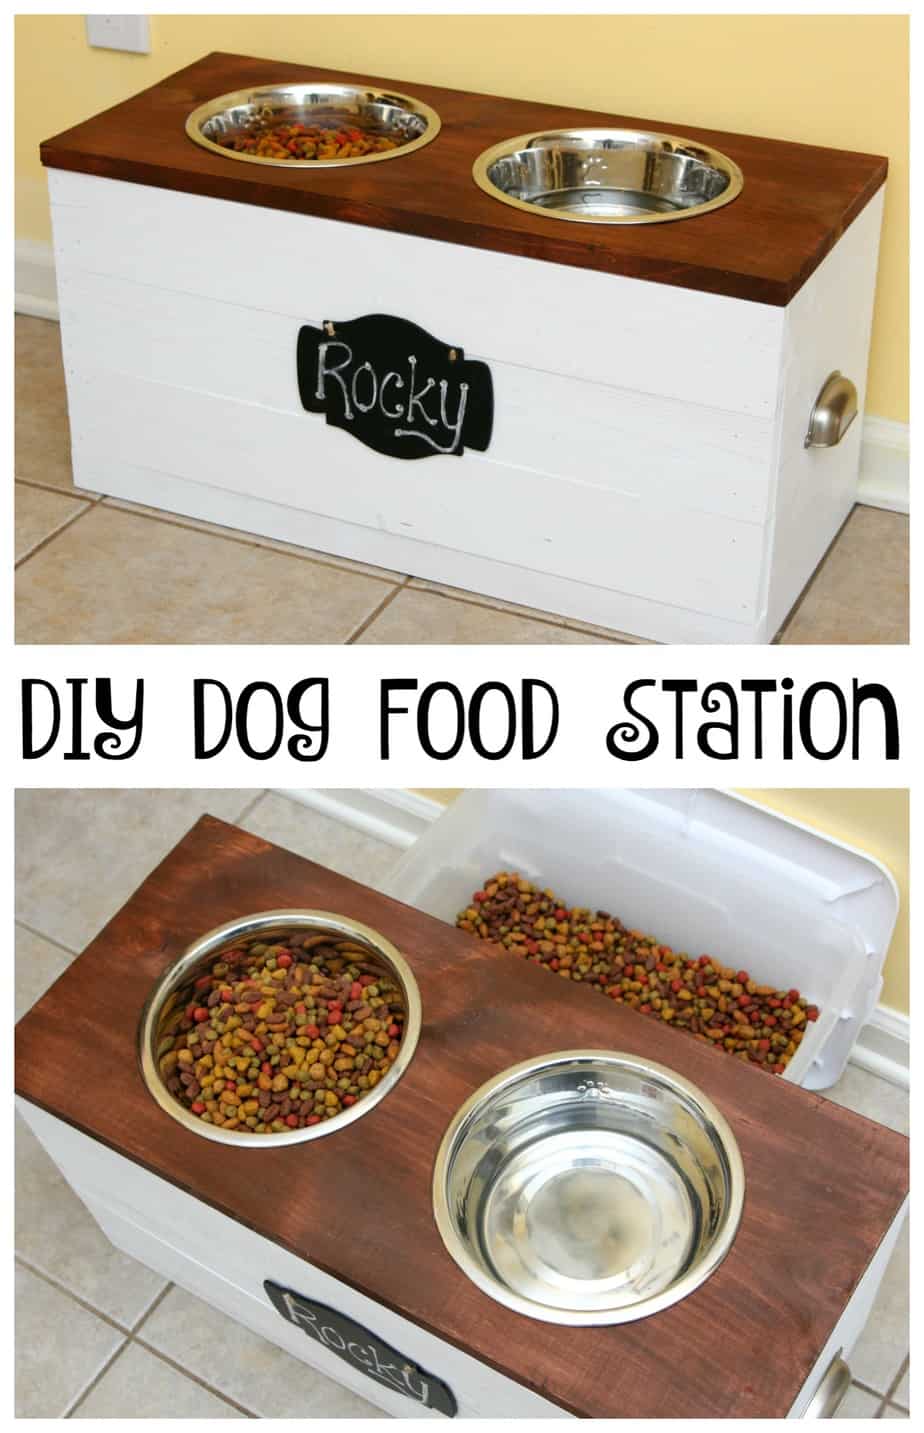
DIY Dog Food Station with Storage
This post and its photos may contain affiliate links. As an Amazon associate I earn from qualifying purchases. If you make a purchase through these links, I may receive a small commission at no extra cost to you.
This shop has been compensated by Collective Bias, Inc. and its advertiser. All opinions are mine alone. #BeyondSnacks #CollectiveBias
We are keeping our dog healthy with a DIY Dog Food Station and Purina Beyond Snacks. He feels like he is the king of the house and we get to spoil him.
It’s been awhile since I shared a project I made for our sweet dog, Rocky. He’s our super spoiled pup that pretty much runs the house – well, him and Connor run the house. 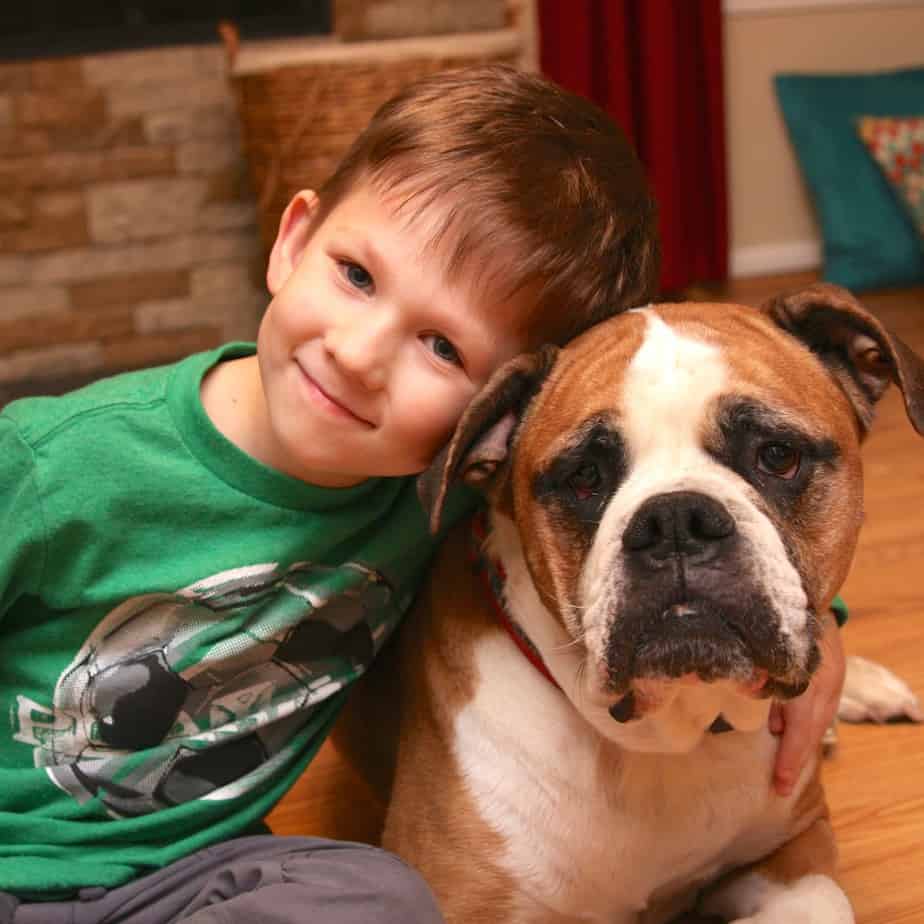
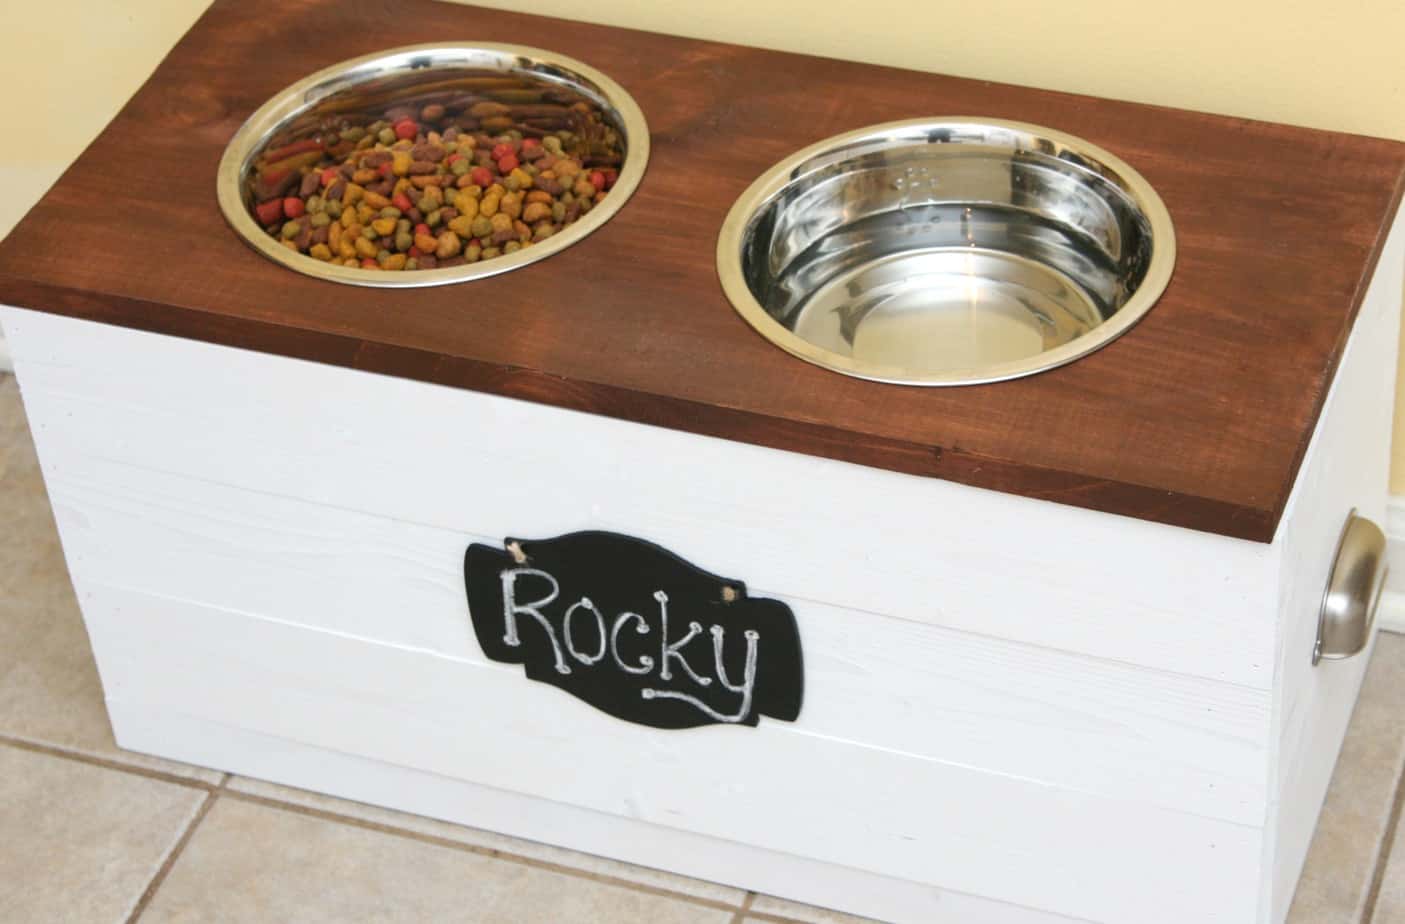
I read a few months ago that it’s important for dogs to eat from a raised dog food bowl. Placing a dog bowl at the proper height for a dog allows him to maintain proper standing posture and allows food to travel more efficiently down the digestive tract. I really had no idea about this but it totally makes sense. After reading that I realized we needed a raised dog food station for Rocky. I also wanted a way to hide his dog food so hubby and I built a Dog Food Station with Storage.
The Dog Food Station was designed around a 20 quart storage bin (measurements: 17 x 11.5 x 6.25) I purchased. I highly recommend that you start with buying your storage bin to make things easier on yourself. The back of the dog food station is kept open so you can easily slide it back and forth when it’s time to feed your pup.
Supply List: (yours might be different if your storage bin is bigger or smaller)
- 3 – 1 x 4 cut to 25 inches (front boards)
- 1 – 1 x 2 cut to 25 inches (front bottom board)
- 6 – 1 x 4 cut to 10.5 inches (side boards)
- 2 – 1 x 2 cut to 10.5 inches (side bottom boards)
- 4 – 1 x 2 cut to 12 inches (inside supports)
- 1 – 1 x 12 cut to 25 inches (top board)
- 2 drawer cup pulls
- Adhesive felt strips
- Saw
- Brad nailer with finishing nails or drill and screw
- Jig saw
- 2 dog bowls
- Paint and/or stain
- Small chalkboard, chalk, and velcro (optional)
Directions:
Step 1: Use the brad nailer to attach side board pieces to 2 support boards.
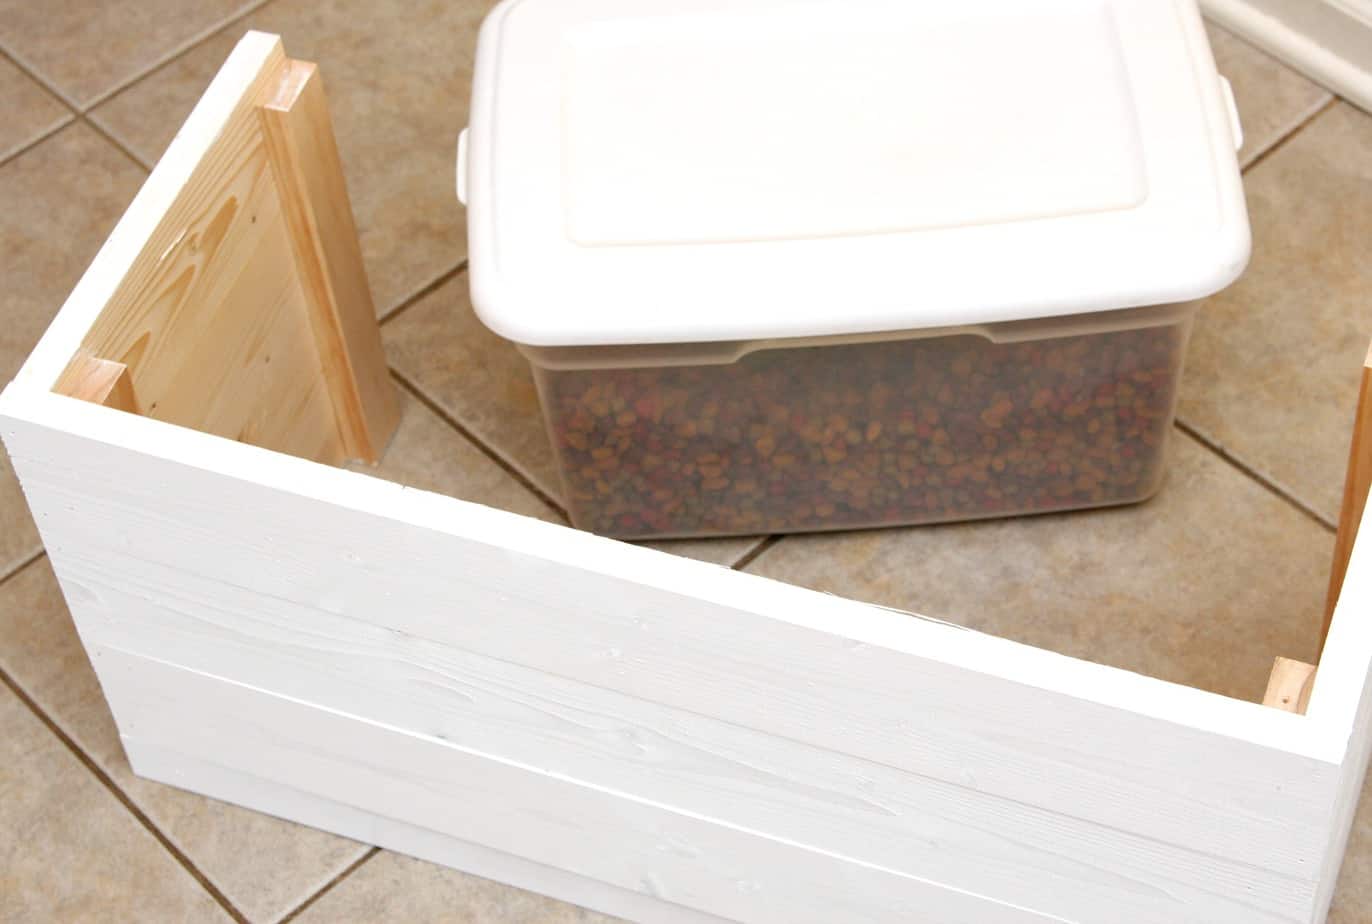
Step 2: Attach front boards to side boards. Sand lightly and paint or stain. Once paint dries, attach drawer pulls and felt strips to bottom of the base.
Step 3: Place dog bowls on top board and trace circles. Use the jig saw to cut out circles.
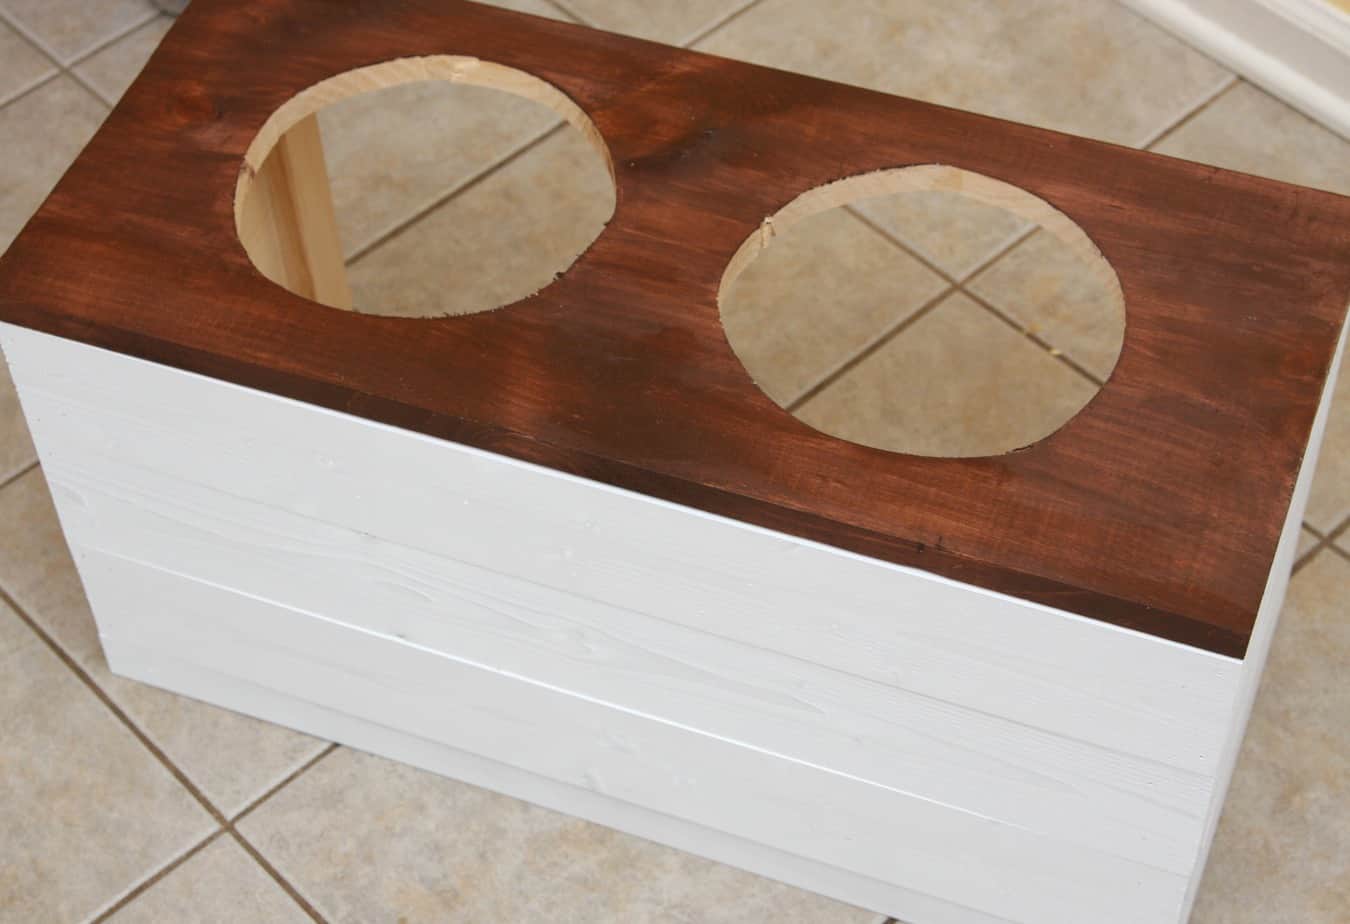
Step 4: Sand lightly and stain or paint.
Step 5: Attach top to base of storage station.
Step 6: Attach chalkboard using velcro if you want to add a little personalization to your dog food station.
I absolutely love the way it turned out. I love how rustic it turned out. I usually keep things very simple and boring so this actually adds a lot of character to our kitchen. Plus, it looks so much better than having his food and water bowls on the ground with a bin of dog food sitting out.
And nothing but the best for our Rocky!
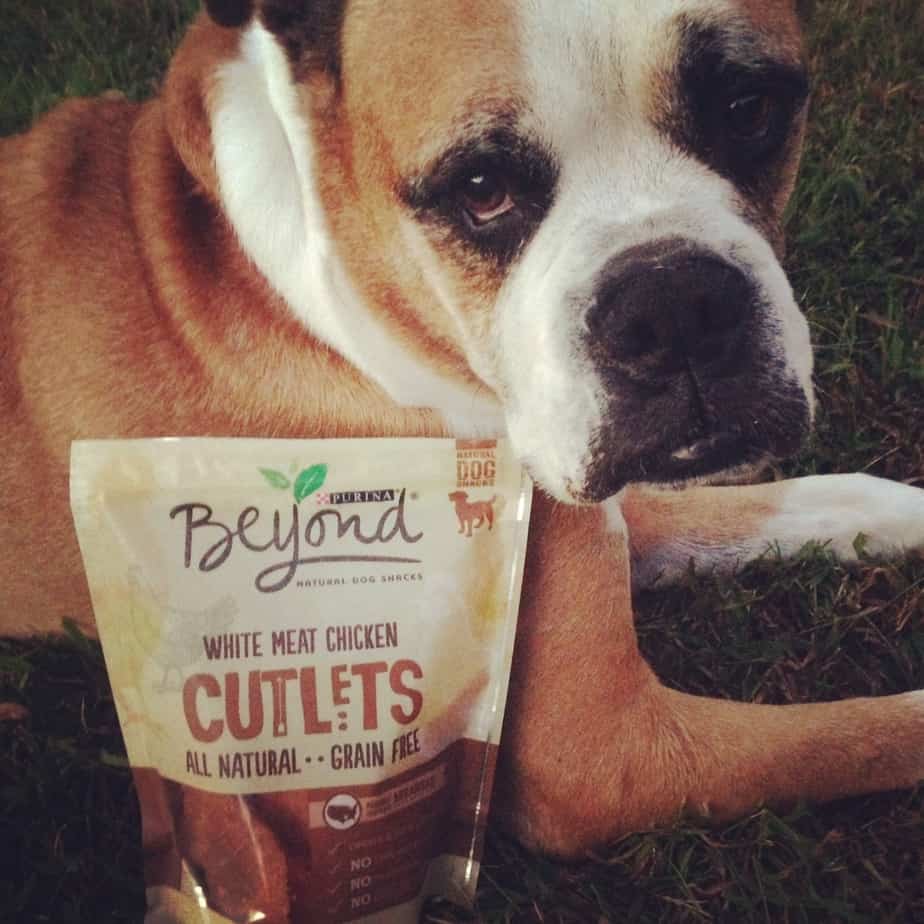
As Rocky has gotten older, keeping him healthy is even more important to us. We love to spoil him with treats especially when he listens and obeys us so I make sure to stock up on Purina Beyond Snacks. Rocky loves them and we’re happy giving him a healthy, natural snack where chicken is the #1 ingredient with no corn, wheat or soy. You can’t go wrong with a dog snack that is grain free and contains no poultry-by-product meal, artificial colors, flavors, or preservatives. We can spoil Rocky without feeling guilty about what he is eating. And guess what? They are crafted in Arkansas which means you are supporting an American owned business when you buy Purina Beyond Snacks.
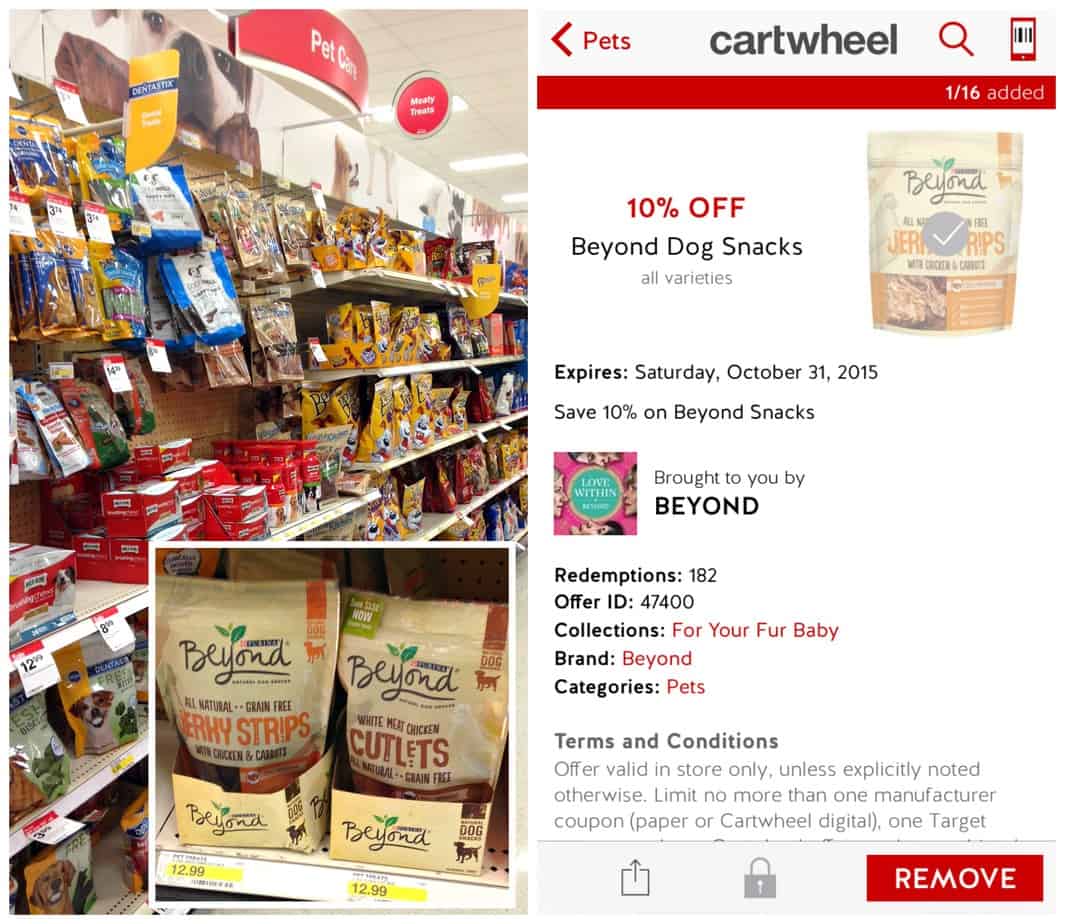
Of course I picked up my Purina Beyond Snacks this week at Target. I can’t stay away from that store especially not that I’m home with the baby. It also helps that Cartwheel currently has a 10% off Purina Beyond Dog Snacks at Target, available from 10/4-10/31. Definitely a win-win. Rocky gets his treats and I save money.
I hope I’ve inspired you to create a personalized Dog Food Station with Storage for your pup. We were able to make it for right around $30. Let me know if you have any questions about the directions.

![]()
![]()
![]()
![]()
![]()
![]()
What an awesome DIY! I really need one of these for my dog because it would make things so easy! #client
Excellent post. I used to be checking continuously this weblog
and I’m impressed! Extremely useful information specifically
the remaining section 🙂 I deal with such information a lot.
I used to be looking for this particular info for a very long time.
Thank you and best of luck.
May I ask if you can remember how much your cost was to make this? Btw I absolutely love it, the most efficient no fuss design I’ve seen yet.
what a beautiful station ,simple diy