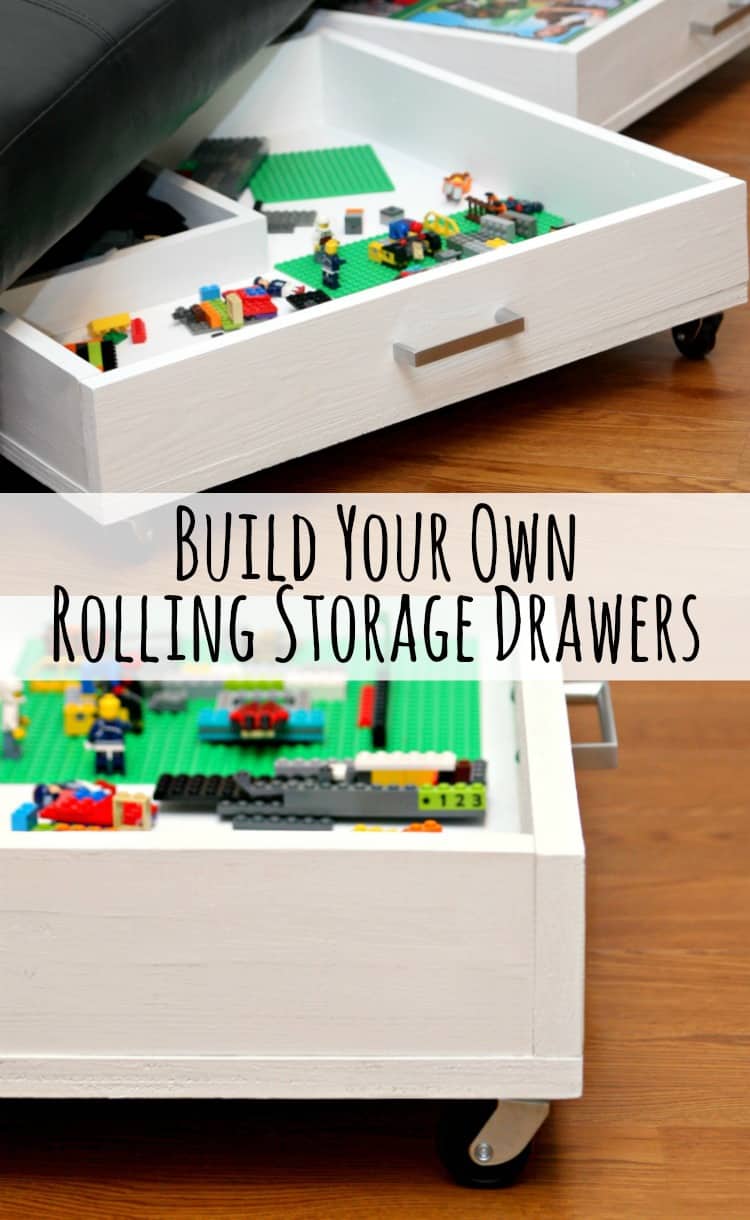
DIY Rolling Storage Drawers
This post and its photos may contain affiliate links. As an Amazon associate I earn from qualifying purchases. If you make a purchase through these links, I may receive a small commission at no extra cost to you.
Get organized with these DIY Rolling Storage Drawers. It’s the perfect way to add extra storage to any room.
I’m so excited to team up with a talented group of bloggers to kick off Remodelaholic’s #PlywoodPretty week. We’re all sharing projects that we’ve made using plywood. Trust me – you’re going to want to go out and stock up on plywood.
We recently purchased a futon for Connor’s playroom so we had extra room for guests when they come to visit. We have out of town guests at least once a month so now the playroom can also be used as another guest room.
But, I quickly realized that toys love to hide under there. It could also be where Connor likes to put them when it’s time to clean his playroom.
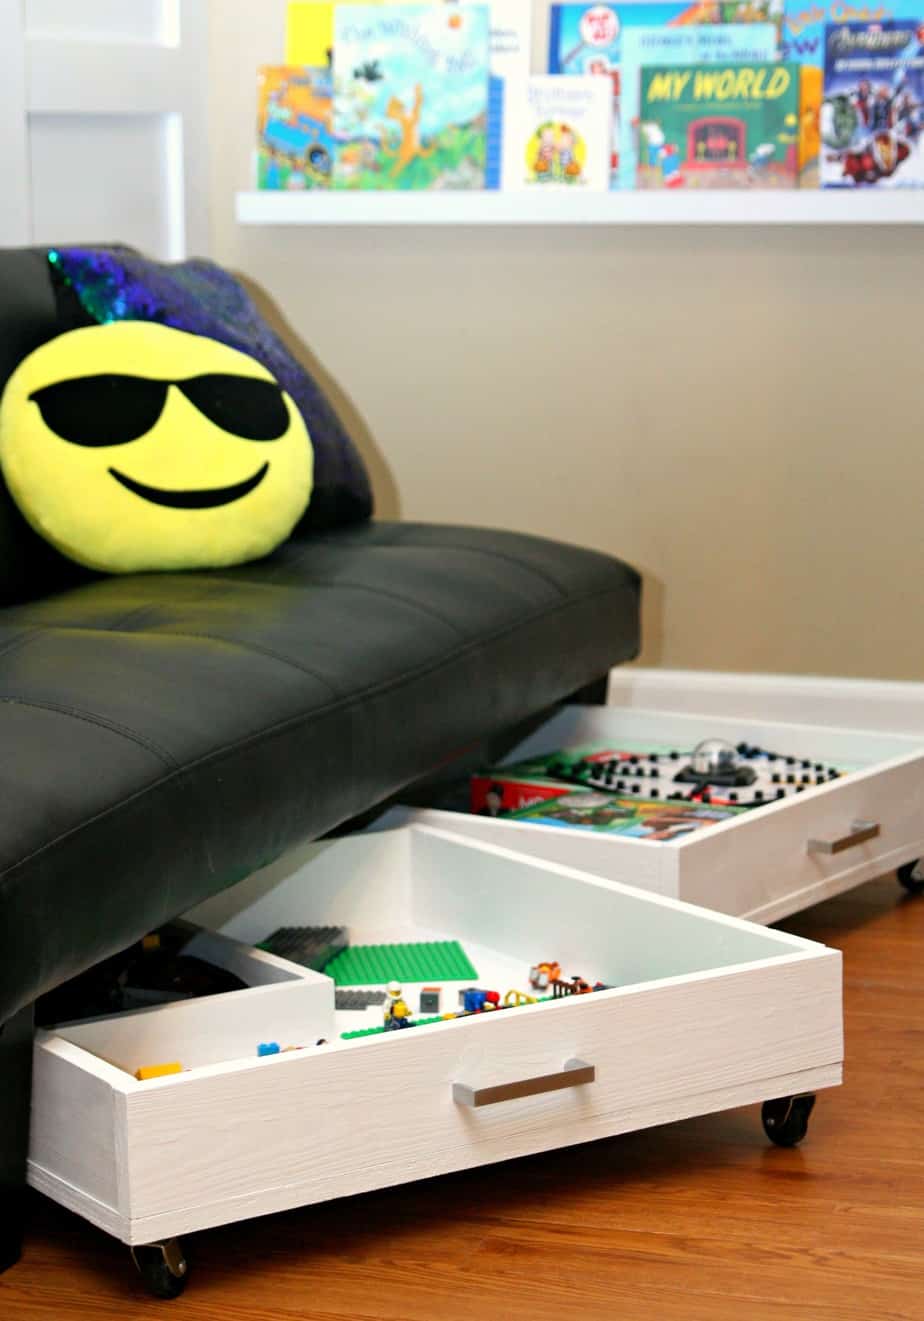
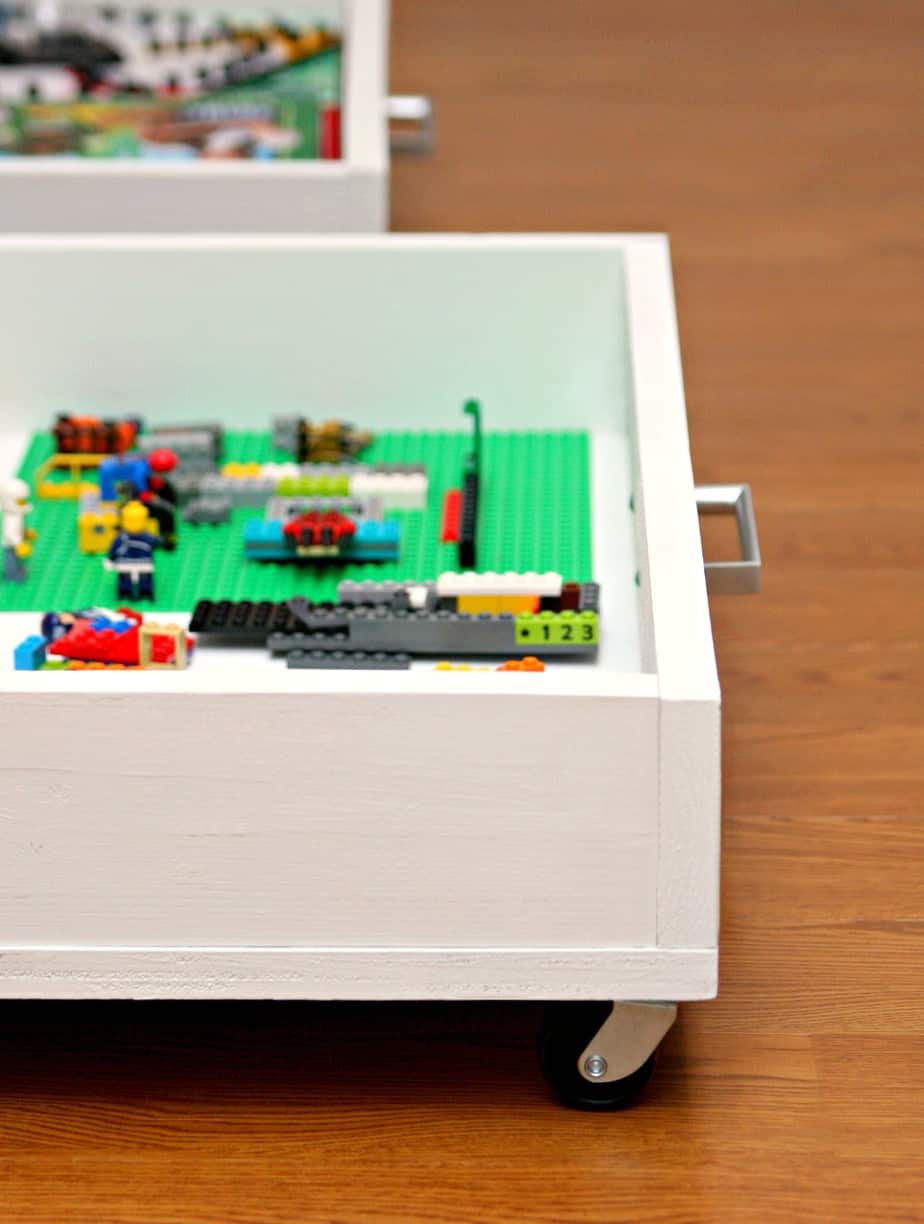
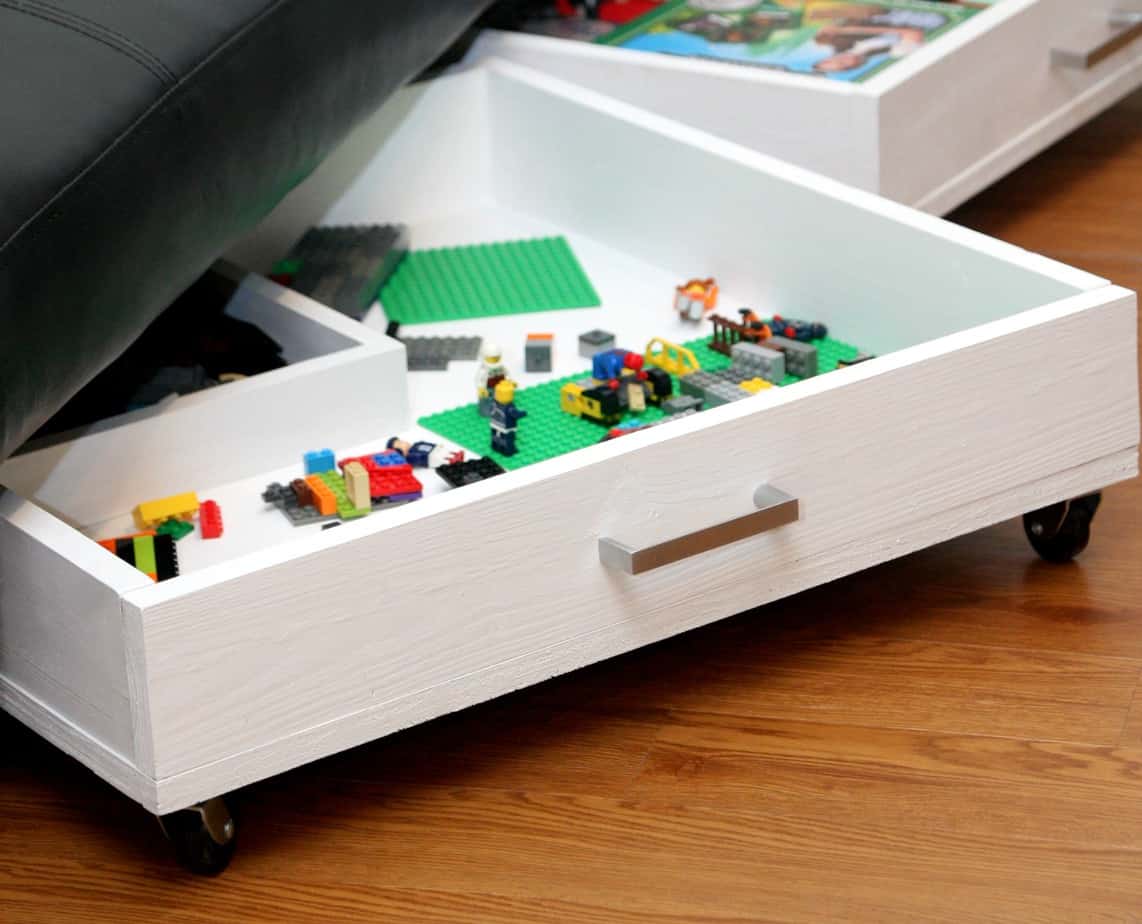
Thankfully I was able to solve this problem with these fabulous DIY Storage Drawers. They slide right under the futon and now store all of Connor’s LEGO’s, board games, and more. I built them so they covered the entire width and depth of the futon adding lots of additional storage. And guess what? No more toys rolling under the futon.
I don’t know about you but there are two things that make me very happy – organizing things and a great DIY project. There is just something so satisfying about building a project exactly how you pictured it in your mind. And, now a space that’s usually a mess looks fantastic.
Want to make some DIY Rolling Storage Drawers for your house? These are also great for under bed storage. I plan on making more for all of our beds to store clothes and shoes.
Materials:
- Plywood
- 1 x 4 common board
- Drill with Phillips drill bit and pilot bit
- Wood screws
- 2 cabinet pulls
- Table saw – optional
- wood filler
- sand paper
- paint and paint brush
- Swivel Plate Caster Wheels – 4 pack
Directions:
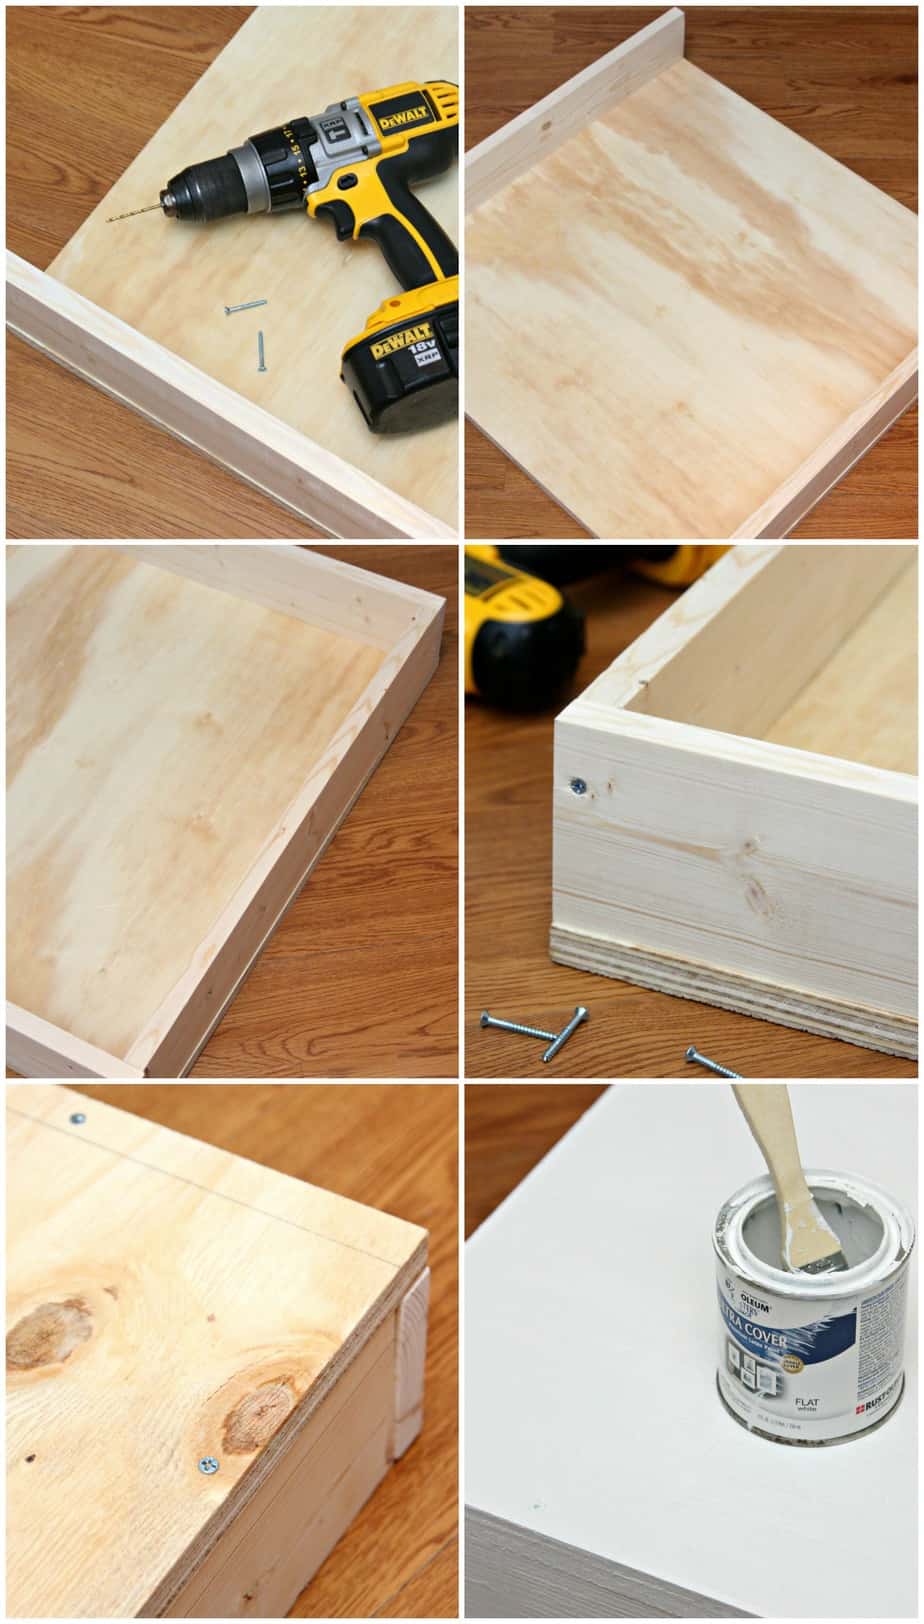
- Start by cutting the plywood to the size you want. I had mine cut 26 x 26. You can do this yourself with your saw or have Home Depot do it. I’m all about having them do it for me so it fits in my car.
- Next, we need to cut our side boards. Start by cutting the two opposite ends to the width of the plywood. Drill pilot holes and attach from underneath using wood screws.
- Measure width between two boards. Cut opposite side boards and attach with wood screws.
- Cover screws with wood filler. Once dry, lightly sand and paint wood drawers.
- Attach swivel casters.
Now just fill your DIY Rolling Storage Drawers up with whatever you need to organize. Then, sit back with a glass of wine and admire your beautiful handy work. I promise – you’ll be so happy and remember, if I can do it – you can do it.
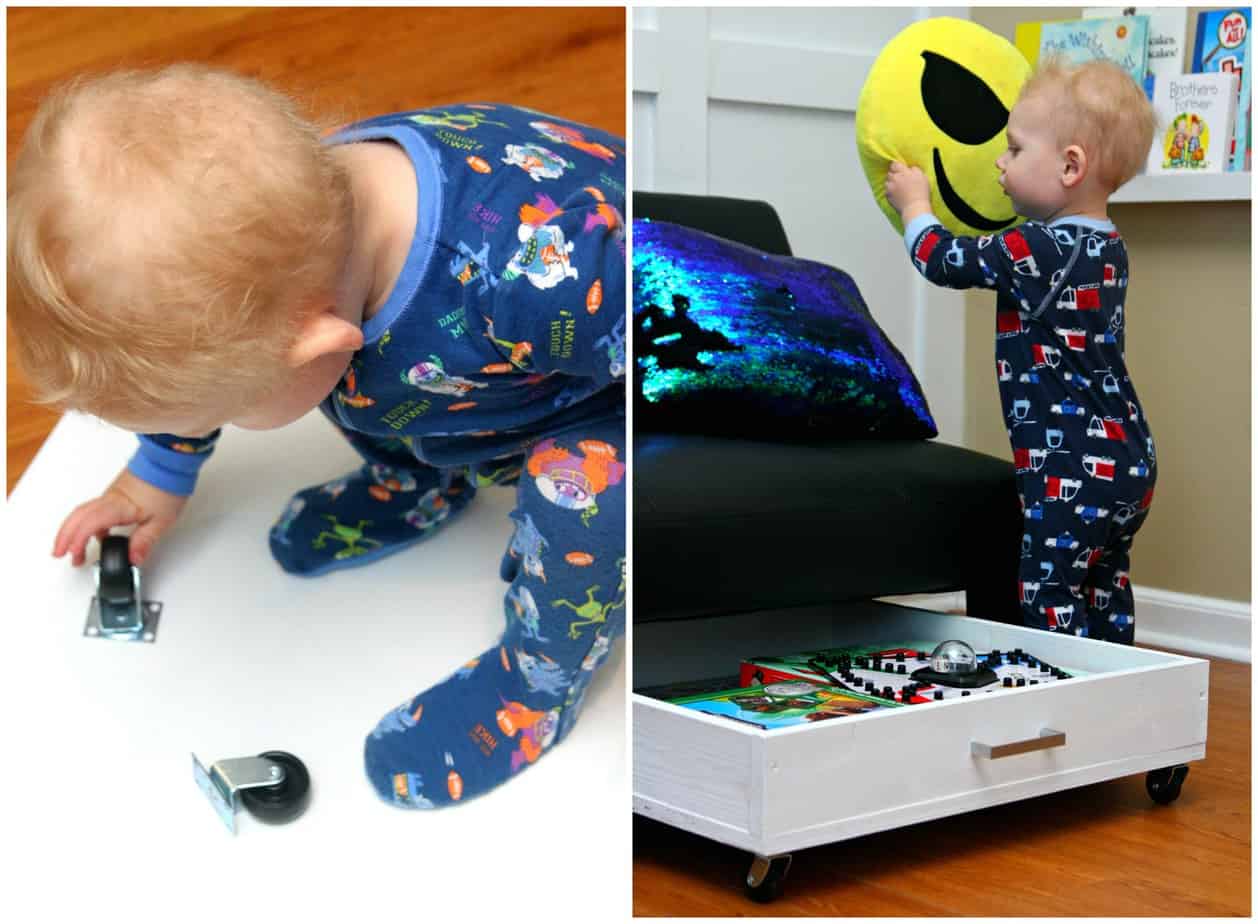
Here are some behind the scene pics of my cute little helper helping me with this project.
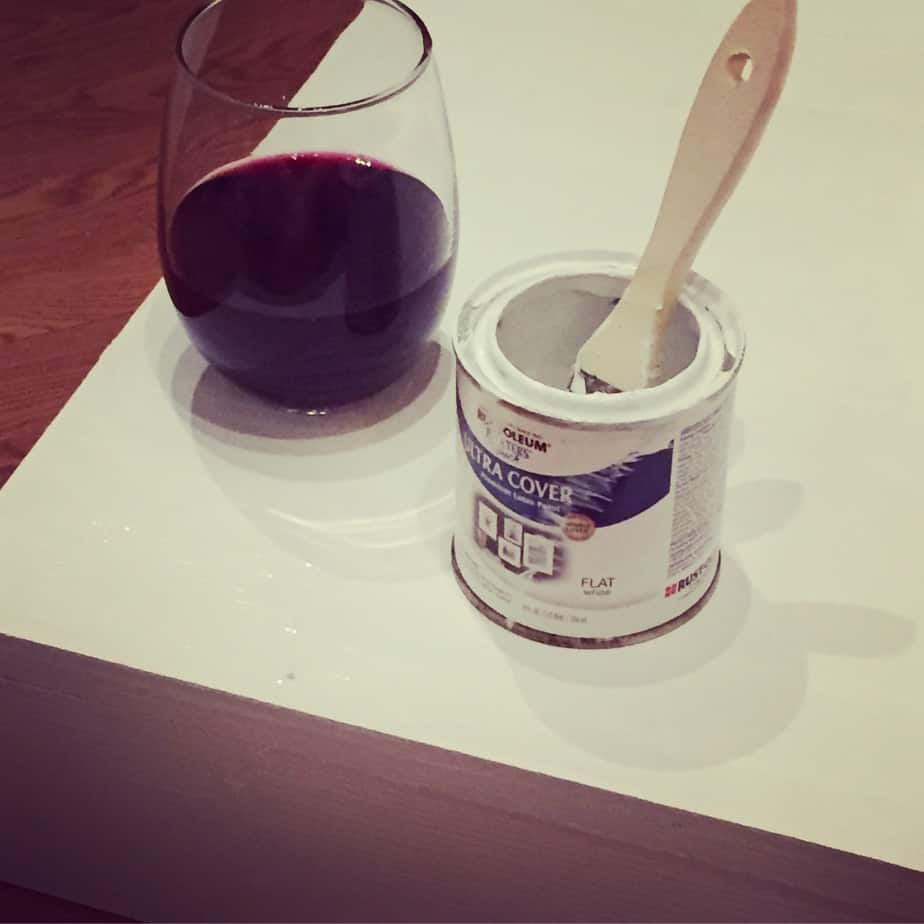
And, if you follow me on Instagram, you might have seen this picture. Wine just makes everything better especially when you’re painting late at night:)
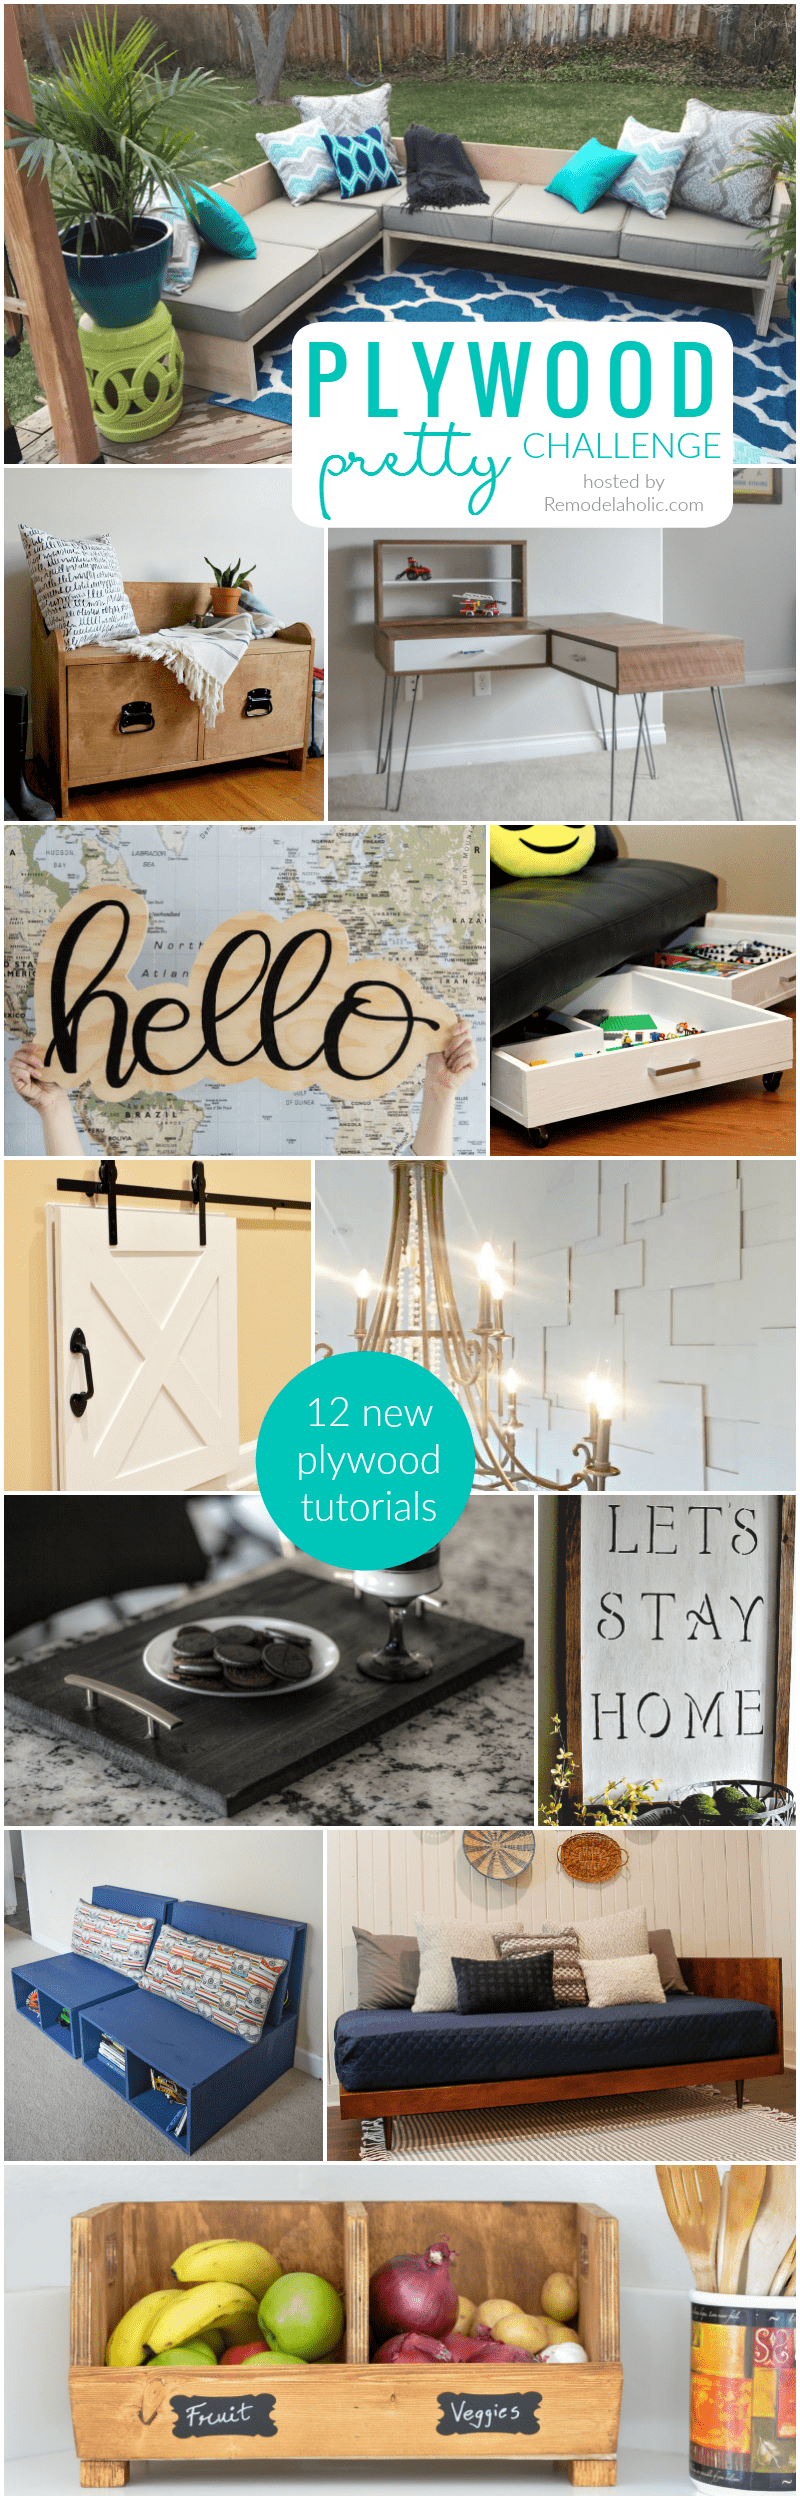
Now, it’s time for an AWESOME Plywood Pretty Challenge hosted by Remodelaholic.
Check out this collection of plywood tutorials that will definitely inspire you to get creative with plywood.
Outdoor Sectional Sofa | Remodelaholic
Mini Barn Door for a Crawl Space | The Cofran Home
Handlettered “Hello” Sign | Lemon Thistle
Easy TV Tray | Practical and Pretty
Rolling Storage Drawers | Happy Go Lucky
Mid-Century Modular Lego Table | The Created Home
Entryway Bench | Woodshop Diaries
Farmhouse Sign | Our Crafty Mom
Mid-Century Daybed | Paper Daisy Design
Produce Bins | Anika’s DIY Life
Plywood Accent Wall | Diva of DIY
Kids Chairs with Storage | Our House Now a Home
Wait! There’s more.
Remodelaholic is hosting a #PlywoodPretty Week where there will be several new posts per day of plywood project tutorials and ideas, plus the week long plywood only link party for any and all plywood projects. Share all your plywood projects and check out all of the pretty projects created using plywood.
What have you made with plywood? Be sure to share it using the hashtag #PlywoodPretty, so we can see your beautiful creations!

![]()
![]()
![]()
![]()
![]()
![]()
This is SO great! I really love it!
This is such a cool project! Perfect for storage idea!
I love proactical projects!!
Thank you so much Cassity! And, thanks for such a fun #PlywoodPretty Challenge.
Thanks Michelle!
This idea is seriously genius. I need to do something like this for my living room!