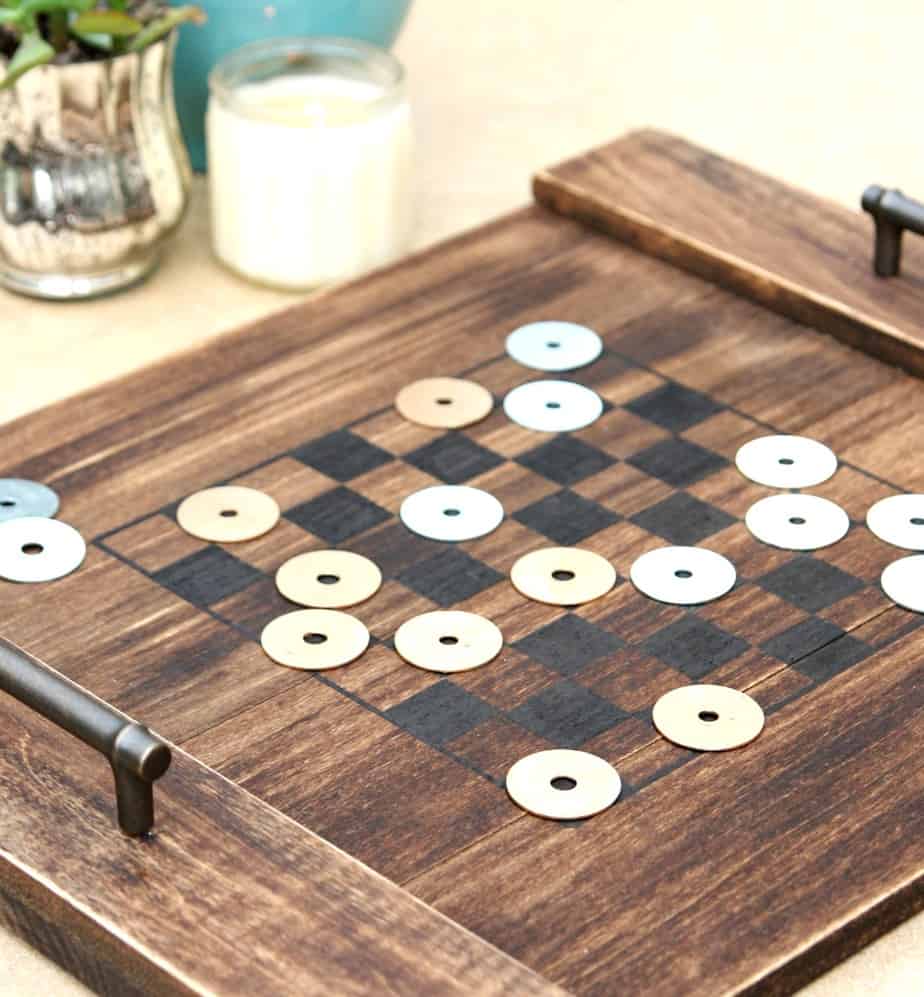
DIY Checkerboard Tray
This post and its photos may contain affiliate links. As an Amazon associate I earn from qualifying purchases. If you make a purchase through these links, I may receive a small commission at no extra cost to you.
This shop has been compensated by Collective Bias, Inc. and its advertiser. All opinions are mine alone. #BackToPlay #CollectiveBias. Thank you Back to Nature Macaroni & Cheese for sponsoring this post. Try the new Back to Nature Made with Organic Macaroni & Cheese Dinners!
Are you all enjoying your summer? I hope so because I feel like it’s flying by way too fast. June was Get Outdoors Month and July 14th just happened to be National Mac & Cheese Day! Today I’m sharing a DIY Checkerboard Tray and an easy meal solution from Back to Nature Mac & Cheese.
We love hanging out outside on our deck during these warm summer months and we love playing games together so this checkerboard was the perfect addition to our outdoor fun. There’s nothing like sitting on the deck enjoying the beautiful weather and playing a good game of checkers!

I was originally going to make a checkerboard table but then my hubby suggested making a tray so we could move it around and use it as a tray when we have people over. Isn’t that hubby smart?! The tray was inspired by this blog, and I’m totally obsessed with all their fabulous projects. I don’t have a nail gun so I used 8 finishing nails instead. This is definitely a great beginner woodworking project.
So let’s get started on making an easy DIY Checkerboard Tray.
Supplies:
- 1 x 4 x 6
- 1 x 3 x 3
- wood glue
- 1 inch finishing nails
- hammer
- wood stain
- black paint pen
- ruler
- pencil
- 24 washers
- gold paint
- two cabinet pulls
- drill
Directions:
Step 1: Cut your 1 x 4 wood into four 18 inch pieces. Lay those 4 pieces side by side. Then cut the 1 x 3 to fit across all 4 boards. Mine was about 15 inches long. You will need two of these.
Step 2: Glue your 1 x 3 to the four boards. Use the hammer and finishing nails to secure the wood in place.
Step 3: Stain the wood. I used a dark stain but I might try a lighter stain next time. Once the stain has dried, sand edges lightly to give it a distressed look. This is totally optional. I just like things to look distressed.
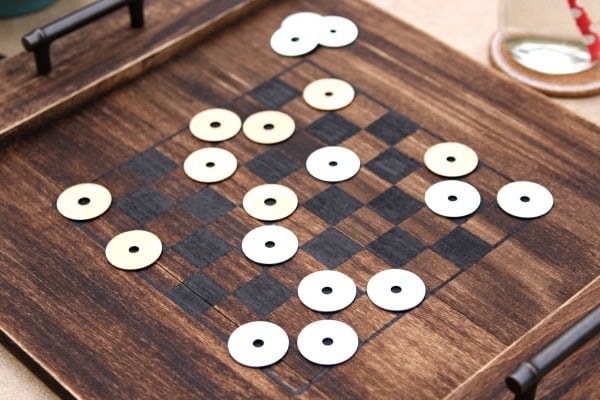
Step 4: Now it’s time to start painting the checkerboard. We need 8 squares by 8 squares. And I have a confession – I’m terrible at stenciling so I used a paint pen instead. Use your ruler and pencil to create your grid. Then just paint in every other square using the black paint pen. After your grid is filled in, use your ruler to create a border around the edges.
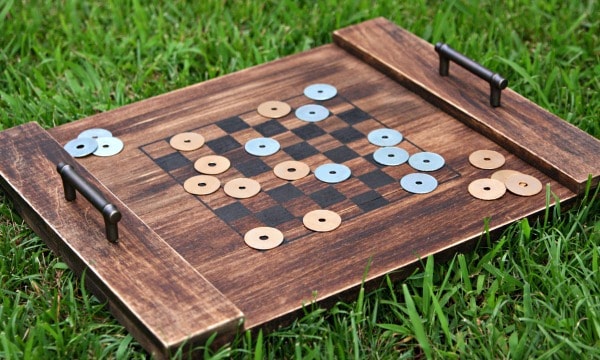
Step 5: Once all the paint has dried, it’s time to add the handles. Use your drill to drill holes. Then screw on the handles. Tip: Lay a piece of paper over back of drawer pull. Poke a hole through the paper into where the screw goes with a pencil. Then use the holes as a guide on your wood so you know where to drill your holes.
Step 6: The last step it to make the checkers. You can use wood, rocks, shells – pretty much anything you want. I saw a few games on Pinterest that used washers and thought that was a good idea. I painted 12 gold and kept 12 silver. You can make your checkers as colorful as you want. Glow-in-the-dark paint would be fun too. Using washers is a very inexpensive solution. I love that we can move it from the deck to the yard and even inside if it’s raining.
Now step back and admire your fabulous checkerboard that you just made. Don’t you just love an easy DIY project that the entire family can enjoy?!
I don’t know about you but all that hard work made me hungry. I have the perfect summer meal solution! It’s cheesy and creamy. It’s quick. It’s perfect for eating outside especially because you only need a fork and a bowl to eat it.
Can you guess what it is?
I’ll give you another hint – it’s easy and you all know I’m all about the easy meals. I’d much rather be outside playing checkers with Connor than in the kitchen cooking. Give up?
It’s Back to Nature Mac & Cheese. I picked up a few boxes last week while shopping at Target and I can honestly say we love it. It tastes great and it’s a good source of calcium and protein with no artificial flavors, preservatives or synthetic colors.

You know what? Sometimes you just need an easy dinner after a busy day and this is the perfect solution. I also picked up these cute ramekins which also happen to hold exactly one serving of mac and cheese. How awesome is that! I may be a little obsessed with small bowls. Can anyone relate?

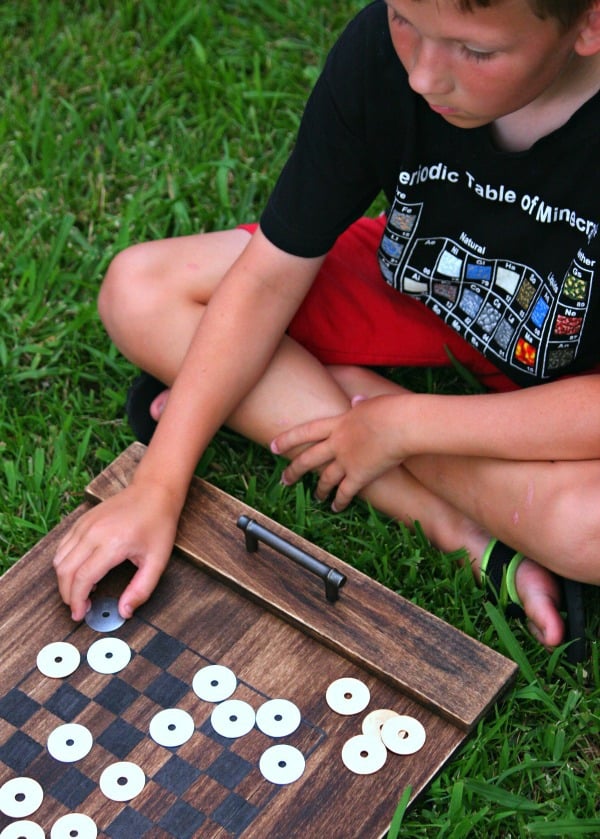
I’m pretty sure Connor will remember our summer nights on the deck and isn’t that what summer’s all about?!
So what are you waiting for? It’s time to get outdoors, enjoy the family, and celebrate summer with Back to Nature Mac & Cheese!

![]()
![]()
![]()
![]()
![]()
![]()