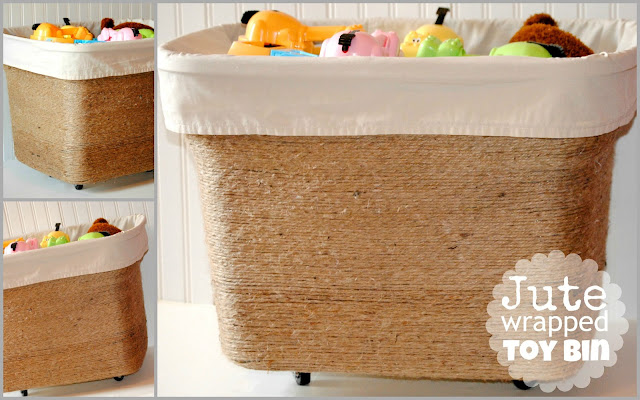
Jute Wrapped Toy Bin
This post and its photos may contain affiliate links. As an Amazon associate I earn from qualifying purchases. If you make a purchase through these links, I may receive a small commission at no extra cost to you.
Turn a boring tote bin into a fabulous looking Jute Wrapped Toy Bin for less than $30.
Is it me or does everything seem to look better wrapped in jute?
Maybe I’m just obsessed with jute!

So even though Connor has a playroom, toys always seem to end up in our bedroom. After months of taking them back downstairs, I decided that we needed something in our bedroom that Connor could just throw the toys in when he wasn’t playing with them. Ok, let me rephrase that – I needed something that I could just throw the toys in when he wasn’t playing with them.
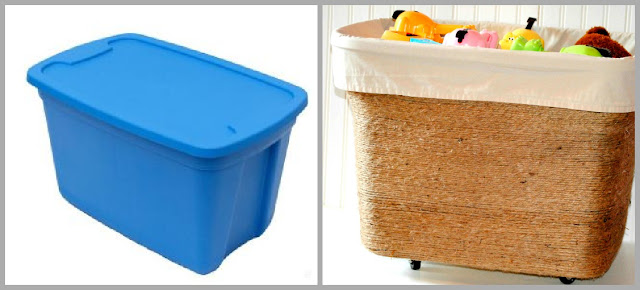
Since I’m obsessed with jute and seem to hoard it in my craft closet, I decided to take an old plastic storage container and wrap it in jute. I’m so in love with the way it turned out!!
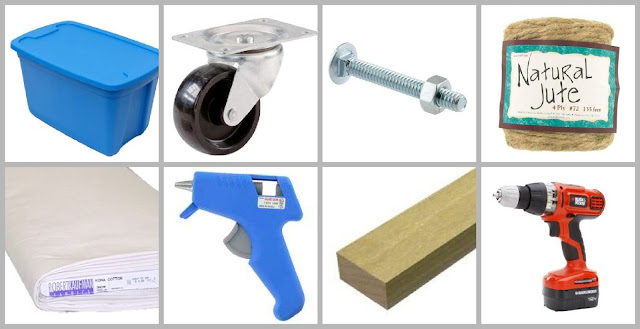
This is all you need:
 |
| Pictures courtesy of Home Depot, Hobby Lobby and Fabric Depot |
- Plastic storage tote
- Jute
- four wheels
- 16 bolts with nuts
- fabric – I actually used an old sheet
- glue gun and lots of glue sticks
- Pieces of wood cut to the length of the tote
- Drill
It’s actually quite simple!
Start by wrapping the entire bin in jute using the glue gun. I started underneath since I new the wheels would keep the jute from rubbing the ground. And since you are wrapping the rim of the tote with the fabric, you don’t even have to go all the way to the top.
Just keep wrapping! This is the perfect project to work on when you need to catch up on your favorite recorded shows. I was able to catch up on Glee and Army Wives:)
Turn the tote over and glue the wood pieces in place.
Use a marker to mark the holes on the wood.

Drill your holes through the wood and tote.
Attach wheels using bolts and nuts.
Cut fabric and sew a seam along both edges. Wrap fabric around the edge of the tote and overlap. Attach with your glue gun. Glue edges of the fabric to the inside of the tote along the bottom.
Then, fill with toys and admire your fabulous Jute Wrapped Toy Bin and your clean floors. Woohoo! No more stepping on toys!!

I had most of the supplies needed to turn this tote into our new toy bin but if you needed to buy everything, you could definitely do it for around $20.
So what do you think? Have you made anything with jute recently? How do you store your children’s toys?


This is so awesome! It looks like you spent some serious money, but you still have the durability of the plastic tote… I don’t have toys to store (well, I guess I do have puppy toys), but I feel like I need to find a way to make this useful so I can make one! : )
-Mel the Crafty Scientist
plain blue tub or jute wrapped, defintely go with the jute…:D
Your toy it’s so beautiful, I like it vey much, I also bought one at cheap prada handbags
, If you want one too. can visit this address, The backpacks are
beautiful at there. I think you will be love it too.
Just wanted to let you know I featured you in my roundup of jute craft projects here. Feel free to check it out if you want and hope you like it! : )
-Mel the Crafty Scientist
Age 8+, BeginnerThese toys require considerable skill and practice in order to match the shapes with
the pieces provided. The guide includes a brief history lesson.
Gradually, your child can express his creativity the best.
Once the paper is out of toys zirndorf germany your kids’ toys when batteries are essential.
This is super creative I don’t have any kids but I’m going to use it to hide my cats litter box without the wheels and keeping the top. I never used jute before but I like the look thanks for the idea!!