Magnetic Bookmarks
This post and its photos may contain affiliate links. As an Amazon associate I earn from qualifying purchases. If you make a purchase through these links, I may receive a small commission at no extra cost to you.
Summer vacation has begun and I have a huge stack of books to read! My friend Melissa’s daughter had the cutest bookmark that was my inspiration for this project.
It was a magnetic bookmark with her initial on it that I thought was the cutest thing so of course I had to try and make one.
I decided to make mine using a few of my favorite pictures and some old save-the-date magnets I still had on my refrigerator so the project was completely free. Definitely my kind of project!
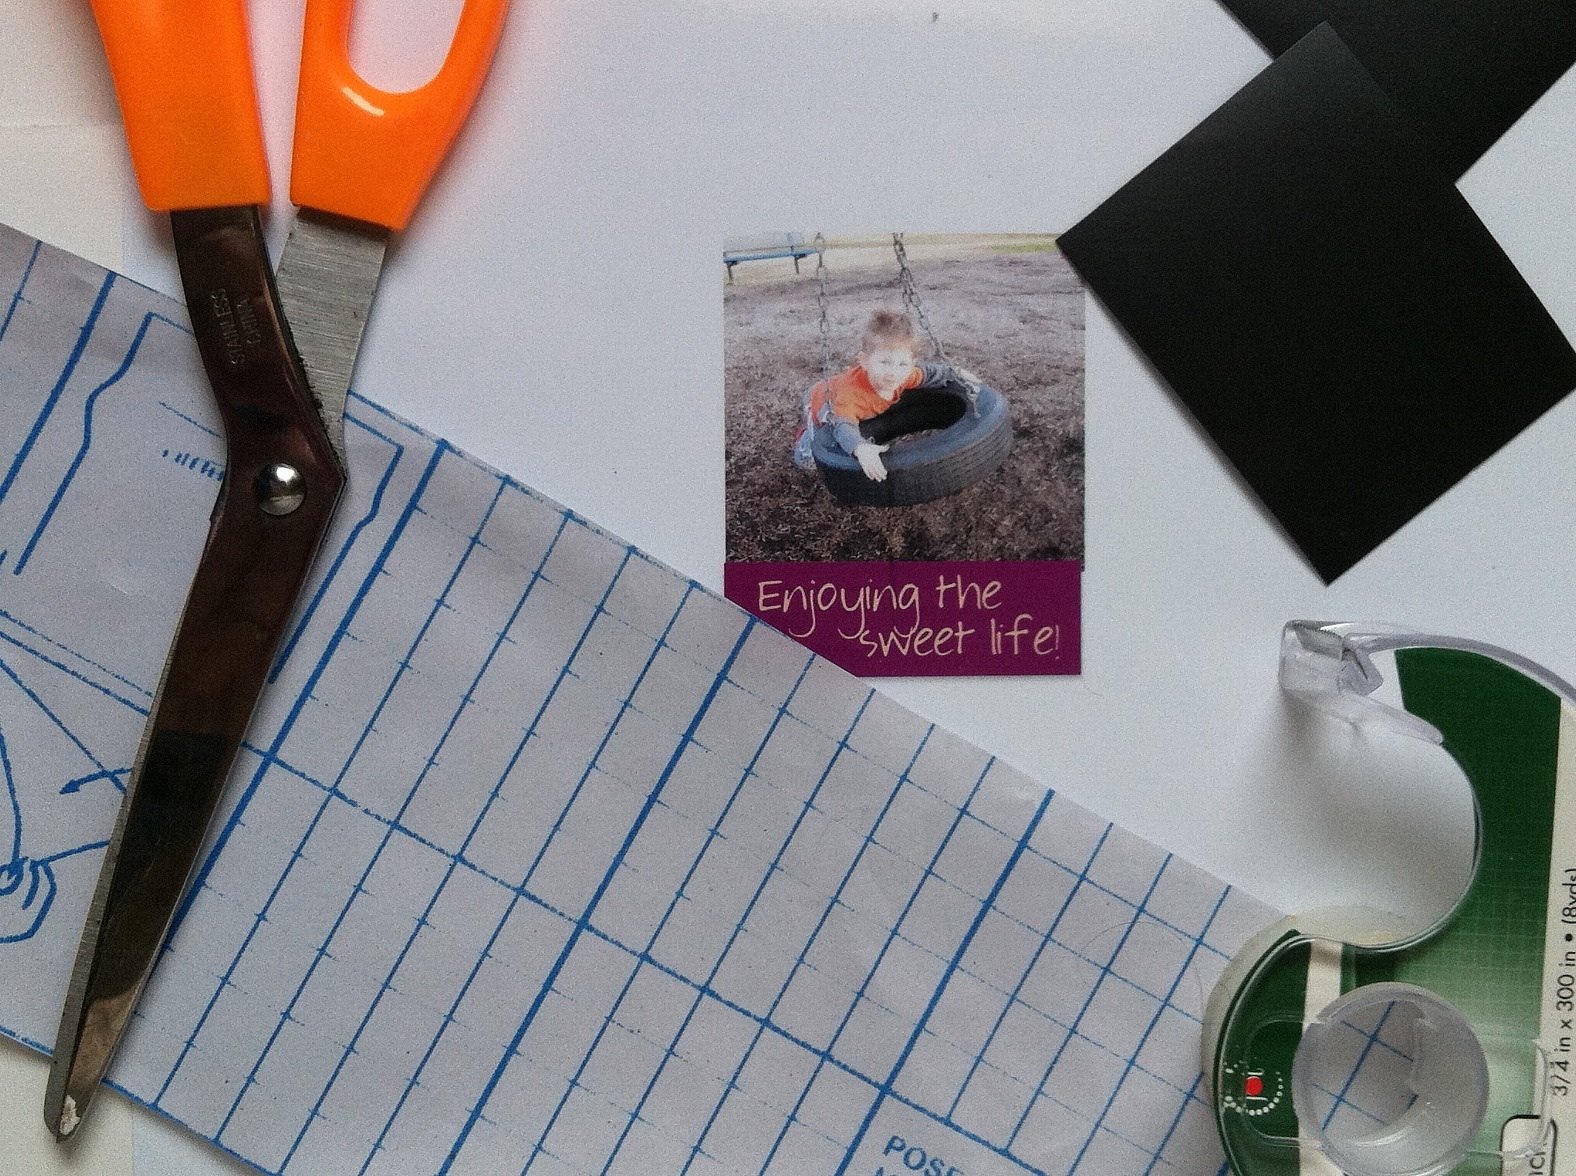
Materials needed to make magnetic photo bookmarks:
- Two pictures
- Magnet sheet
- Clear contact paper or packing tape
- Scissors
- Double-sided tape
Directions:
I started by opening up a new PowerPoint presentation (I use PowerPoint because I don’t have photoshop. I’m sure if you have photoshop you can create much cuter stuff). I made my slides 2 x 2.5 and uploaded the pictures that I wanted to use. I cropped the pictures and added a purple text box with the saying “Enjoying the Sweet Life!” Of course, you can add any saying or quote you want. Then just print the pictures onto photo paper. This way they printed out to the size I wanted them to be.
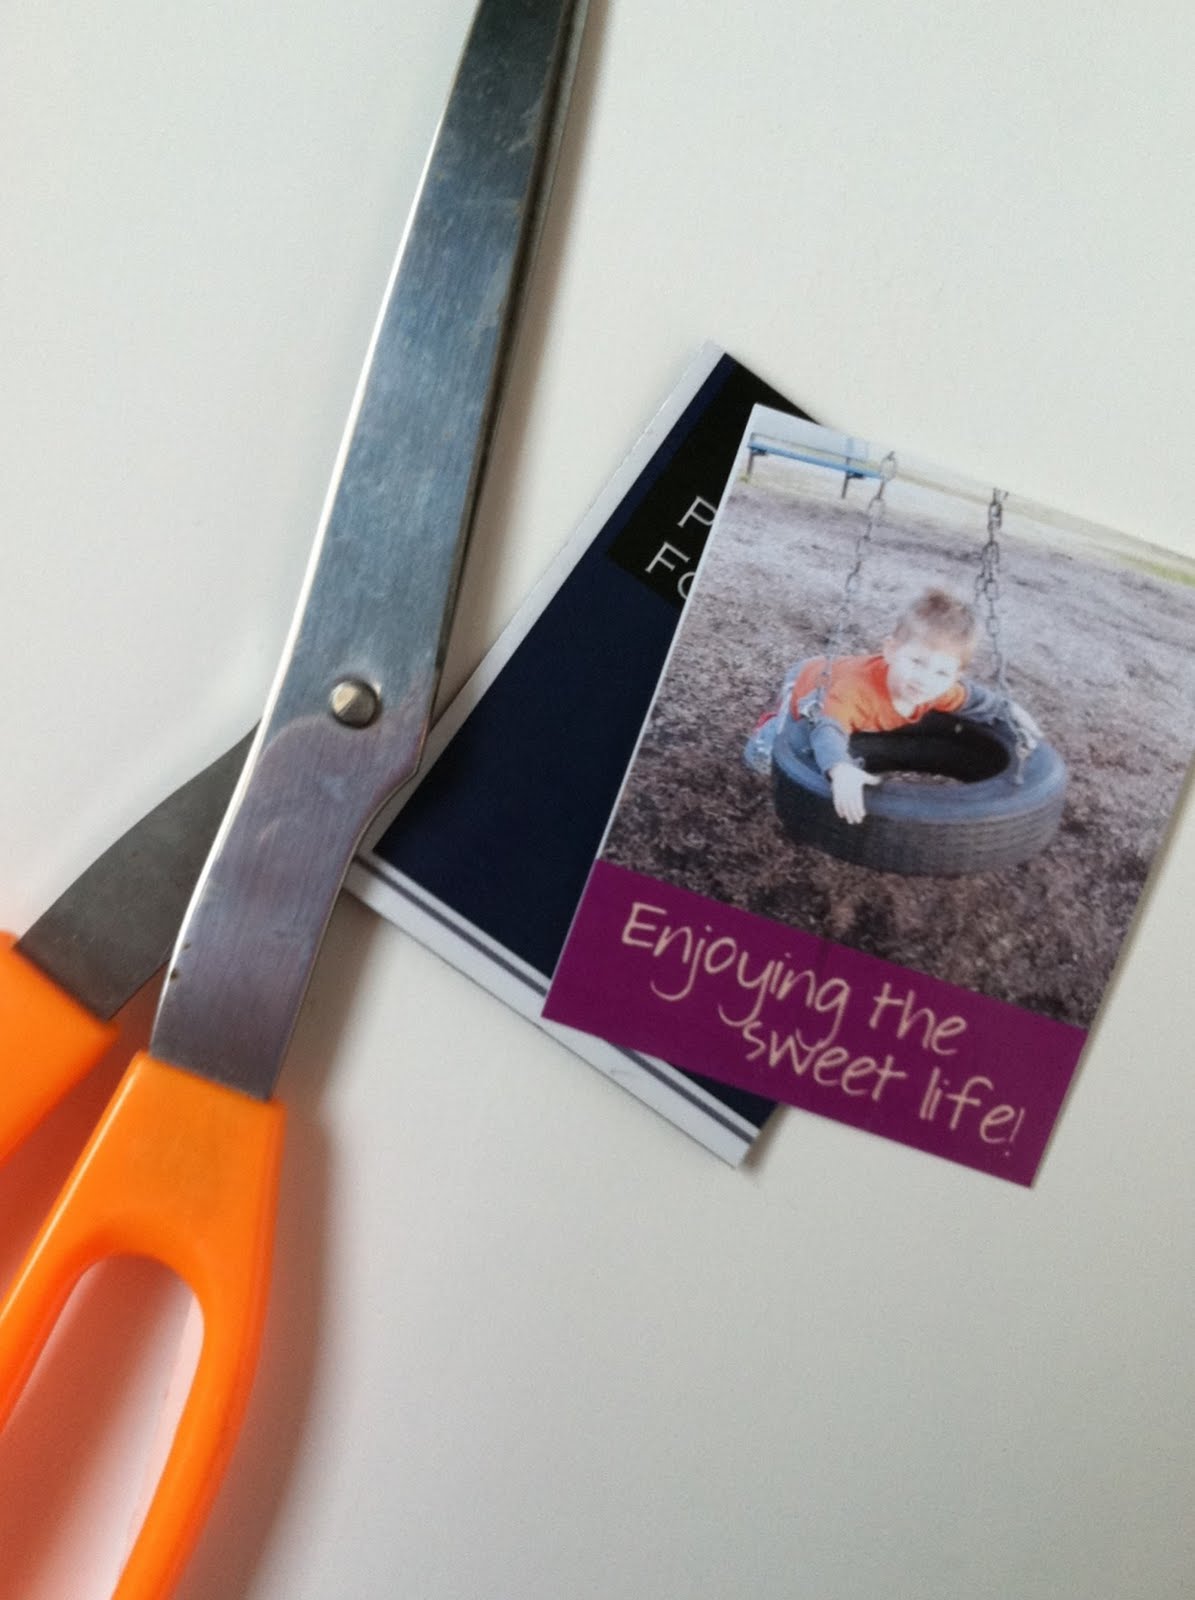
Cut out the two pictures. Then cut the magnets to the same size as the pictures.
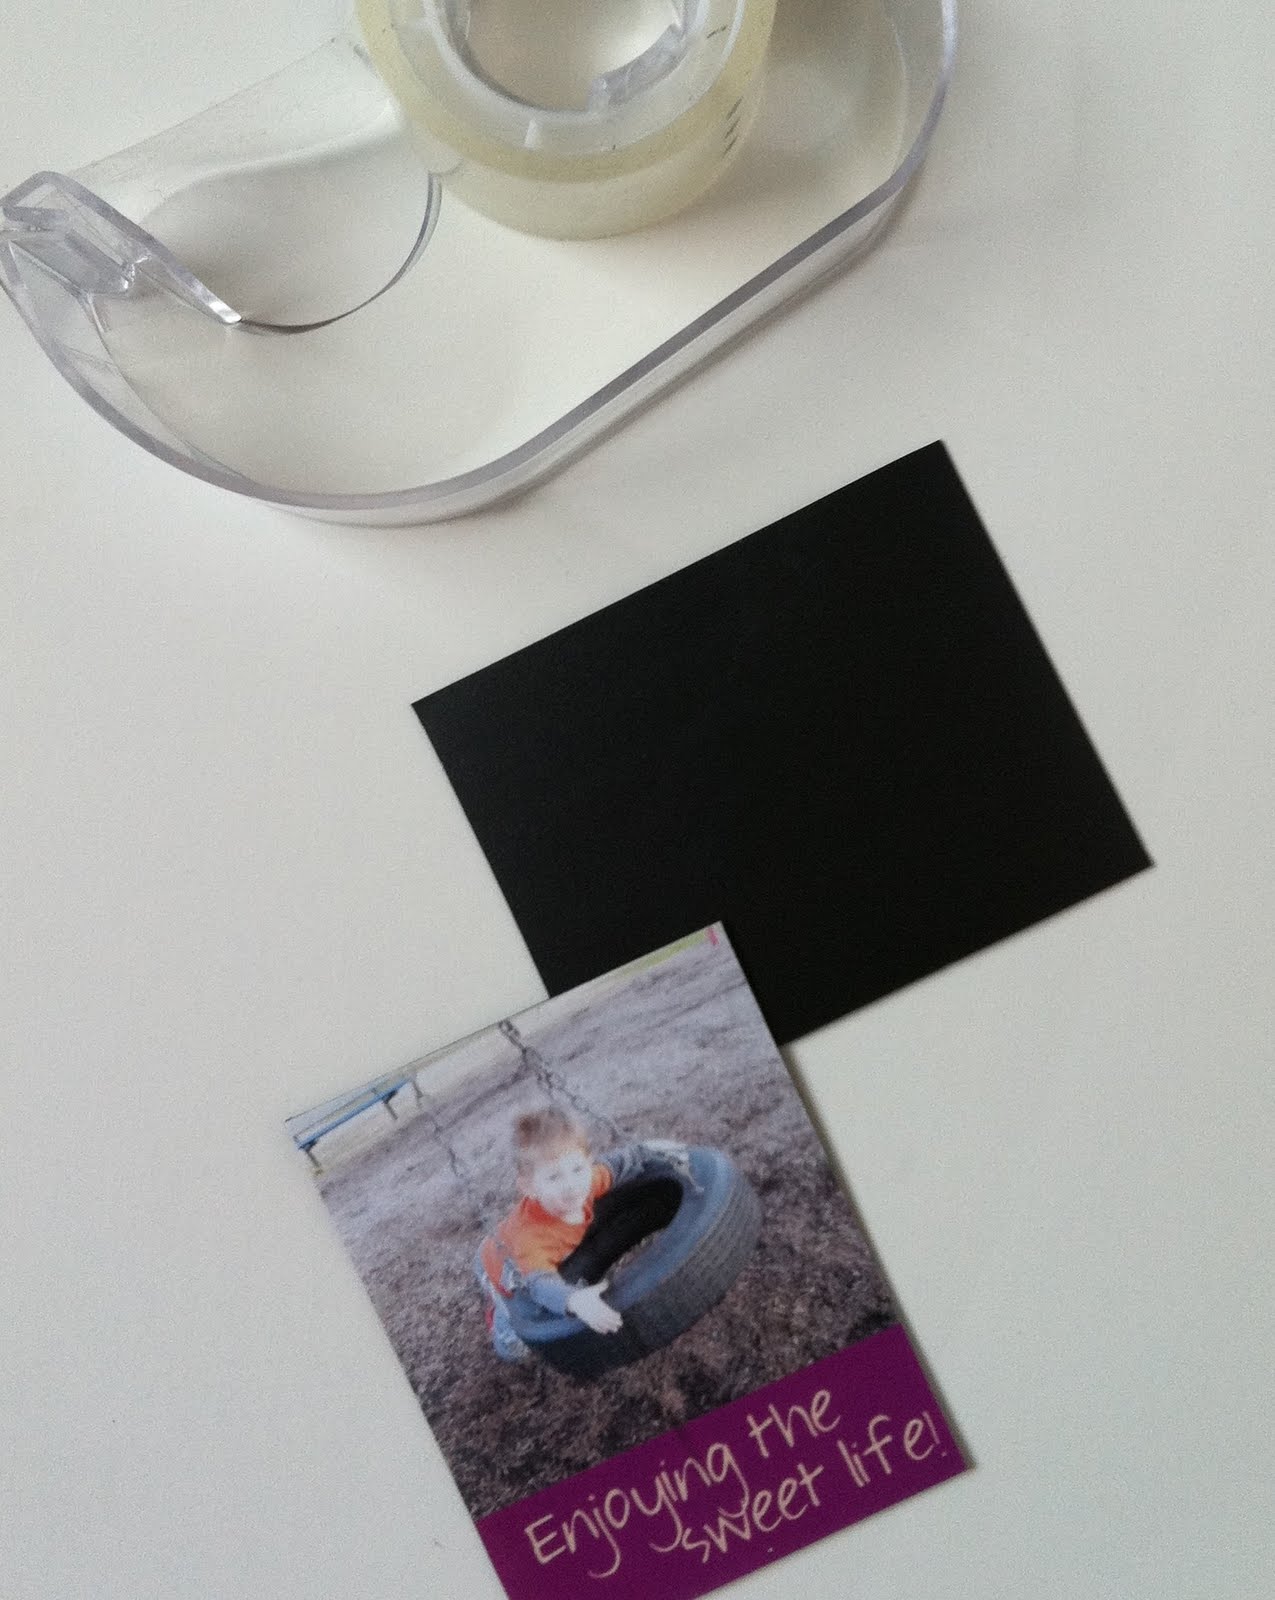
Adhere the pictures to the magnets using double-sided tape.

Place the two pieces face down on the contact paper or packing tape so that the top of the two pictures are in the center. Make sure to leave a little space so it bends easily. I then placed a small strip of contact paper on the back side so it wouldn’t still to the pages of the book.
Cut off the extra contact paper/packing tape that is around the magnets.
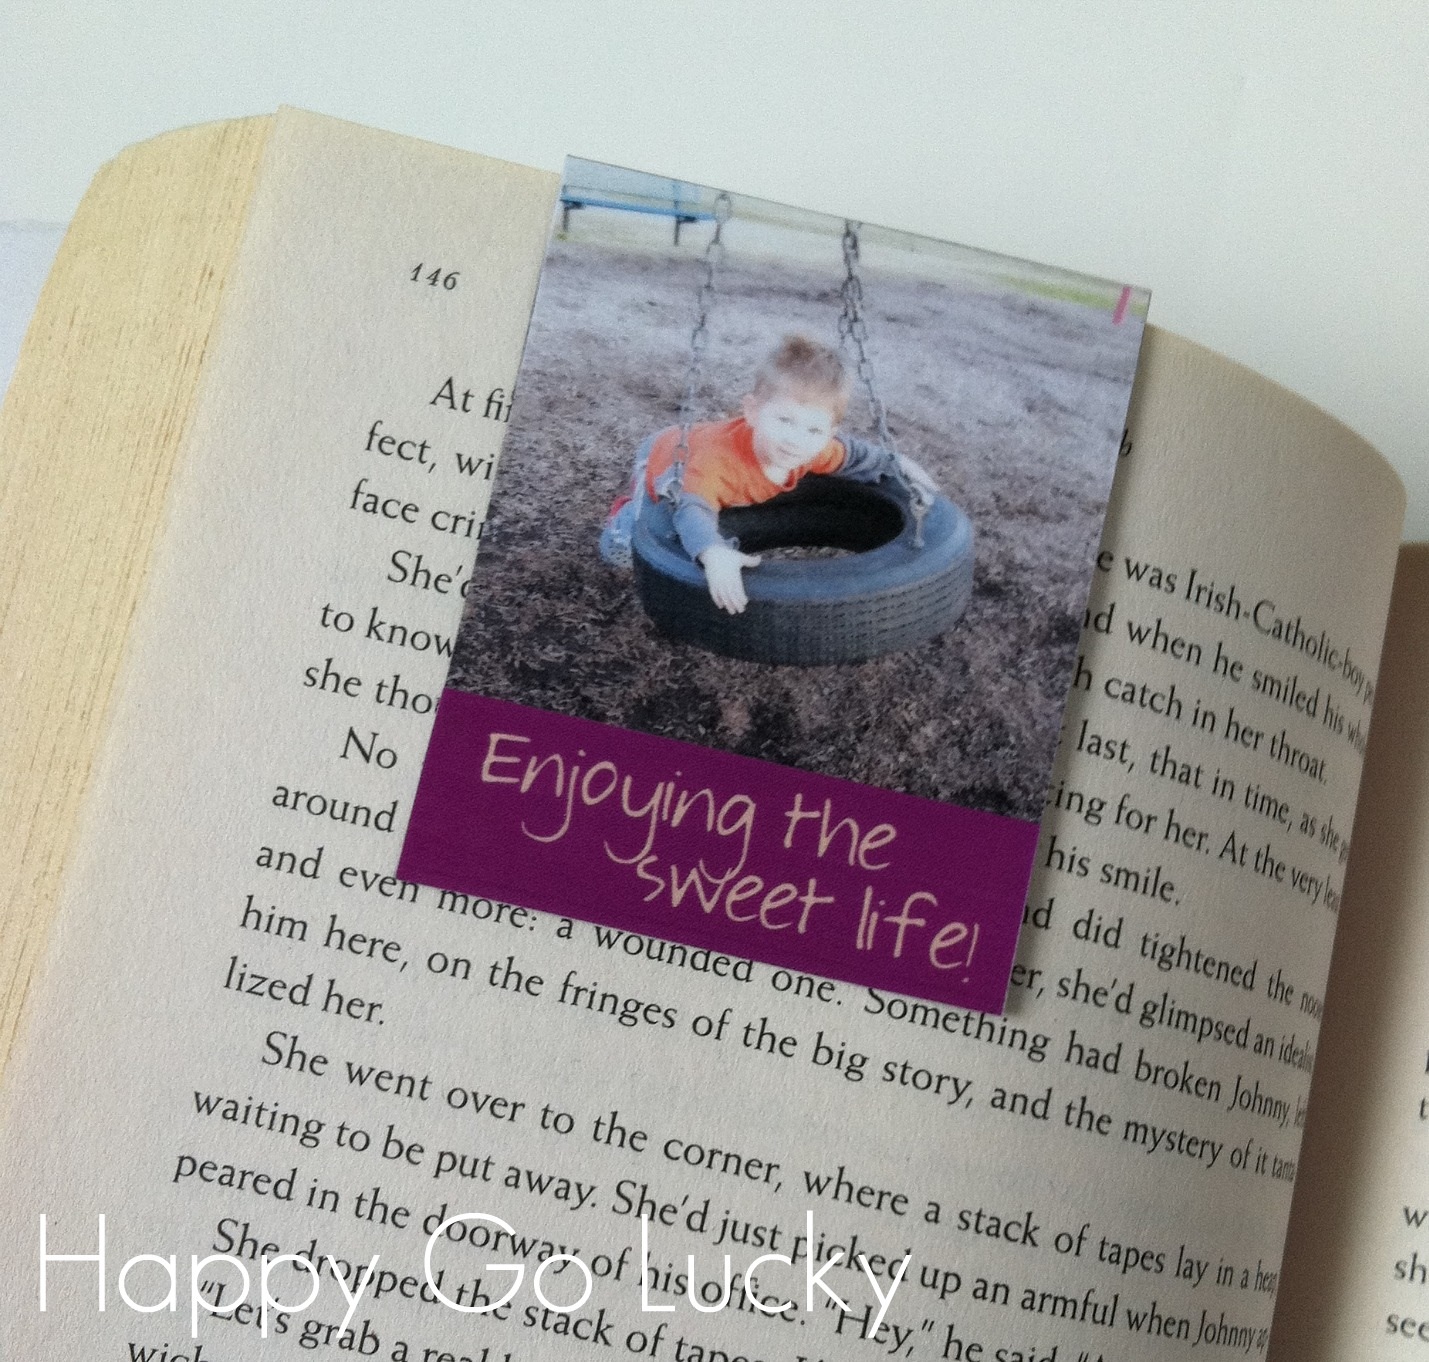
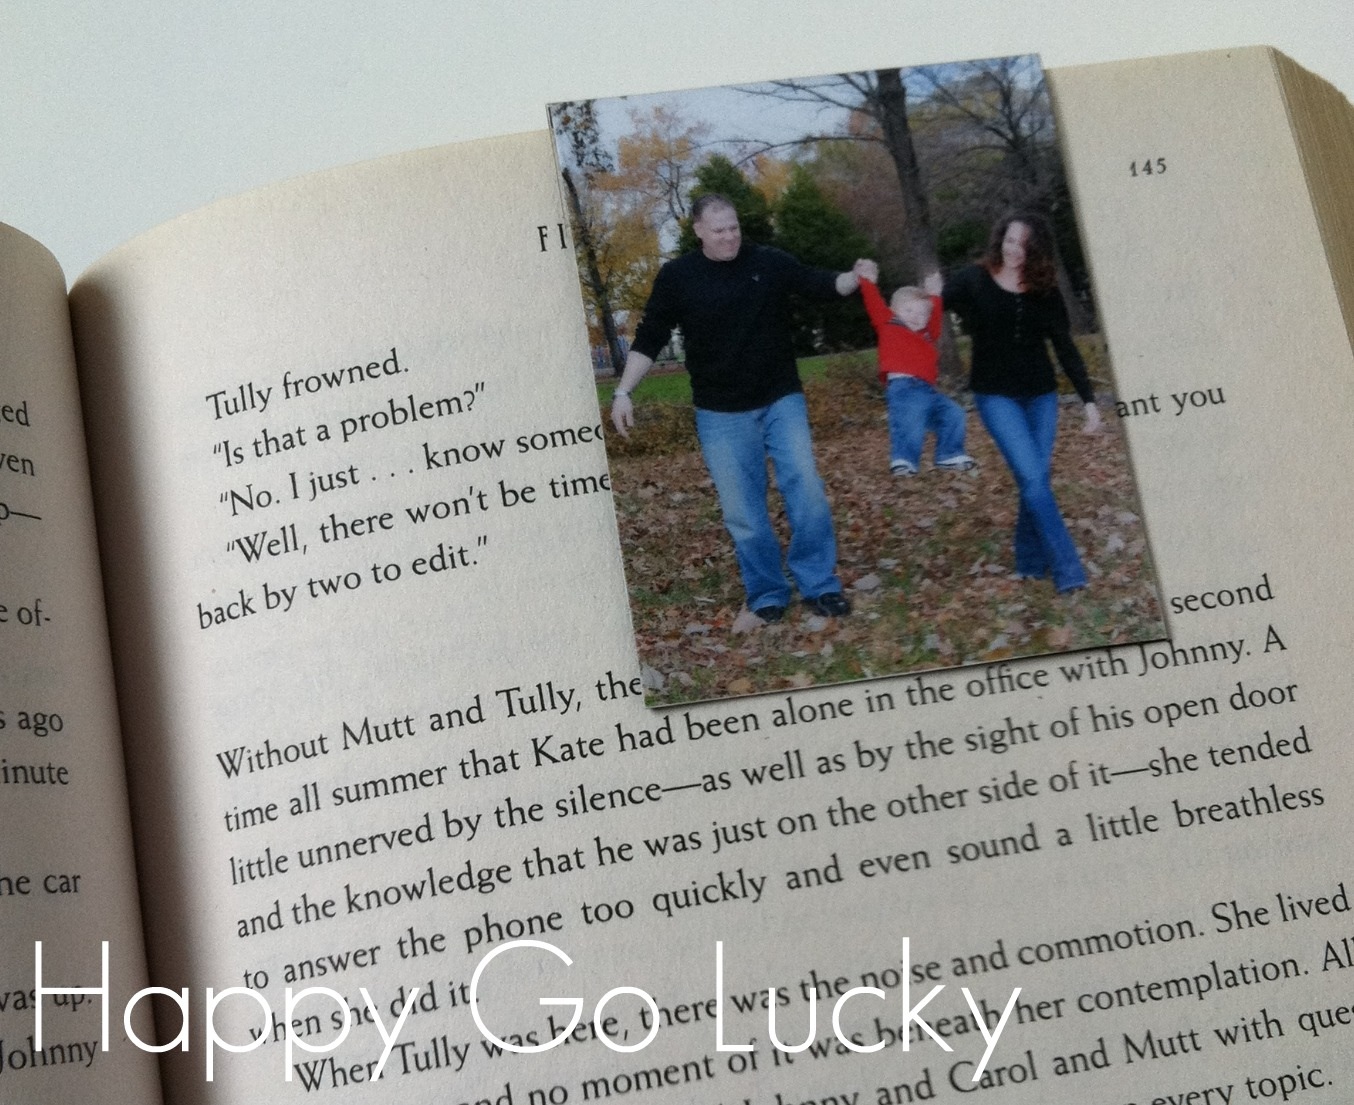
Fold over and admire your fabulous new bookmark. I love how the magnets keep the book mark in place.
 |
| Side 1 |
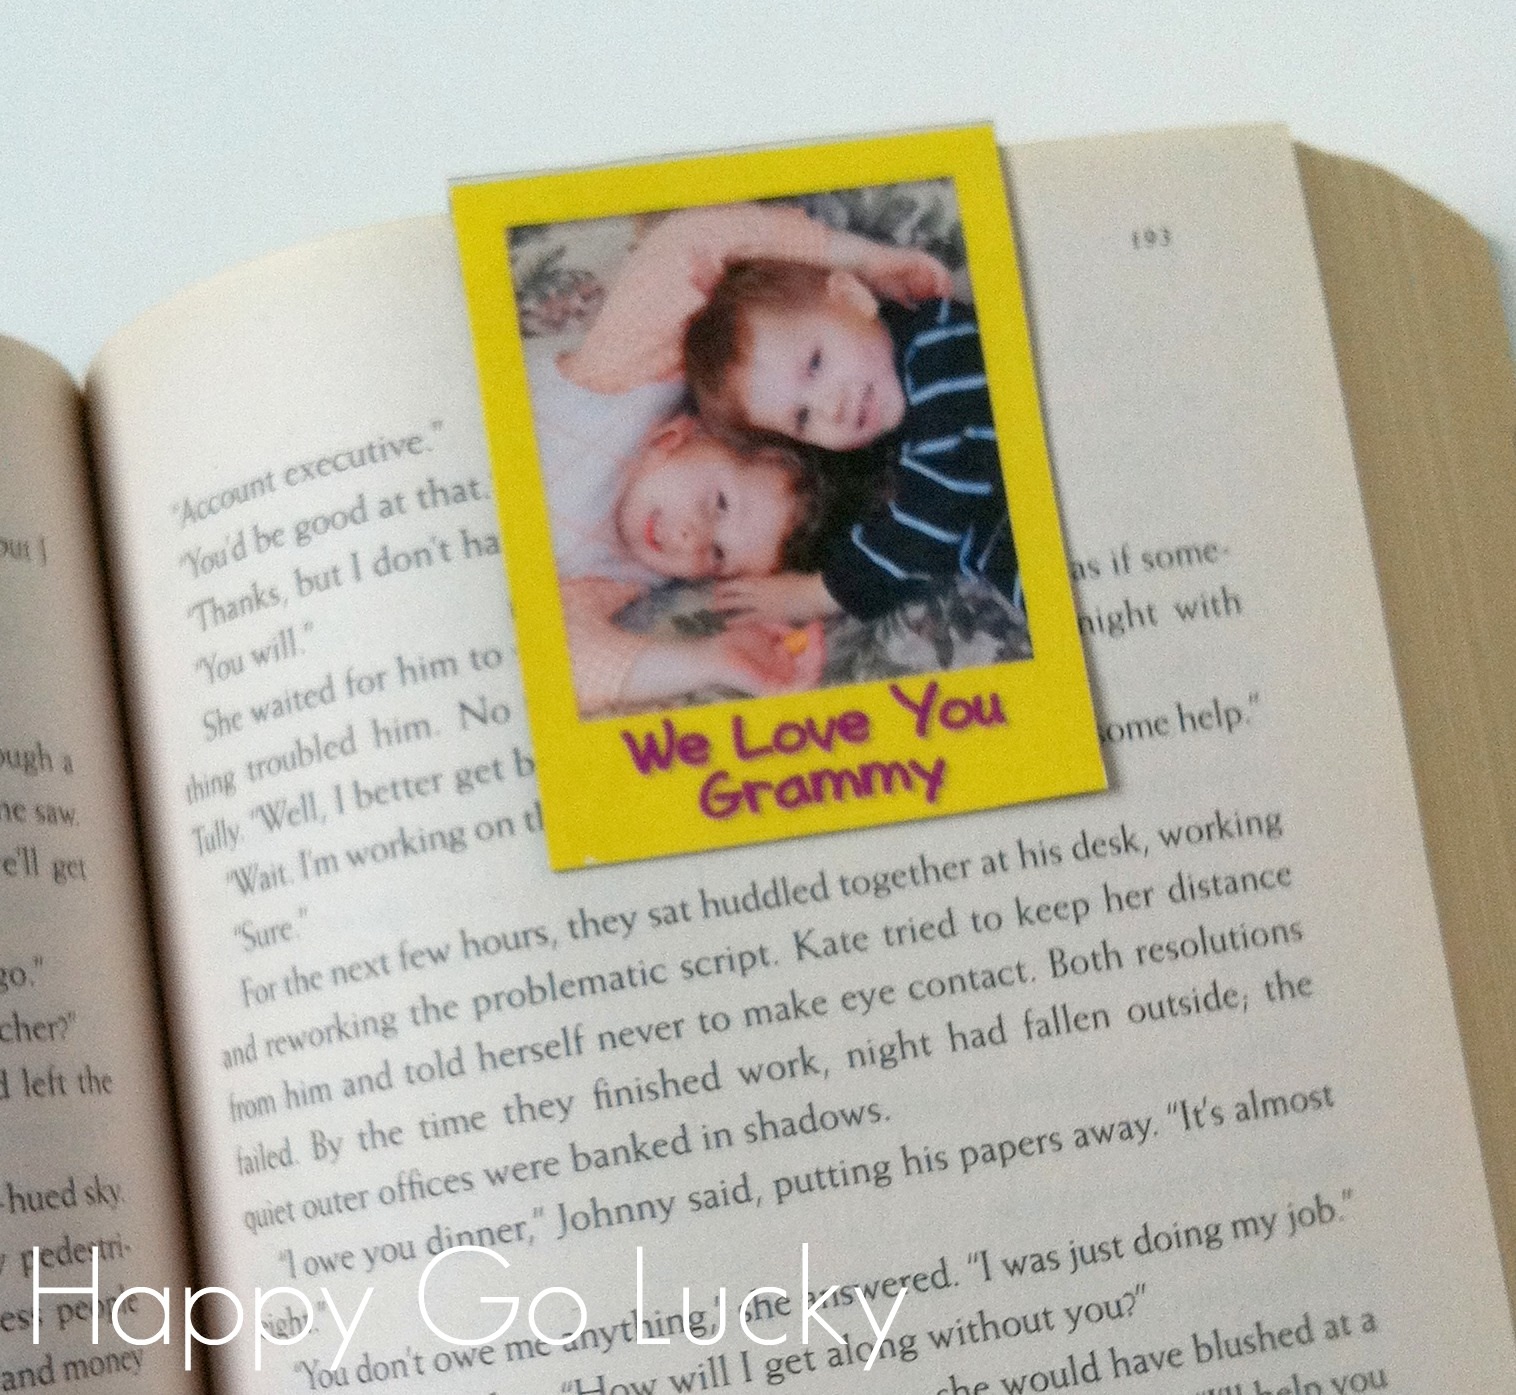
 |
| Side 2 |

Aw, what a great idea! Bookmarked! 😀 Following you (can’t wait to read more!)…
I really like your blog – I’m trying to get mine off the ground and was wondering if you could come check it out and consider following.
http://www.guitartrump.blogspot.com/
Hope you have an *amazing* day! 🙂
Alex
Thanks so much for dropping by the Be-Bop-A Blog Hop! I’m a follower and I hope you’ll stop by again soon! Have a great day! 🙂
http://www.mommylivingthelifeofriley.com
Very cute! My daughter and I are going to make these this weekend! Visiting and now following via Welcome Wednesday hop…hop on over to my blog, and follow back if you like it… http://mom4realky.blogspot.com
Jessica K
This is too adorable of an idea!
LOVE this idea!! I can’t wait to make this for myself and as gifts 🙂 Definitely bookmarked it!
Glad to have found you through the Super Stalker blog hop! Now following you via GFC 🙂
Melissa
http://www.sistersncloth.com
That’s a really good idea! I tend to lose bookmarks and this would definitely hold in place better.
I love this idea! So many books, so many bookmarks needed! And you’re right, they will make great gifts. Nice thing to give along with a new book! Thanks!
Fab idea – I am going to have to make my best friend (a total bookaholic) one with pictures of her nieces
What a wonderful project! I love the way you can personalize the bookmarks and the fact that the magnets hold the bookmark in place. So, so much better than the stray receipt that usually does duty as a mark in my books!
Thank you so much for sharing your creativity on “A Little Birdie Told Me…” at Rook No. 17!
Jenn
My friend has this bookmark. Pretty cute too.
Can’t wait to make my own. Here is another version on how to make it.
———————————————-
-Index Card
-Scissors
-Glue
-2 Magnet sheets
-Clear Packing Tape
-2 Photos or Color Printer
Attatch photos on index Card and fold in midddle. If using printer it will be harder but the photos are flat on the bookmark. Print the photos on the card facing the way you want them. Fold in half then trim to size and Personalize.(Hearts, Star, circle,square, Ect.)
Cover with Packing Tape if desired. Then Use 2 Magnet sheets to cut out shapes that fit the bookmark. The reason to use 2 different sheets is because they won’t attract to each other if the same magnet. Glue on, Magnetic side facing out. And Done! -Alexandra♥
I love this blog – thanks for sharing at http://www.thestuffofsuccess.com – I am subscribed via email.